

Skip the store-bought bags and make your own DIY Microwave Popcorn at home! With just three simple ingredients and a microwave-safe popcorn popper, you can have a warm, buttery bowl of freshly popped popcorn ready in about 3 minutes.
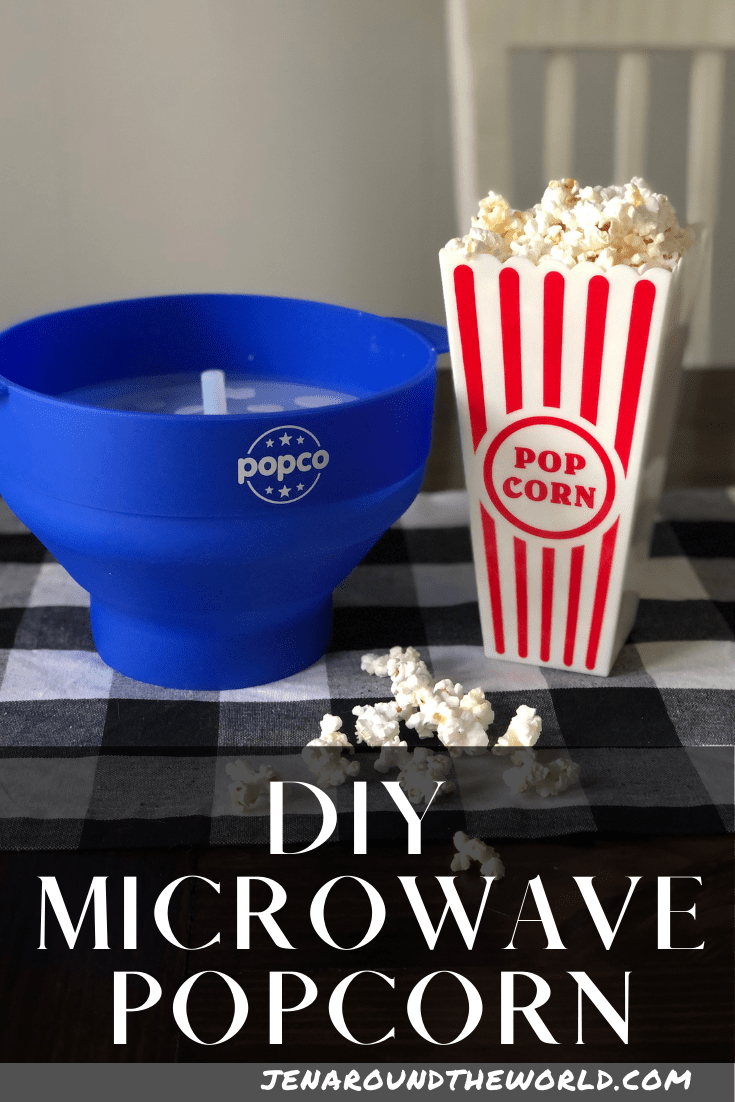
Homemade microwave popcorn is one of those simple recipes that makes you wonder why you ever bought the prepackaged version. You only need popcorn kernels, butter, and popcorn salt to make a big bowl that's perfect for movie night, an afternoon snack, or whenever you're craving something salty and crunchy.
And the best part? You get to decide exactly how buttery and salty you want it!

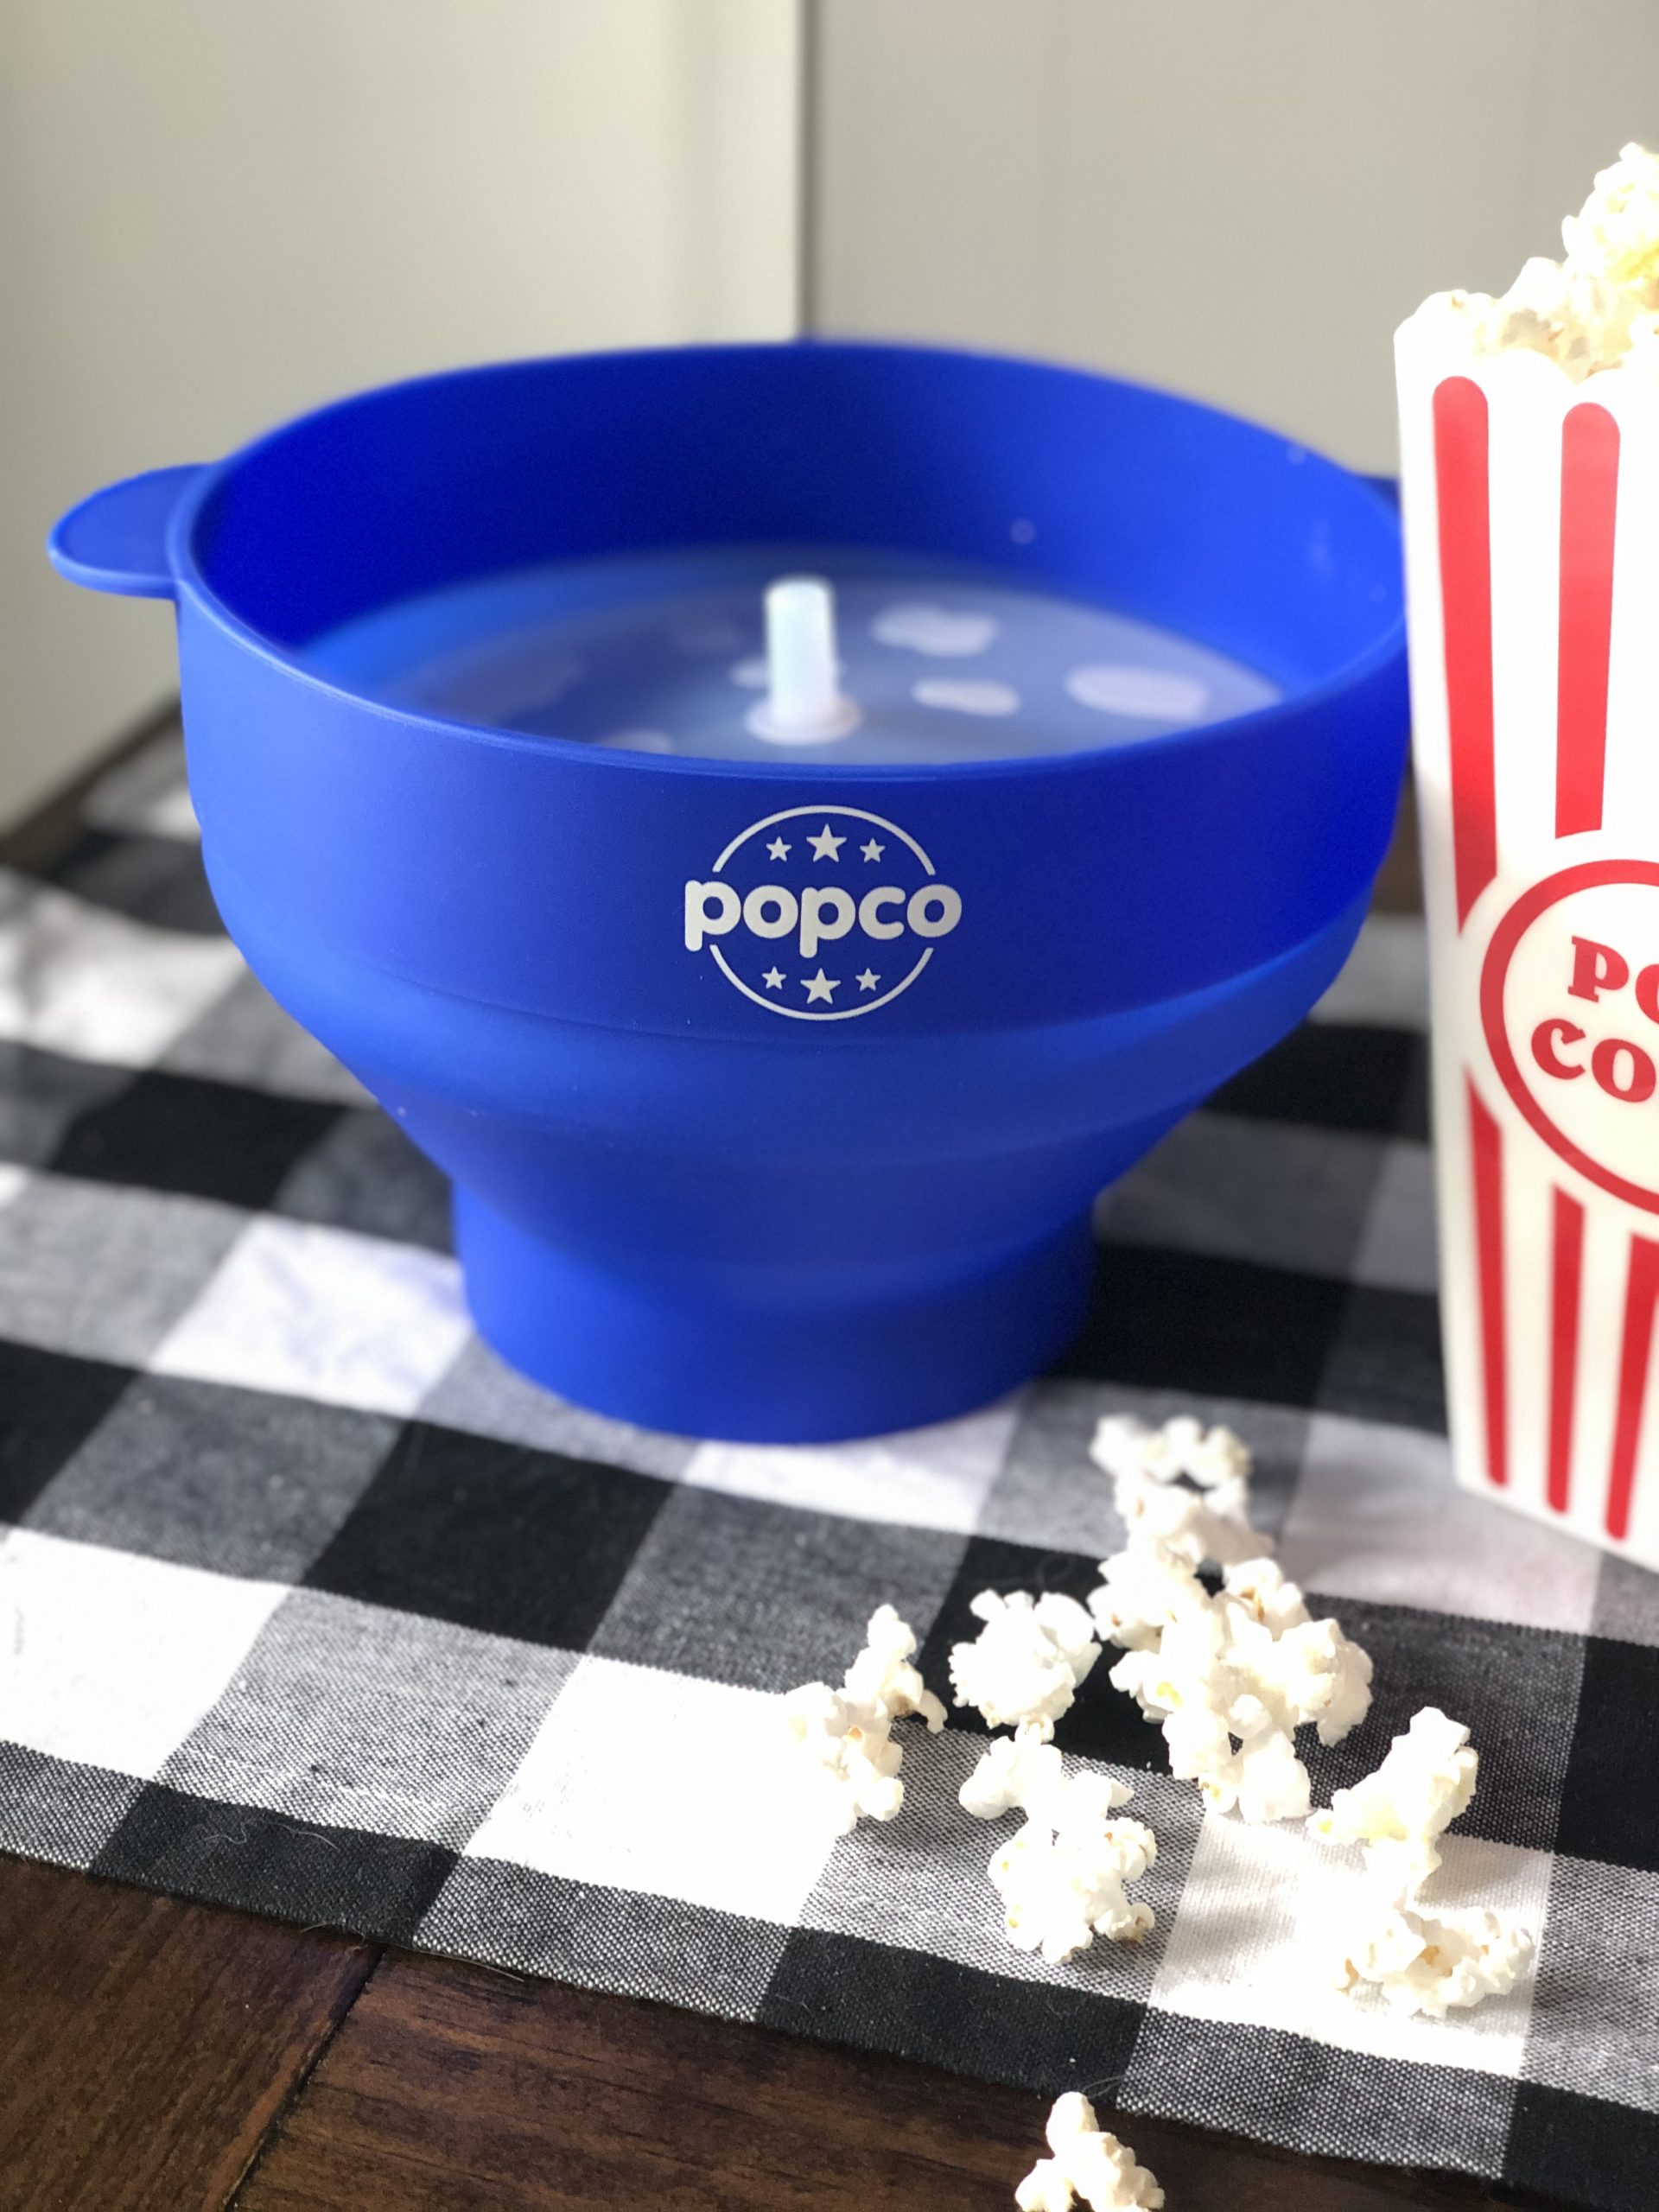
I bought myself a Microwave Popcorn Maker. This thing is going to come in SO handy for making all kinds of popcorn treats.
Why You'll Love Homemade Microwave Popcorn
Making popcorn from scratch in the microwave is incredibly easy. There's no need to drag out a large pot or stand over the stove waiting for the kernels to pop.
Once you've made it a couple of times, you'll probably have the timing for your microwave memorized.
It's also:
- Ready in about 3 minutes
- Made with only 3 ingredients
- Less expensive than individual microwave popcorn bags
- Easy to customize with different seasonings
- Perfect for family movie nights
- A quick after-school or late-night snack
Ingredients for DIY Microwave Popcorn
To make a batch, you'll need:
- ½ cup popcorn kernels
- 2 tablespoons butter
- 1 tablespoon popcorn salt
That's it! I like using popcorn salt because the finer texture sticks to the popcorn better than regular table salt.
In fact, you can make this delicious Coconut Nutella Popcorn in the microwave using this popcorn maker also.

How to Make DIY Microwave Popcorn
Start by placing the butter in the bottom of your microwave popcorn popper. Microwave it for about 30 seconds, or until the butter has melted.
Add the popcorn salt and popcorn kernels directly to the melted butter.
Give everything a good stir so that the kernels are coated with the butter and seasoning.
Place the lid on your popcorn popper, but don't press it down too tightly. Simply let it sit loosely on top. The popcorn needs room to expand as it pops.
Place the popper in the microwave and cook for 2 minutes and 30 seconds to 3 minutes.
The exact cooking time will depend on your microwave, so listen carefully to the popping.
Once there are about 15 seconds between pops, stop the microwave. You don't want to keep cooking it until every single kernel has popped because the popcorn at the bottom can begin to burn.
Carefully remove the popcorn popper from the microwave. The container and steam can be very hot, so use caution when removing the lid.
Then grab a bowl—or eat it straight from the popper—and enjoy!
How Do You Know When Microwave Popcorn Is Done?
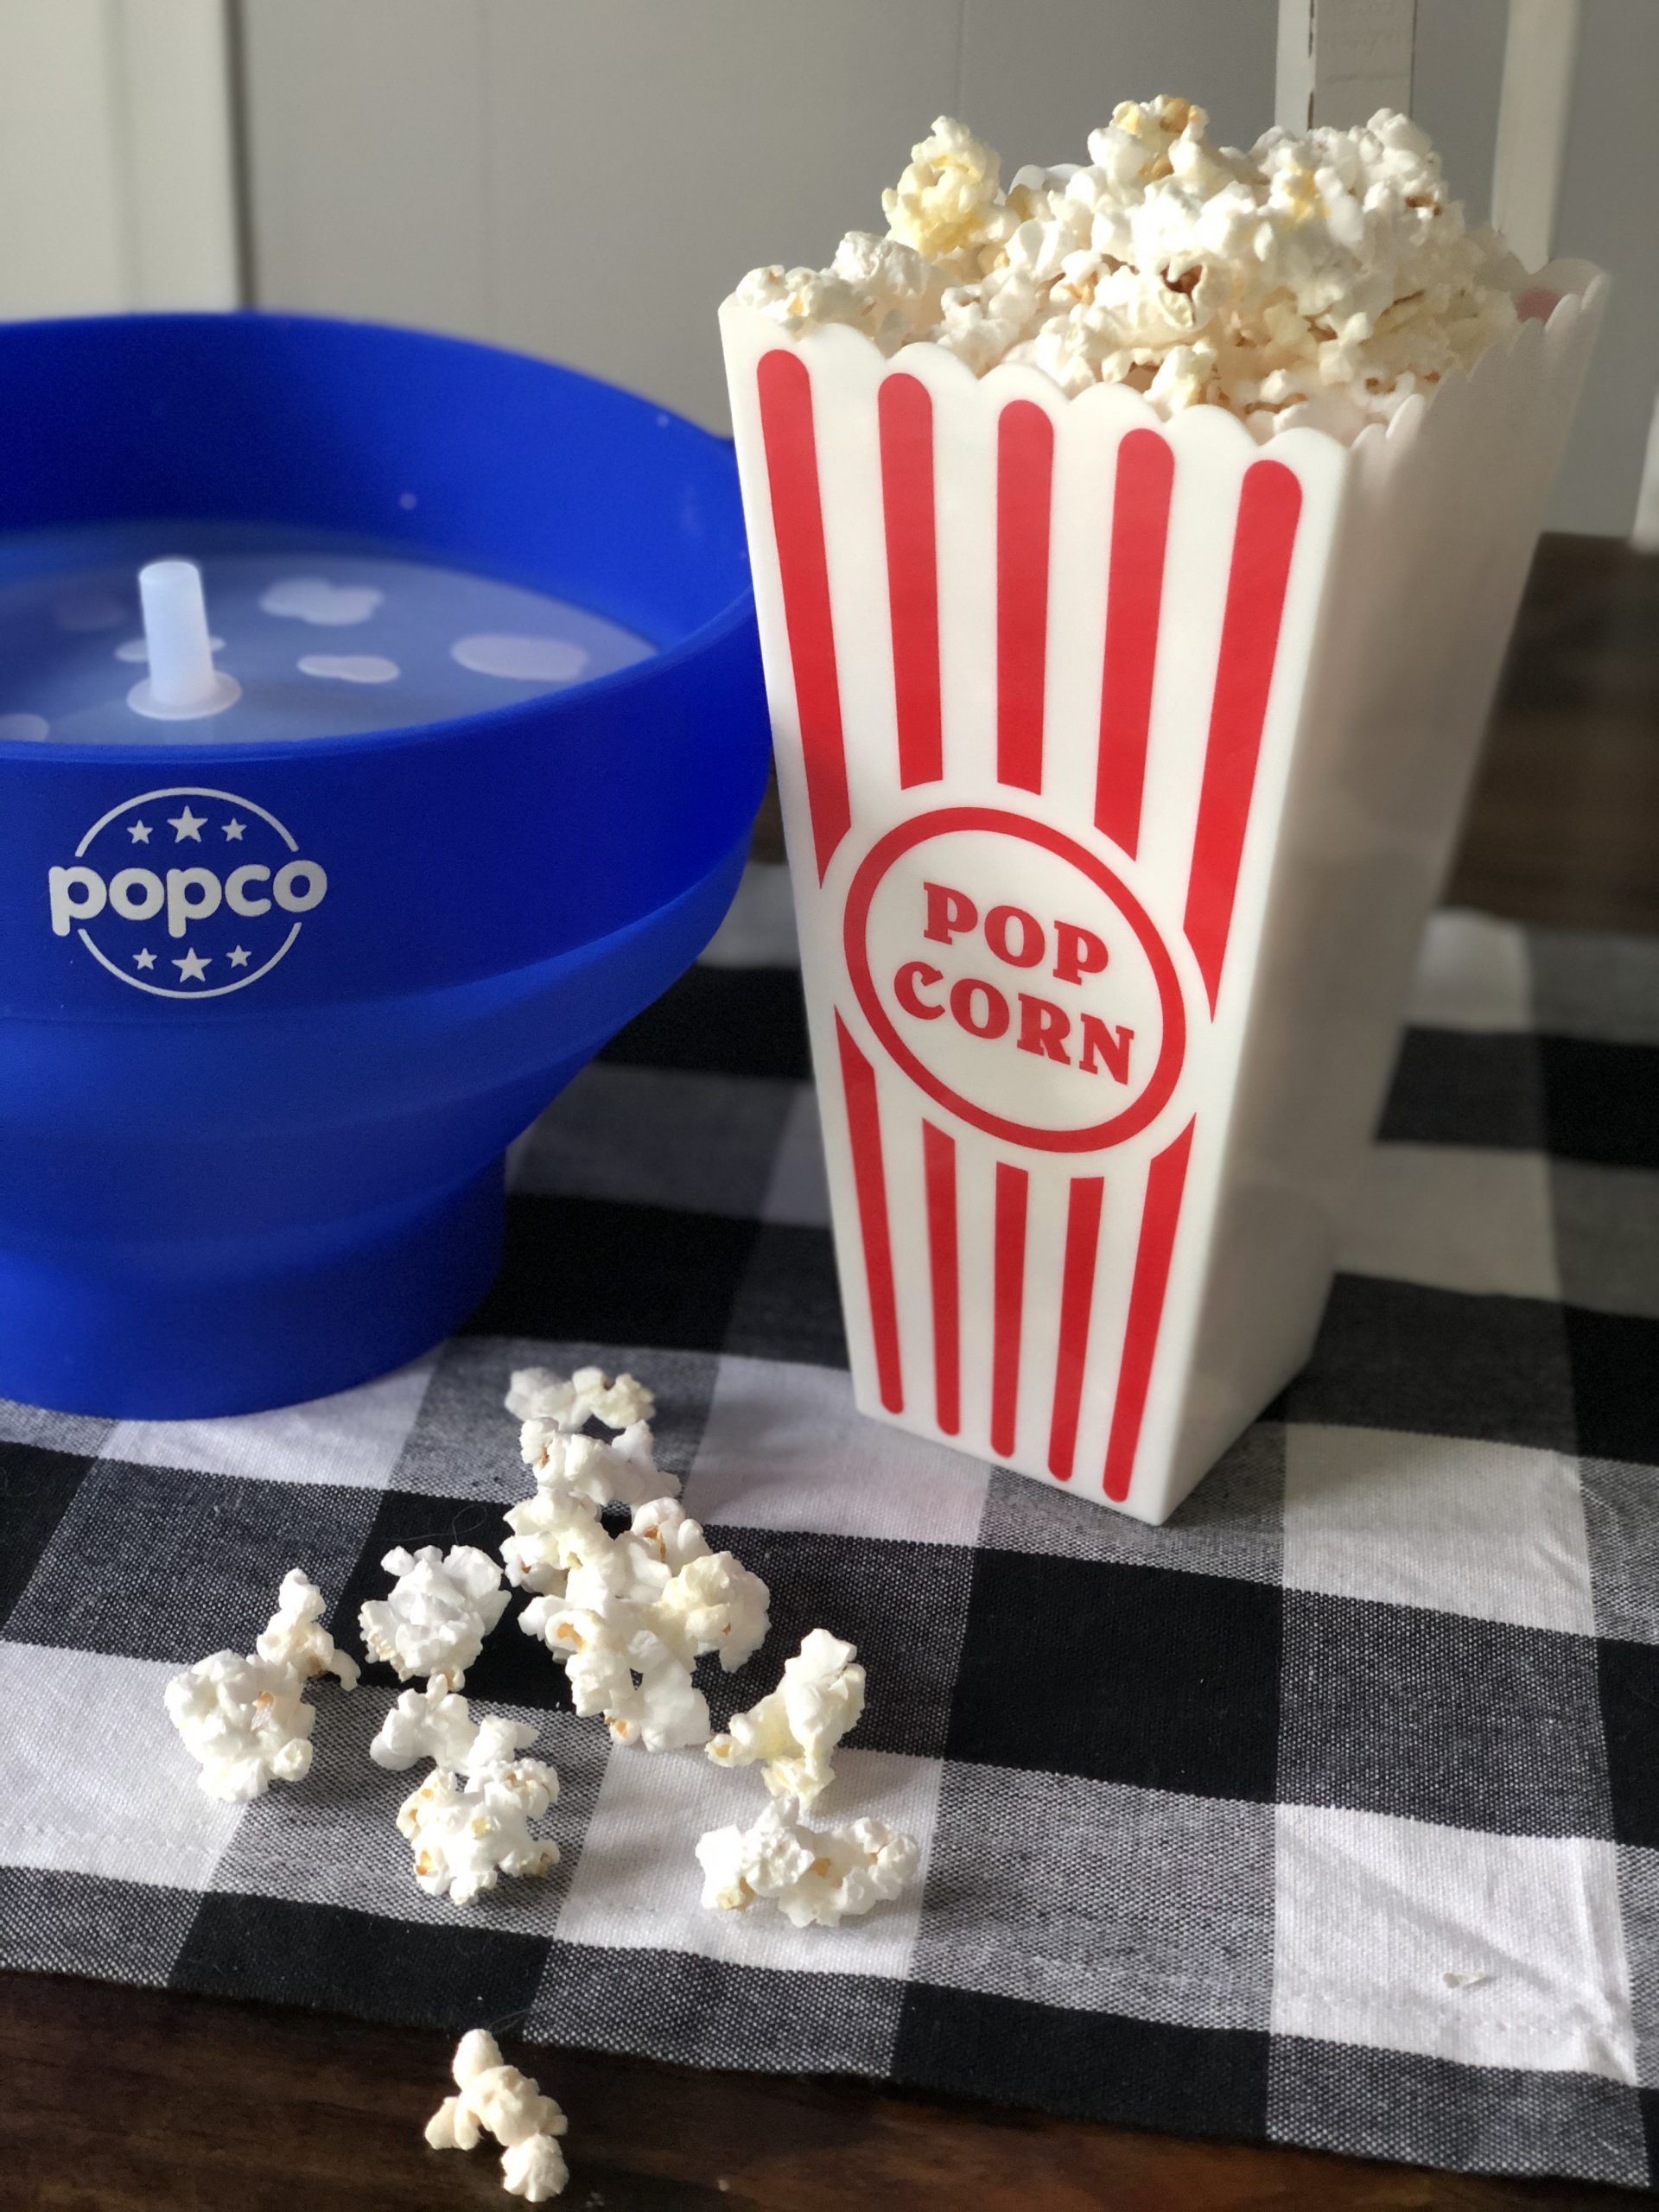
Don't rely solely on the timer when making homemade microwave popcorn. Your ears are actually the best timer.
Microwave wattages vary, so your popcorn might be finished before the full 3 minutes are up.
Listen for the popping to slow considerably. When you're hearing roughly 15 seconds between pops, it's time to stop the microwave.
It's better to have a few unpopped kernels at the bottom than a batch of burned popcorn.
Fun Popcorn Seasoning Ideas
Once you've mastered the basic recipe, you can start experimenting with flavors.
Try sprinkling your freshly popped popcorn with ranch seasoning, garlic Parmesan seasoning, cinnamon sugar, Cajun seasoning, cheddar popcorn seasoning, or even a little taco seasoning.
For a sweet-and-salty version, drizzle the popcorn with a little melted chocolate and add a pinch of flaky sea salt.
You can even set out several seasonings and create a DIY popcorn bar for family movie night. Everyone can scoop popcorn into their own bowl and add their favorite toppings.
But for us, we love the theater popcorn taste, so we melt 2 tablespoons of butter and mix in 1 tablespoon of popcorn salt in the bottom first. Then we add our kernels so that we get the perfect buttery popcorn taste.
Tips for the Best Microwave Popcorn
Make sure you're using a popcorn popper specifically designed for microwave use. You'll also want to leave the lid loose rather than pushing it firmly into place.
Watch your first couple of batches closely while you figure out the ideal cooking time for your particular microwave.
And don't walk away just because you've set the timer for 3 minutes. Popcorn can go from perfectly popped to burned surprisingly quickly.
How to Store Leftover Popcorn
Popcorn is definitely best when it's freshly popped and still warm, but leftovers can be stored in an airtight container at room temperature.
For the best texture, enjoy leftover popcorn within a day or two.
Avoid refrigerating it because the moisture in the refrigerator can make the popcorn lose its crisp texture.
Looking for other delicious Popcorn recipes? Check these out
- Stovetop Movie Theater Butter Popcorn
- Chipotle Parmesan Popcorn
- Spicy Popcorn
- Popcorn Brittle
You can even create the perfect popcorn gift basket for a friend by getting them one of those Microwave Popcorn poppers and then including a fun seasoning set like this one I found on Amazon.
DIY Microwave Popcorn

This is the tastiest microwave popcorn you will ever make.
Ingredients
- ½ cup of popcorn kernels
- 2 tablespoons of butter
- 1 tablespoon of popcorn salt
Instructions
- Melt the butter for 30 seconds at the bottom of your popcorn popper.
- Add in the seasoning and your kernels.
- Stir to get everything combined.
- Place the lid on the popper making sure not to push it down too hard. Just sit it on the top loosely.
- Microwave for 2:30-3:00 or until you hear 15 seconds pop in between kernels.
- Remove carefully from the microwave and serve to guests for the perfect movie night.
Nutrition Information:
Yield:
4Serving Size:
1Amount Per Serving: Calories: 57Total Fat: 6gSaturated Fat: 4gTrans Fat: 0gUnsaturated Fat: 2gCholesterol: 15mgSodium: 199mgCarbohydrates: 1gFiber: 0gSugar: 0gProtein: 0g
Where do you find popcorn salt? Is that a special ingredient? And Have a Very Happy Birthday!!!
You can usually find it at Walmart right next to the popcorn!