

If you’ve ever wanted to dive into the world of sourdough but felt intimidated by the traditional flour-and-water method, let me introduce you to the easiest sourdough starter you’ll ever make — a potato flake sourdough starter.
This classic Amish-style starter uses instant potato flakes, sugar, and warm water to create a sweet, bubbly starter that’s practically foolproof.


It produces soft, tender loaves with a mild tang and a touch of sweetness — perfect for beginning sourdough bakers or anyone who wants reliable, consistent bread results.
Whether you’re baking for your family, the holidays, or your next farmers market table, this simple homemade starter will become a kitchen staple.
⭐ What Is a Potato Flake Sourdough Starter?


Unlike traditional sourdough starters made with just flour and water, a potato flake starter is a wild yeast starter fed with sugar and instant potato flakes.
It creates a gentler flavor and a naturally softer bread crumb — ideal for sandwich loaves, cinnamon rolls, dinner rolls, and sweet breads.
The process is incredibly forgiving, which makes it popular among home bakers and Amish communities because it’s easy to maintain and produces consistent results.
🧂 Potato Flake Starter Ingredients
To start your own potato flake sourdough, you’ll only need a few pantry staples:
- 1 cup warm water (not hot — around 110°F)
- 3 tablespoons granulated sugar
- 3 tablespoons instant potato flakes
- 1 packet of yeast (optional, but helps jump-start fermentation)

🍞 How to Make a Potato Flake Sourdough Starter
Step 1: Mix the Base Starter
- In a clean quart-size mason jar or container, stir together:
- Warm water
- Sugar
- Instant potato flakes
- Yeast (if using)
- Mix well until everything dissolves.
- Loosely cover the jar with a lid (don’t seal it tight) or a piece of breathable fabric. I just use a paper towel in between the jar and the screw lid.
Let this mixture sit at room temperature for 3–5 days, stirring once daily.
You’ll begin to see small bubbles and light foaming — this means your natural yeast is waking up!


🥣 Step 2: Feed the Starter
On Day 5, it’s time to feed it.
In a separate bowl, mix:
- 1 cup warm water
- ½ cup sugar
- 3 tablespoons potato flakes
Stir until dissolved, then add it directly to your starter jar.
Let the starter sit out on the counter for 6–8 hours after feeding. It should get bubbly, active, and fragrant.
🧊 Step 3: Store the Starter

After your starter has had time to activate post-feeding:
- Cover loosely and place it in the refrigerator.
- Feed it every 5 days using the same feeding mixture.
This is one of the easiest starters to maintain — it doesn’t require daily feedings or flour waste!
🍞 How to Use Your Potato Flake Starter
After feeding your refrigerated starter, allow it to sit at room temperature for 6–12 hours until bubbly.
Once it’s active, you can:
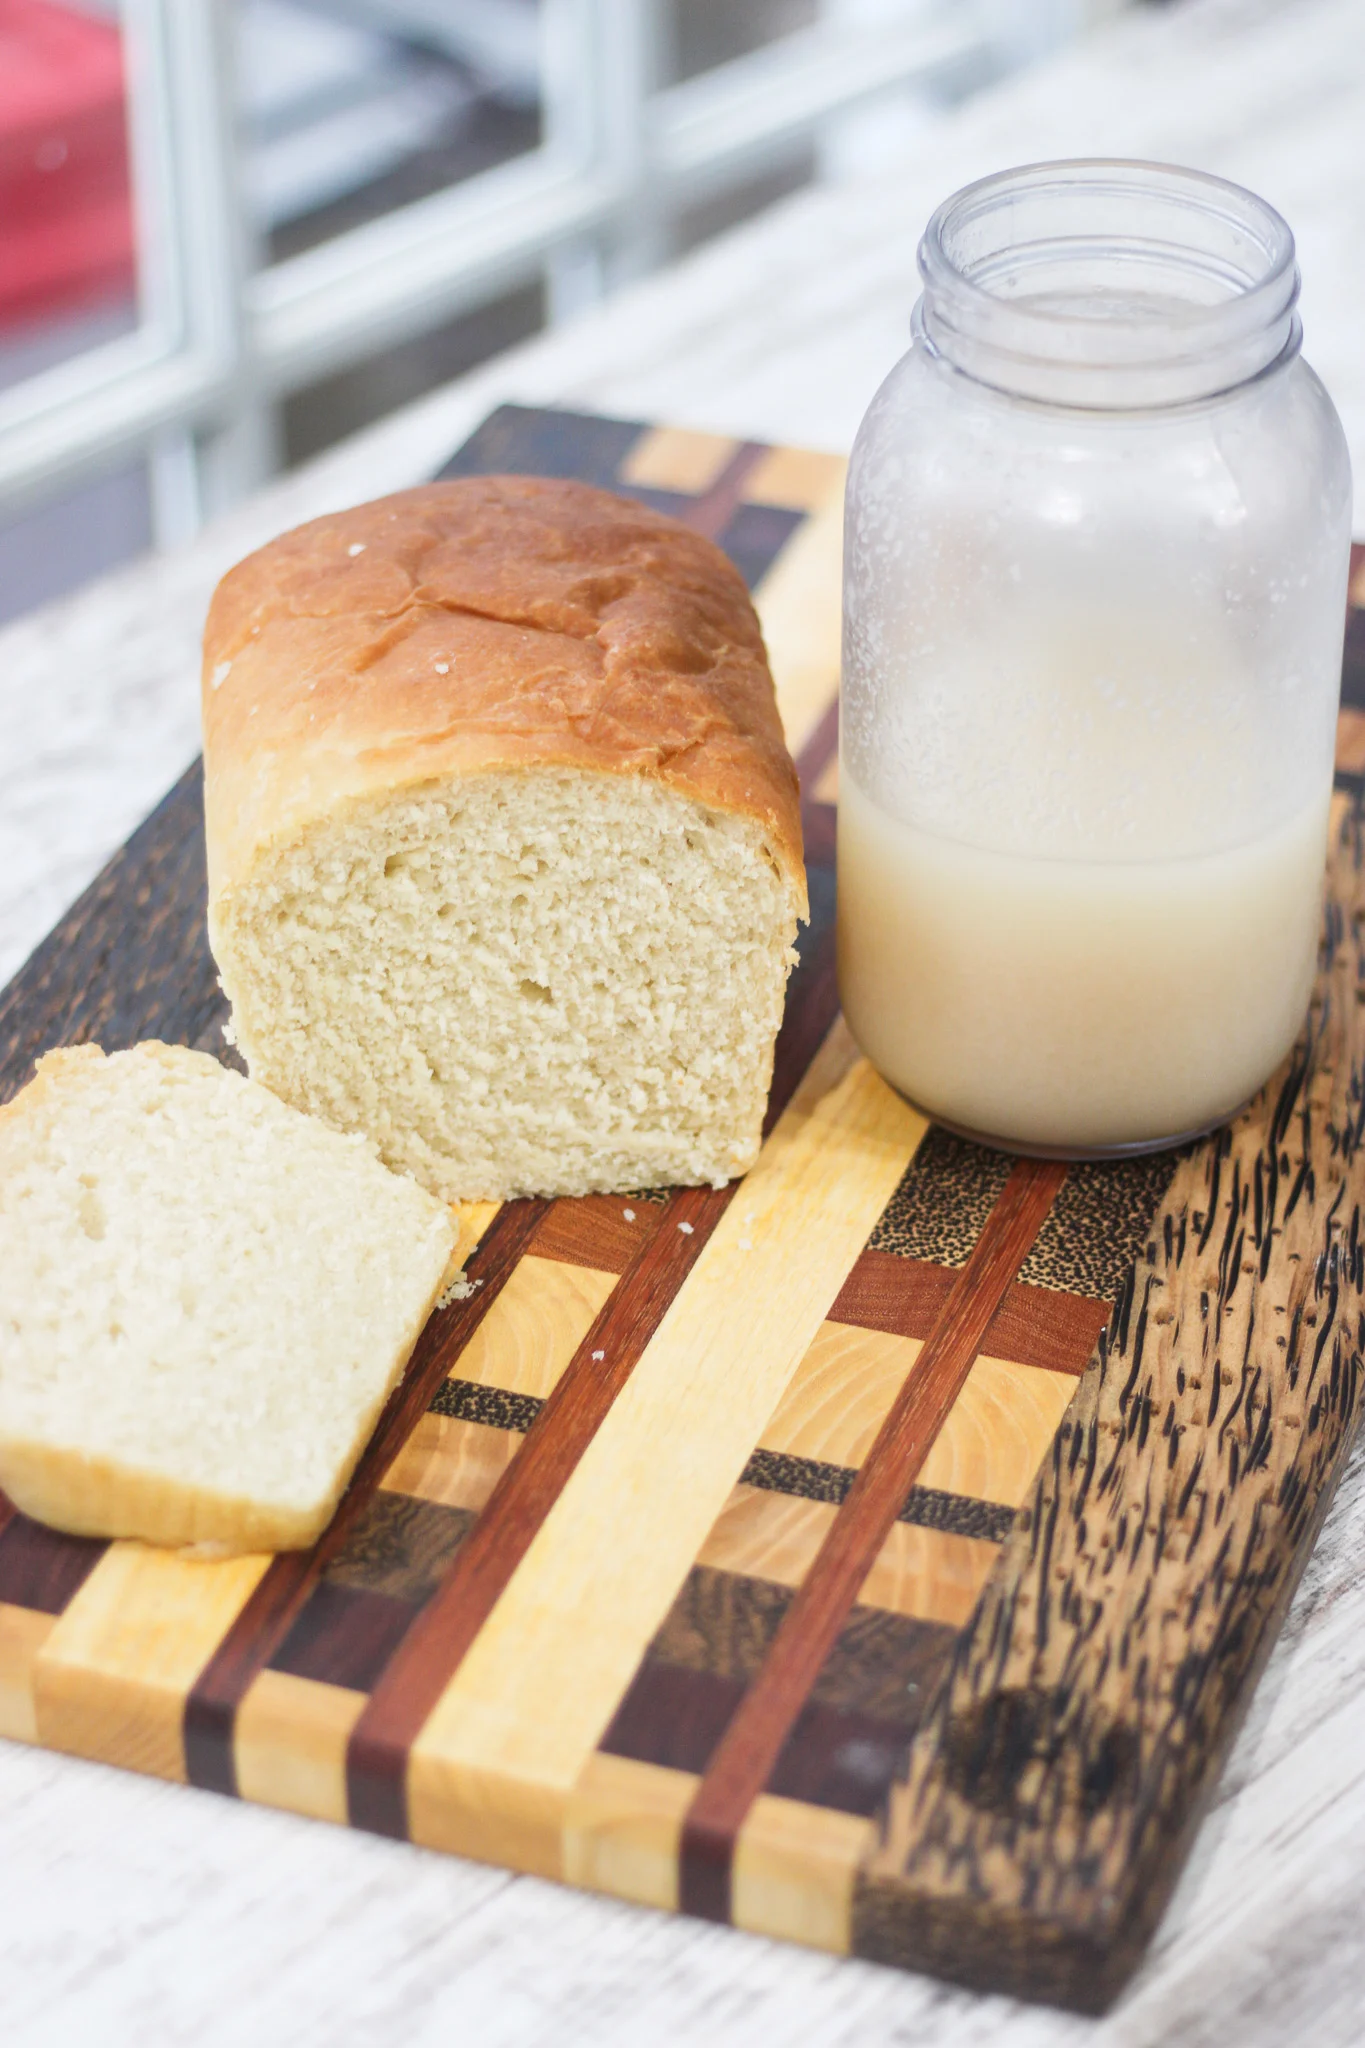
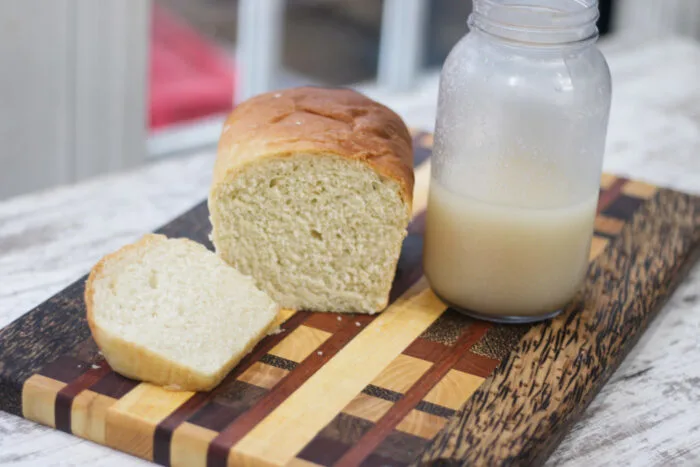
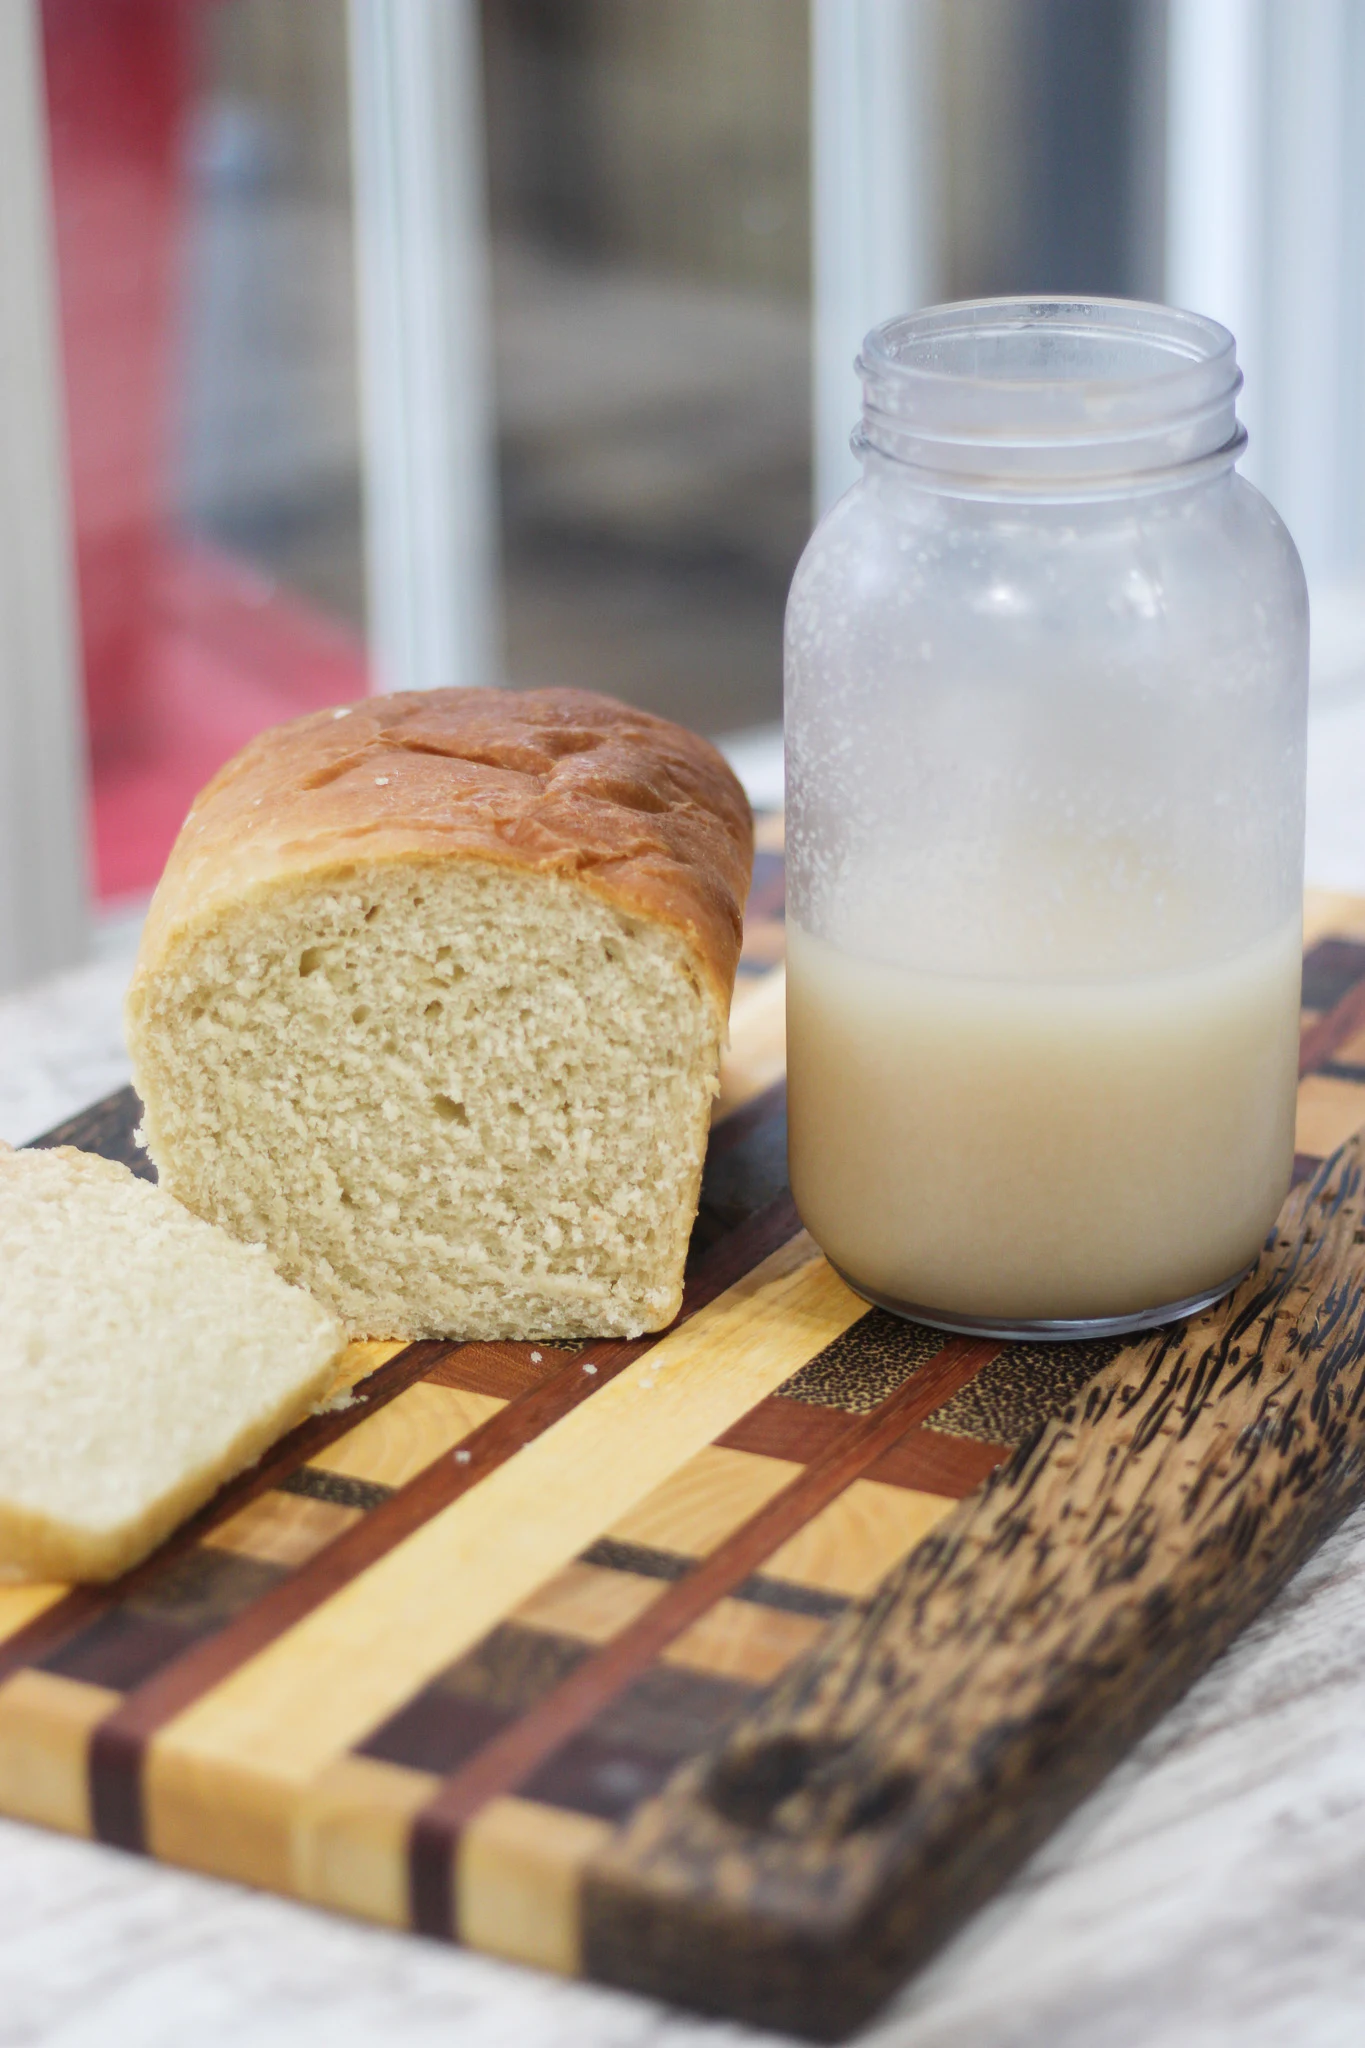
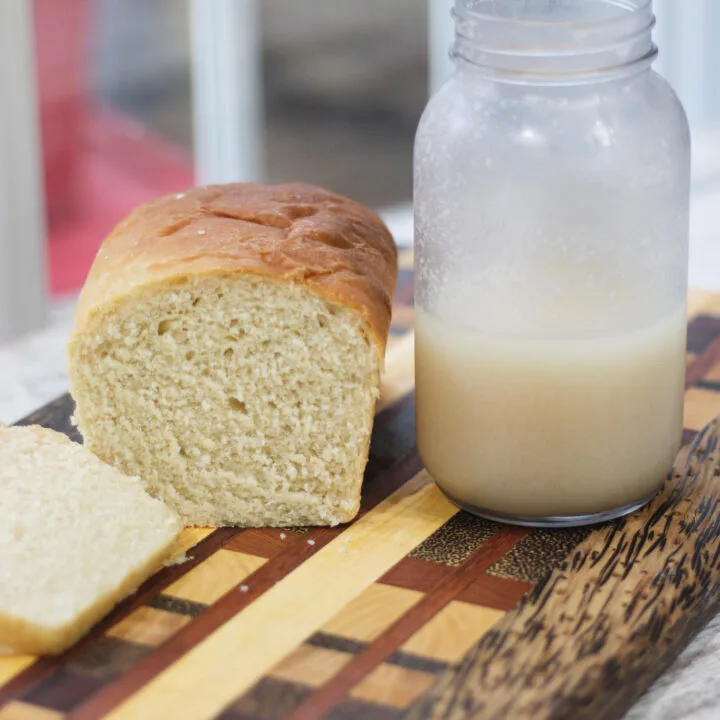
- Use 1 cup of starter for a loaf of Amish Friendship Bread
- Use it to make soft sourdough sandwich bread (recipe coming soon!)
- Try it in cinnamon rolls, dinner rolls, or even sweet breads

Always remember:
➡️ After using 1 cup of starter, feed the jar again to replenish it.
❓ Frequently Asked Questions
Can I share this starter with friends?
Absolutely! This is one of the best “friendship bread” starters for gifting. Just scoop some into a jar, include simple feeding instructions, and pass it along.
Does potato flake sourdough taste like traditional sourdough?
Not exactly — it has a milder, slightly sweet flavor, making it perfect for people who don’t love a super tangy sourdough.


Can I switch from potato flakes to flour feedings?
It’s best not to. This type of starter thrives on sugar + potato flakes, and switching feeds can shock the yeast culture.
❤️ Final Thoughts
A potato flake sourdough starter is the perfect beginner-friendly way to step into the world of homemade bread.
It’s simple, reliable, and produces beautifully soft loaves every time. If you’re looking for a starter that doesn’t require daily maintenance or complicated measurements, this is your new kitchen companion!
How to Make Potato Flake Sourdough Starter

Learn how to make a simple and foolproof potato flake sourdough starter using just sugar, water, and instant potato flakes. This easy Amish-style starter creates soft, fluffy breads with a mild sourdough flavor — perfect for beginners!
Ingredients
- 1 cup warm water (not hot — around 110°F)
- 3 tablespoons granulated sugar
- 3 tablespoons instant potato flakes
- 1 packet of yeast (optional, but helps jump-start fermentation)
Instructions
Step 1: Mix the Base Starter In a clean quart-size jar or container, stir together: Warm water Sugar Instant potato flakes Yeast (if using) Mix well until everything dissolves. Loosely cover the jar with a lid (don’t seal it tight) or a piece of breathable fabric. Let this mixture sit at room temperature for 3–5 days, stirring once daily. You’ll begin to see small bubbles and light foaming — this means your natural yeast is waking up!
Step 2: Feed the Starter On Day 5, it’s time to feed it. In a separate bowl, mix: 1 cup warm water ½ cup sugar 3 tablespoons potato flakes Stir until dissolved, then add it directly to your starter jar. Let the starter sit out on the counter for 6–8 hours after feeding. It should get bubbly, active, and fragrant.
Step 3: Store the Starter After your starter has had time to activate post-feeding: Cover loosely and place it in the refrigerator. Feed it every 5 days using the same feeding mixture. This is one of the easiest starters to maintain — it doesn’t require daily feedings or flour waste!
Nutrition Information:
Yield:
1Serving Size:
1Amount Per Serving: Calories: 216Total Fat: 0gUnsaturated Fat: 0gSodium: 16mgCarbohydrates: 53gFiber: 2gSugar: 43gProtein: 3g
Jamie
Friday 3rd of July 2026
Thank you for the recipe and instructions, can’t wait to try it!! Have you tried this bread recipe with fresh milled flour?
Jennifer Sikora
Sunday 5th of July 2026
I have not tried it with fresh milled flour but I am working on making a sourdough starter from fresh milled flour.