

My daughter loves making homemade hummingbird food. She is an animal lover, and she has been since she was about a year old.
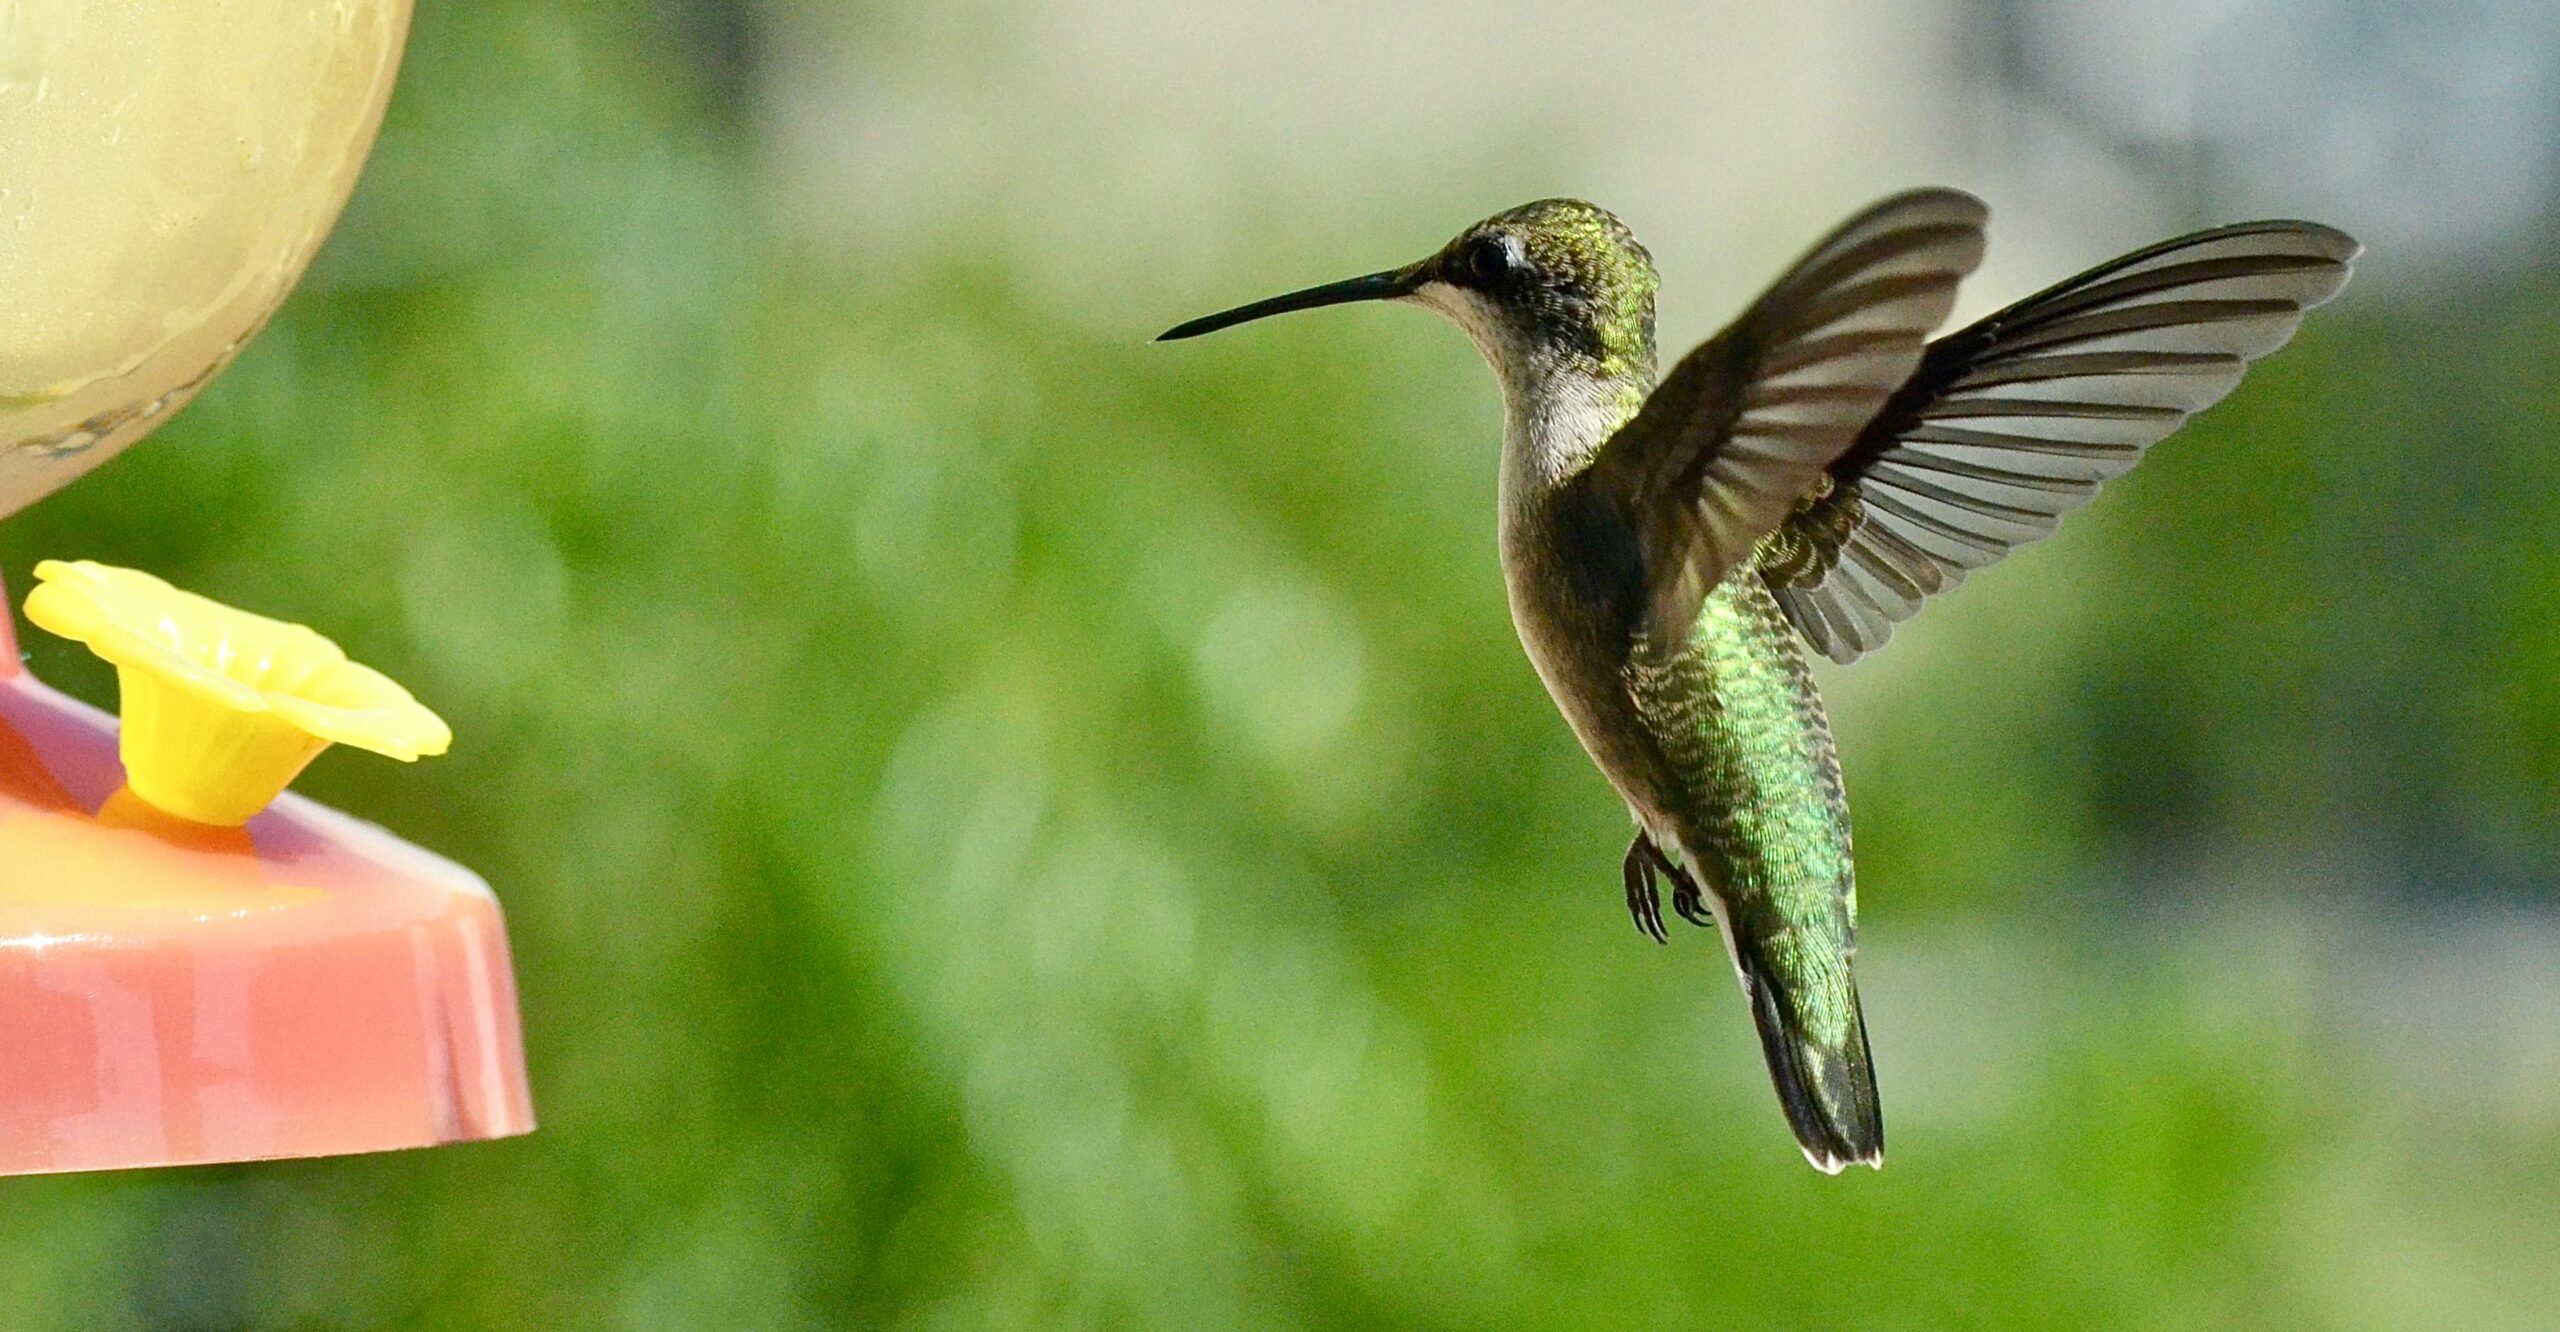
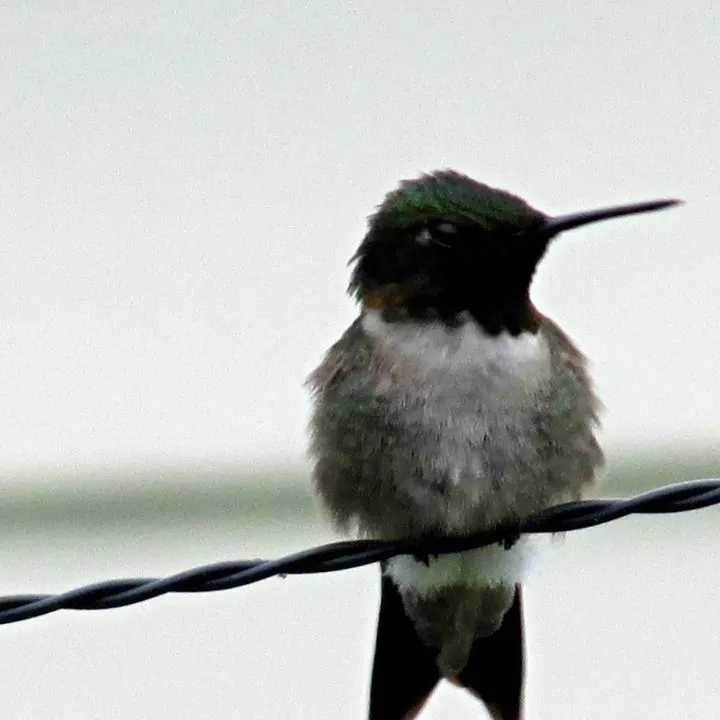
There’s something truly magical about watching hummingbirds flit around the yard, darting from flower to feeder. If you're like me and love creating a welcoming space for these tiny flying jewels, then making hummingbird food at home is a must!
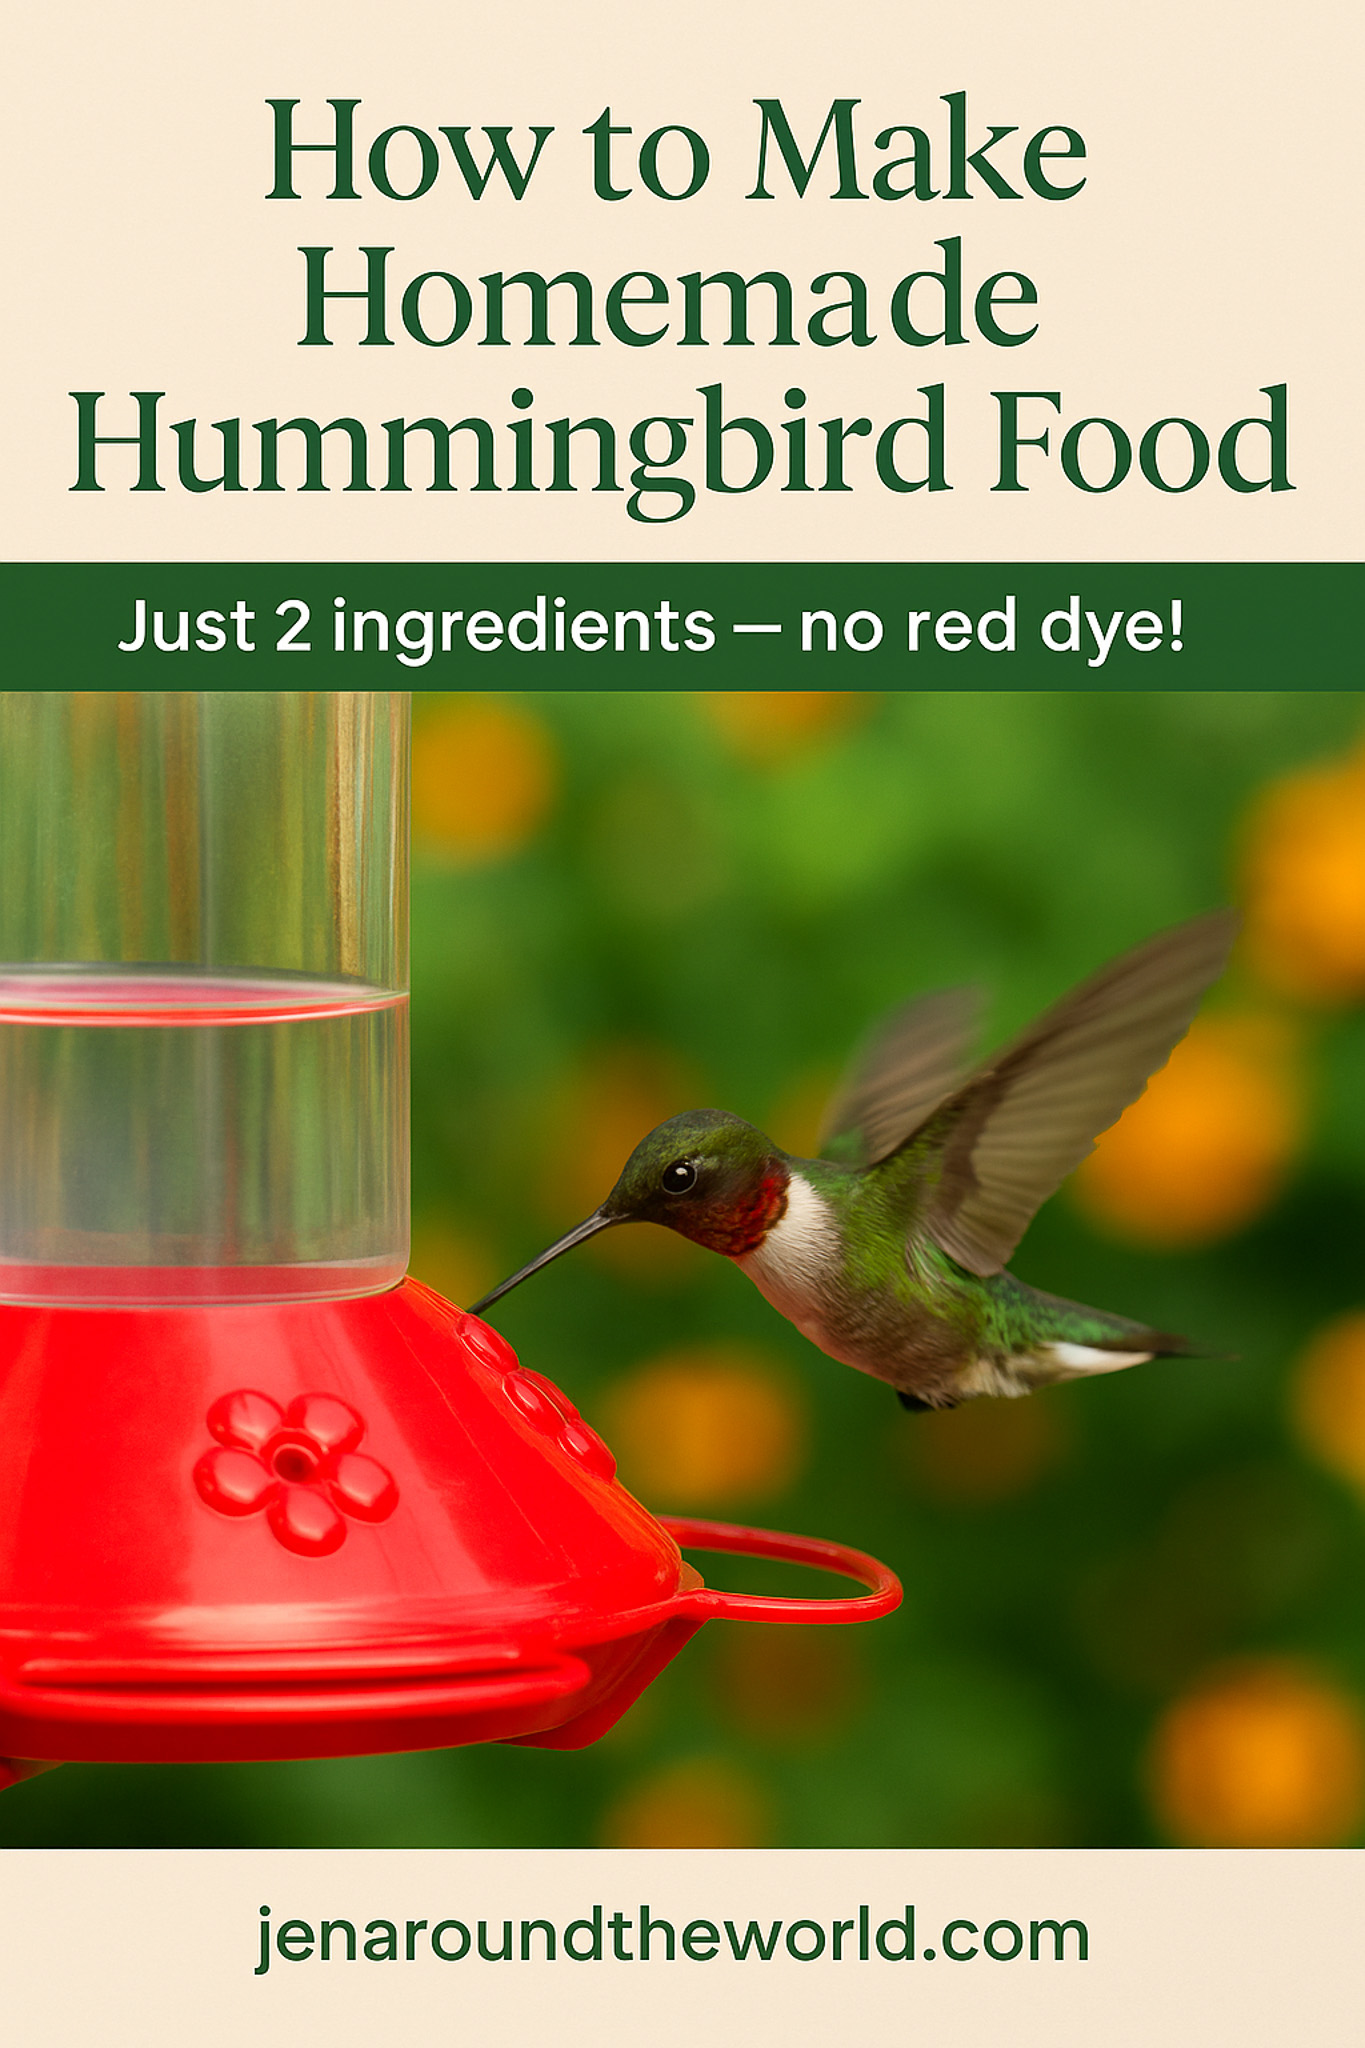

Not only is homemade hummingbird nectar super easy to make, but it’s also safer and healthier for the birds compared to store-bought versions with red dye and unnecessary additives.
Today, I'm going to show you just how simple it is to whip up a batch of fresh hummingbird food using just two ingredients—yep, that's it!

🐦 Why Make Your Own Hummingbird Food?
Making hummingbird food has a few great benefits:
- It's cost-effective – Just sugar and water!
- It’s healthier – No artificial colors or preservatives.
- It’s fresh – You control how often you clean and refill the feeder.
Hummingbirds rely heavily on a high-energy diet, and this sugar-water mix mimics the natural nectar they find in flowers.
🧂 Ingredients You’ll Need
- 1 cup granulated white sugar (DO NOT use honey, brown sugar, or artificial sweeteners)
- 4 cups water

This simple 1:4 sugar-to-water ratio is the magic formula for happy, healthy hummingbirds.
🥣 How to Make It
- Boil the Water
Bring 4 cups of water to a boil. Boiling helps purify the water and makes it easier for the sugar to dissolve. - Add the Sugar
Stir in 1 cup of granulated sugar until it’s completely dissolved. - Let It Cool
Allow the nectar to cool completely to room temperature before pouring it into your hummingbird feeder. - Fill Your Feeder
Pour the cooled nectar into a clean hummingbird feeder and hang it outdoors in a shady spot.
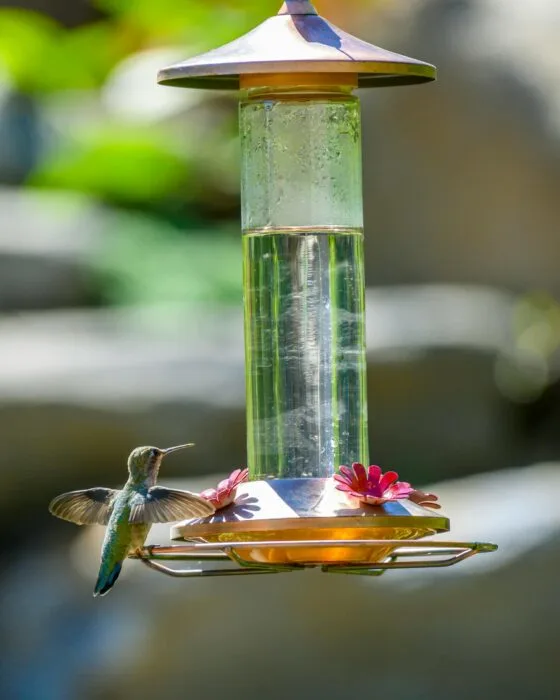
If you want to attract hummingbirds, just put out this nectar and they will come! If you need to purchase some hummingbird feeders, our favorite is the glass ones that you can find here.

Also — if you use Shepherd's hook as we do, you will need to spray it down with something to keep the ants away. We use wd-40, but anything can be used to keep the pole slick.
🚫 A Few Important Tips
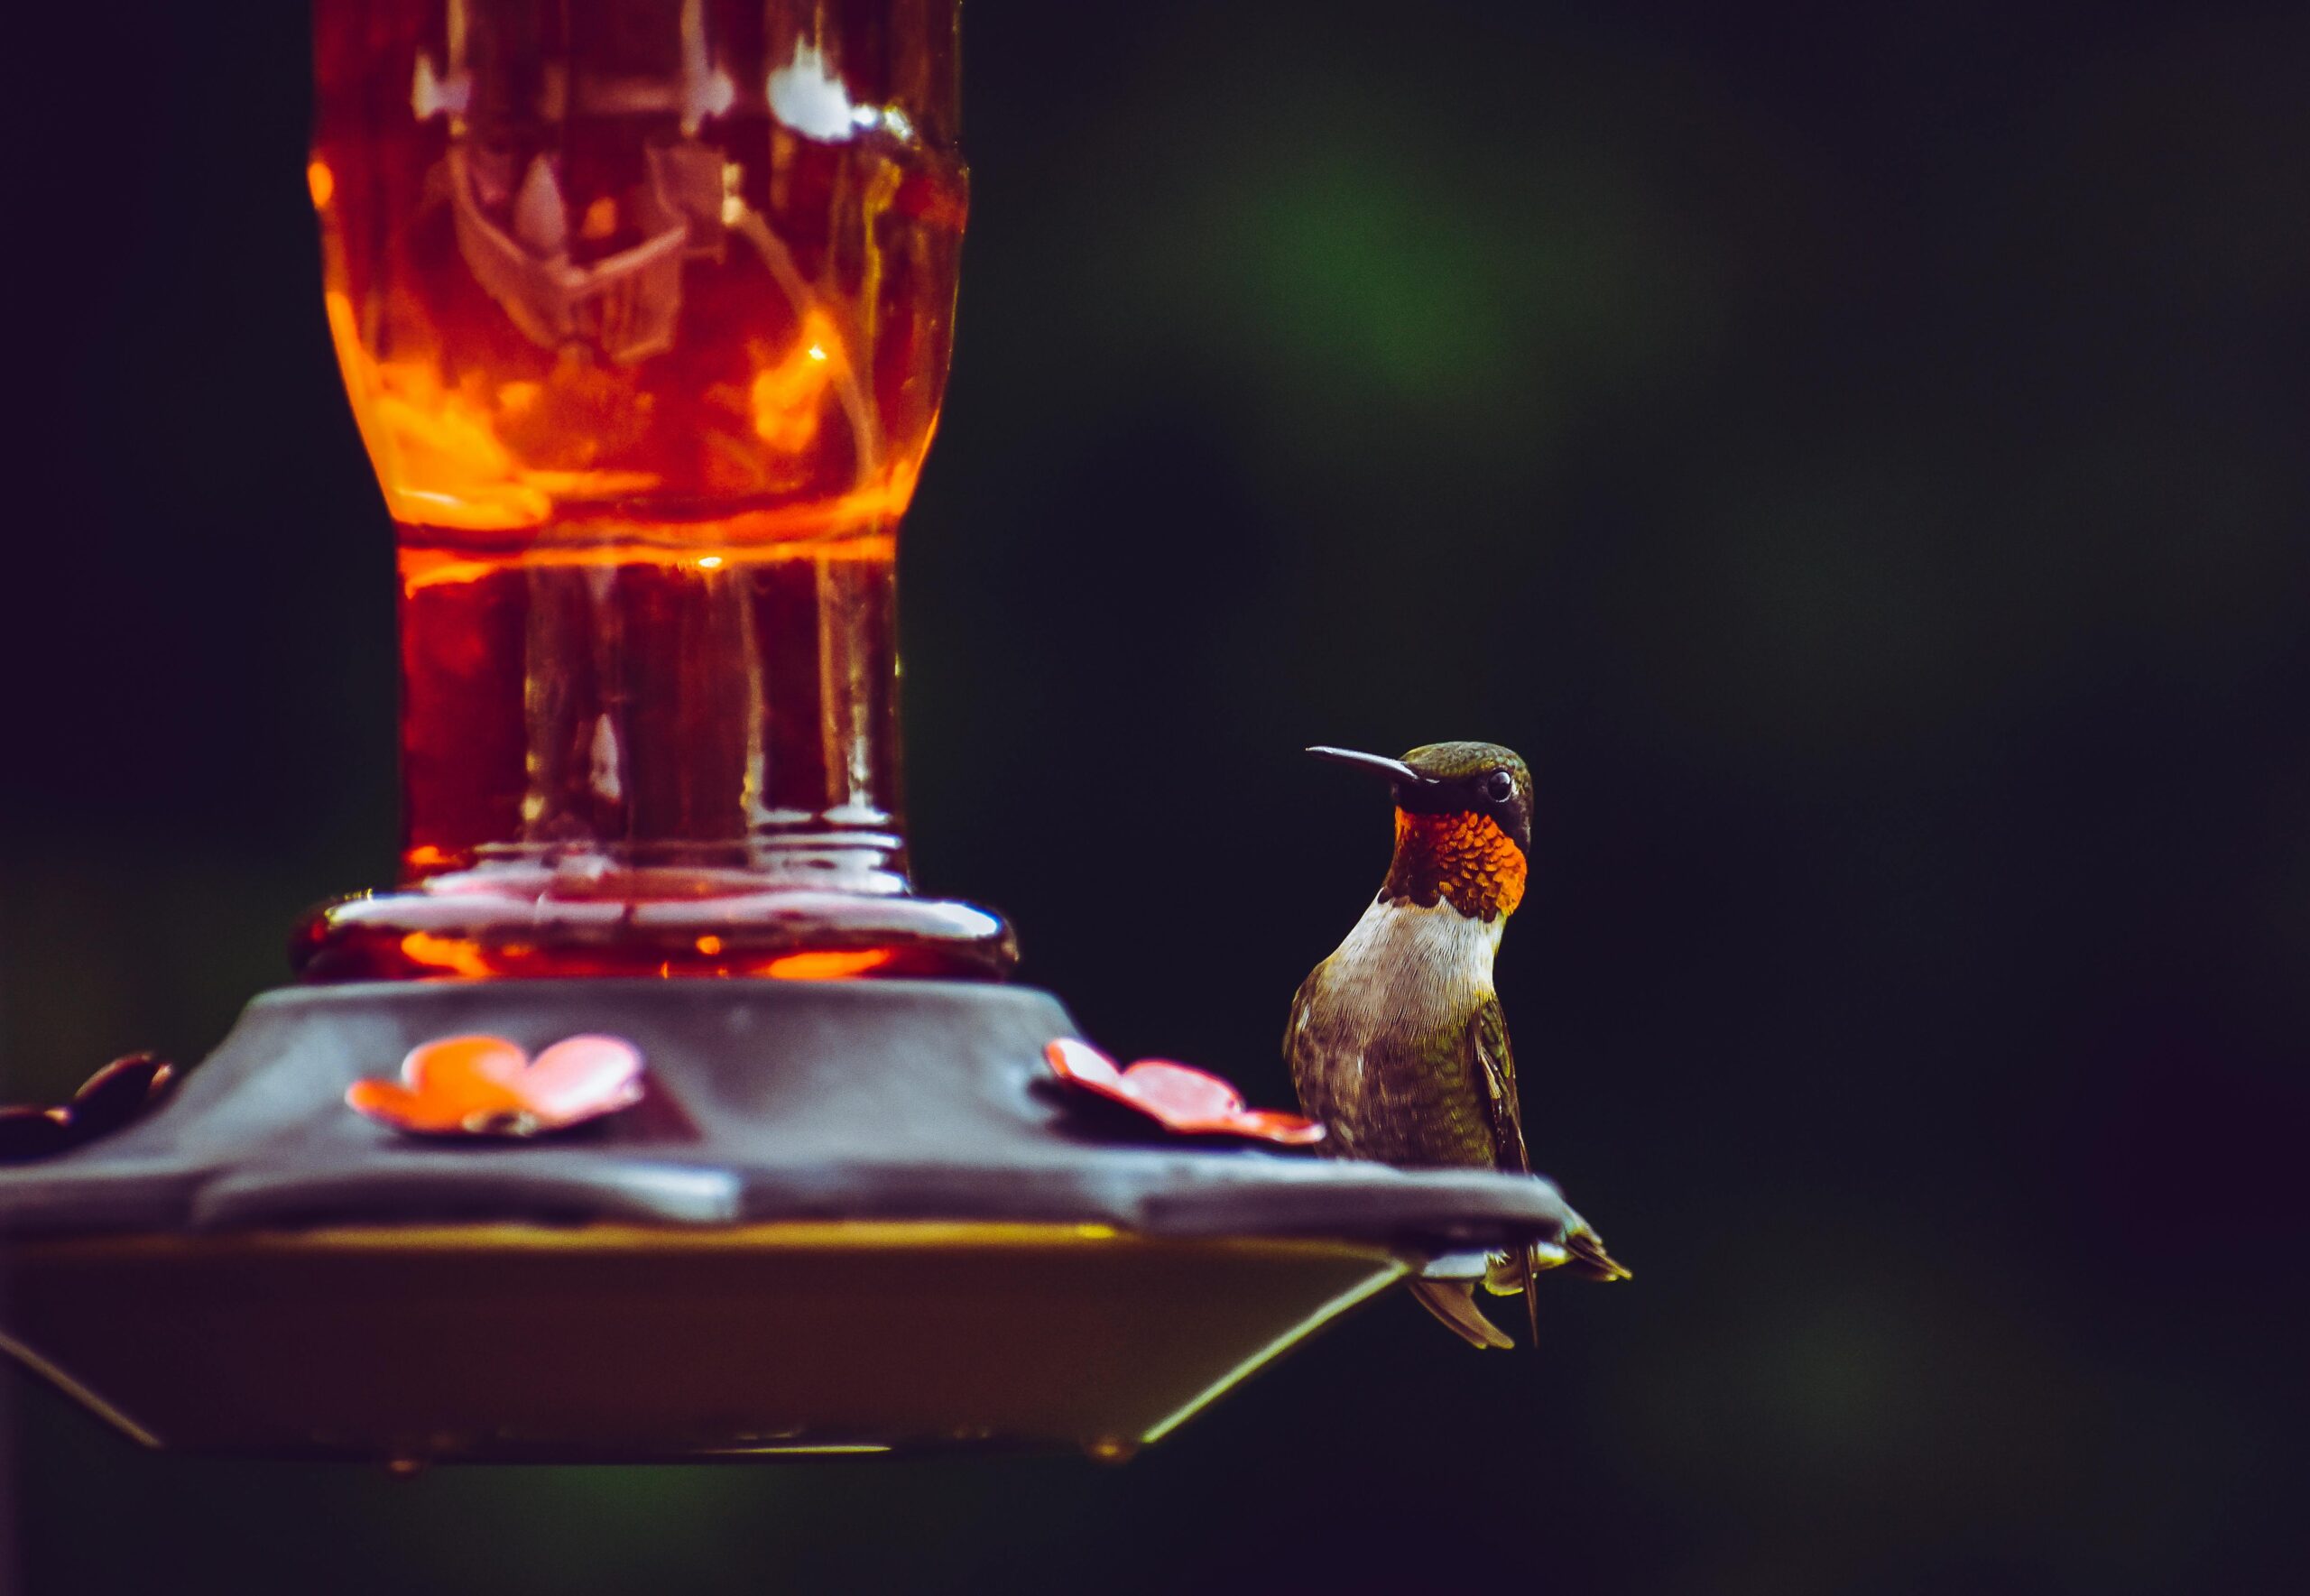
- No Red Dye! Hummingbirds are attracted to the color red, but the dye can be harmful. Instead, use a red-colored feeder.
- Clean Regularly – Rinse out your feeder and refill it every 2–3 days, more often in hot weather, to prevent mold and fermentation.
- Store Extras Safely – You can store leftover nectar in the refrigerator for up to a week.
🌸 Attracting Hummingbirds Naturally
Want to go the extra mile? Plant hummingbird-friendly flowers like bee balm, salvia, trumpet vine, and zinnias. These not only add beautiful color to your garden but provide natural food sources too.
Final Thoughts
Making your own hummingbird food is a fun and rewarding way to connect with nature. It takes just minutes but brings joy all season long. So grab that sugar, boil some water, and get ready to welcome these delightful visitors to your backyard.
Have you spotted any hummingbirds yet this year? I’d love to hear your stories—drop a comment below or tag me on social media @jenaroundtheworld!
How to Make Your Own Hummingbird Food

The hummers love this homemade sugary water food.
Ingredients
- 4 cups of water
- 1 cup of sugar
Instructions
- Combine the sugar and water into a pan on the stove. Turn the eye on high and bring to a boil. Let it boil for 2 minutes.
- Turn the eye off and move to a cool place on the stove. Let it sit until it cools to room temperature. Put in a container and place in the refrigerator.
Nutrition Information:
Yield:
100Serving Size:
1Amount Per Serving: Calories: 8Total Fat: 0gSaturated Fat: 0gTrans Fat: 0gUnsaturated Fat: 0gCholesterol: 0mgSodium: 0mgCarbohydrates: 2gFiber: 0gSugar: 2gProtein: 0g