

If you’re looking for a simple, budget-friendly way to elevate your garden, painting rocks for garden herb markers is one of the easiest DIY projects you can try.
Not only does it add personality to your herb garden, but it also helps you keep track of what’s growing—especially when everything starts looking the same!
This fun craft is perfect for beginners, families, and anyone who loves combining creativity with gardening. Plus, it’s a great way to reuse natural materials and create something truly unique.
Why Use Painted Rock Herb Markers?
Painted rocks aren’t just cute—they’re practical too! Here’s why gardeners love them:
- Weather-resistant (with the right sealant)
- Eco-friendly and reusable
- Budget-friendly (hello, free rocks!)
- Customizable to match your garden style
- Kid-friendly DIY project
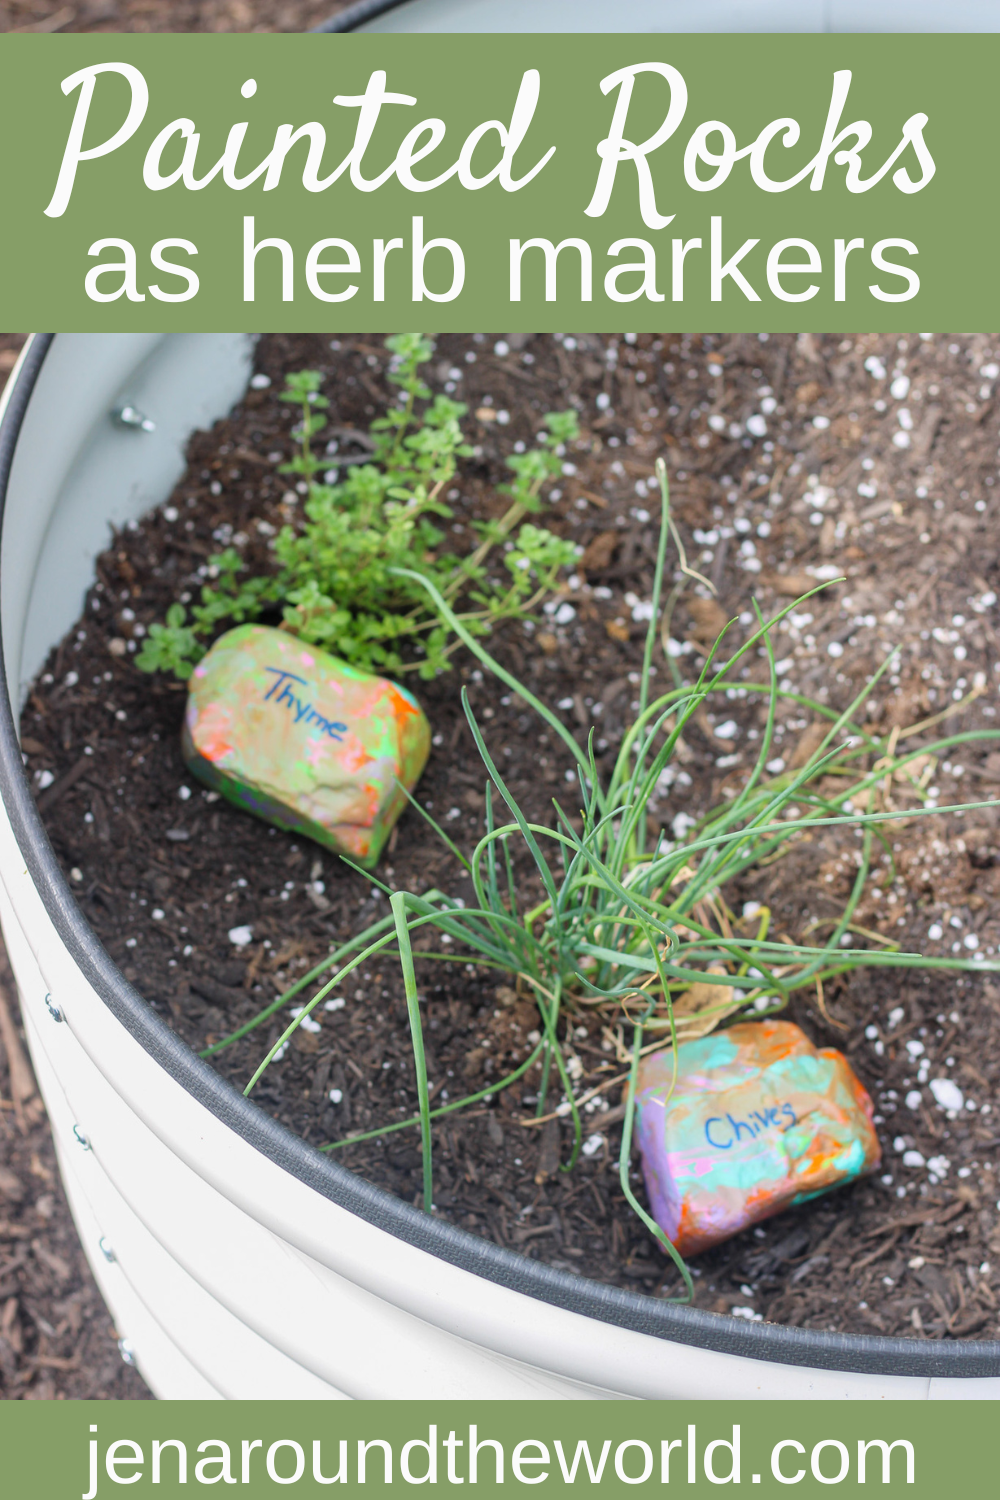
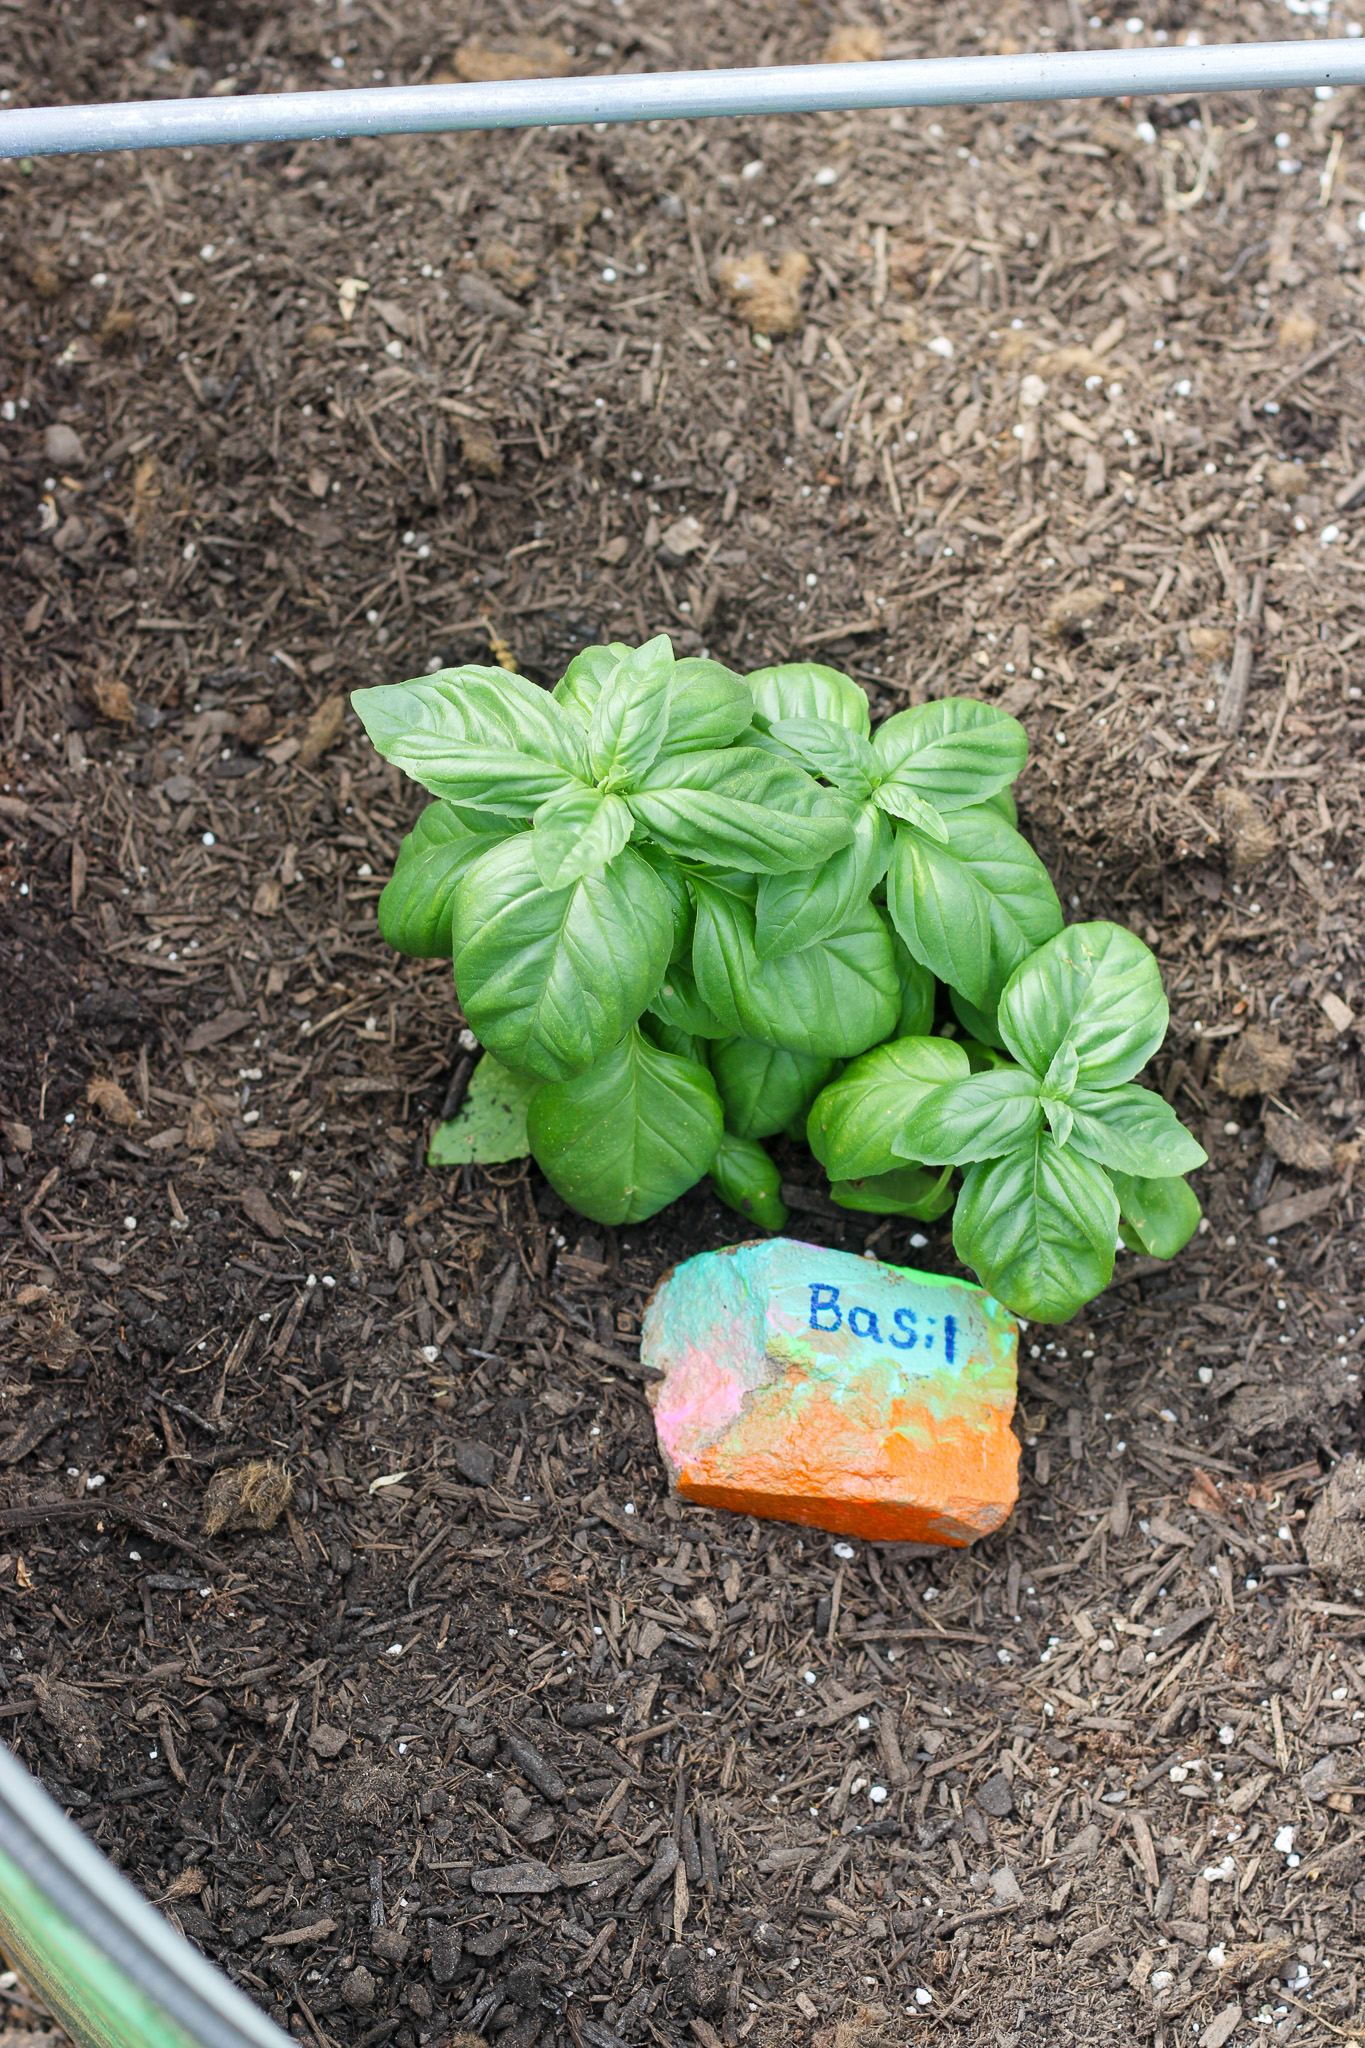
Whether you’re growing basil, rosemary, thyme, or mint, these markers make it easy to identify each herb at a glance. This will really elevate your herb garden, and if you need help creating a garden space, check out how to build an herb garden out of a pallet.
Supplies You’ll Need
Before you start painting rocks for garden herb markers, gather these simple supplies:
- Smooth, flat rocks (river rocks work best)
- Acrylic paint (variety of colors)
- Paint pens or permanent markers
- Small paintbrushes
- Pencil (for sketching)
- Clear outdoor sealant spray
- Paper towels or cloth
How to Make Painted Rock Herb Markers
1. Clean Your Rocks
Wash your rocks with warm, soapy water and let them dry completely. This helps the paint stick better.
2. Choose Your Design
Decide how you want your herb markers to look. You can:
- Paint the entire rock one color
- Leave it natural with painted lettering
- Add small herb illustrations (like basil leaves or rosemary sprigs)
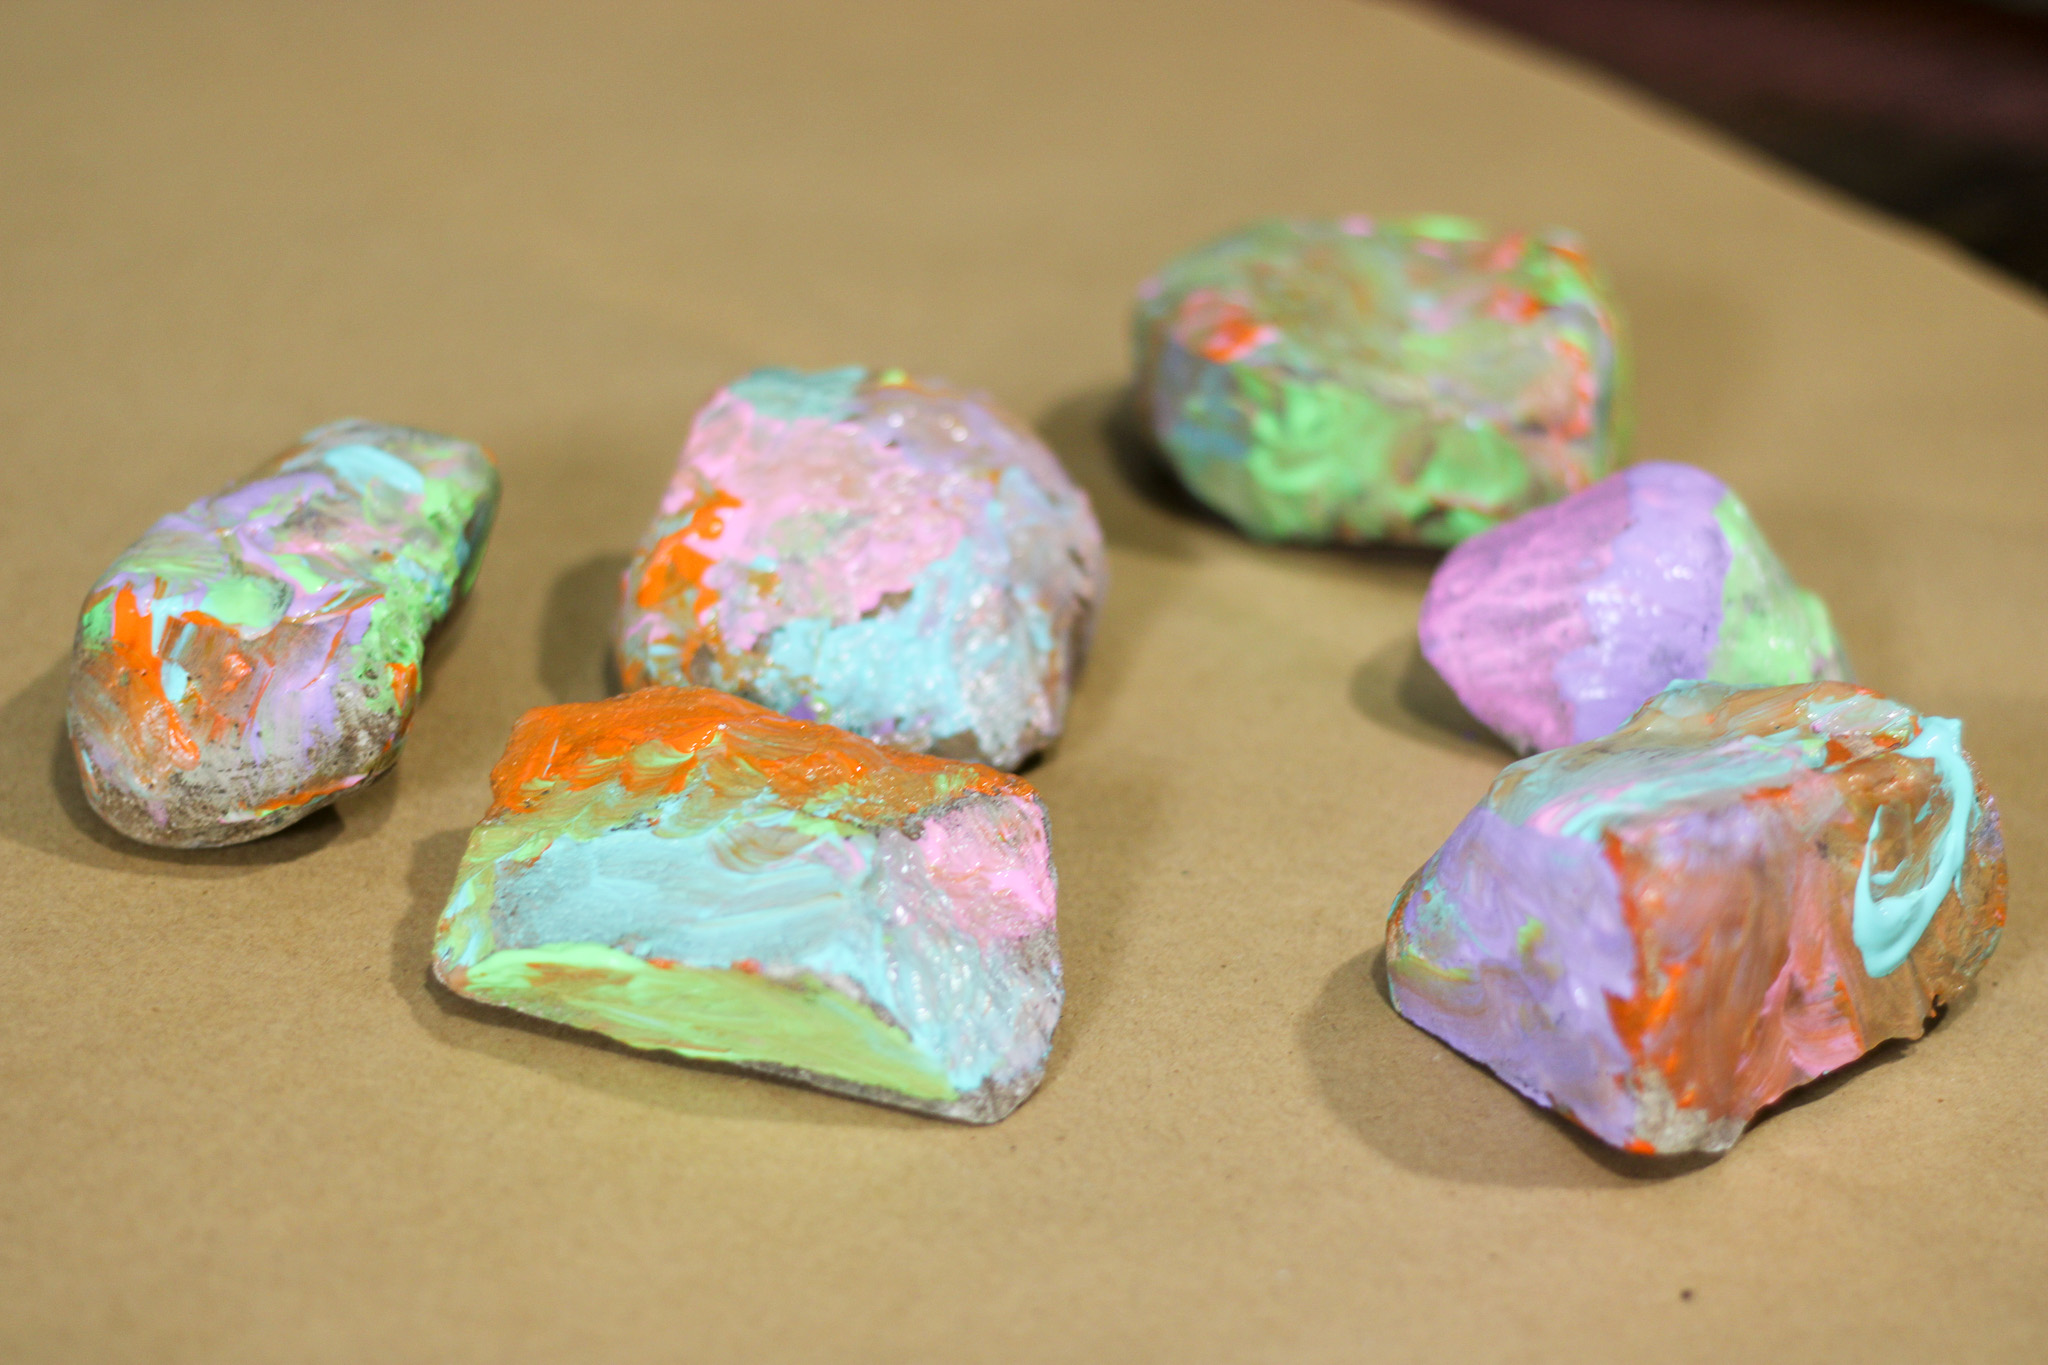
3. Paint the Base Layer
Apply a base coat and let it dry. You may need 2 coats for full coverage.
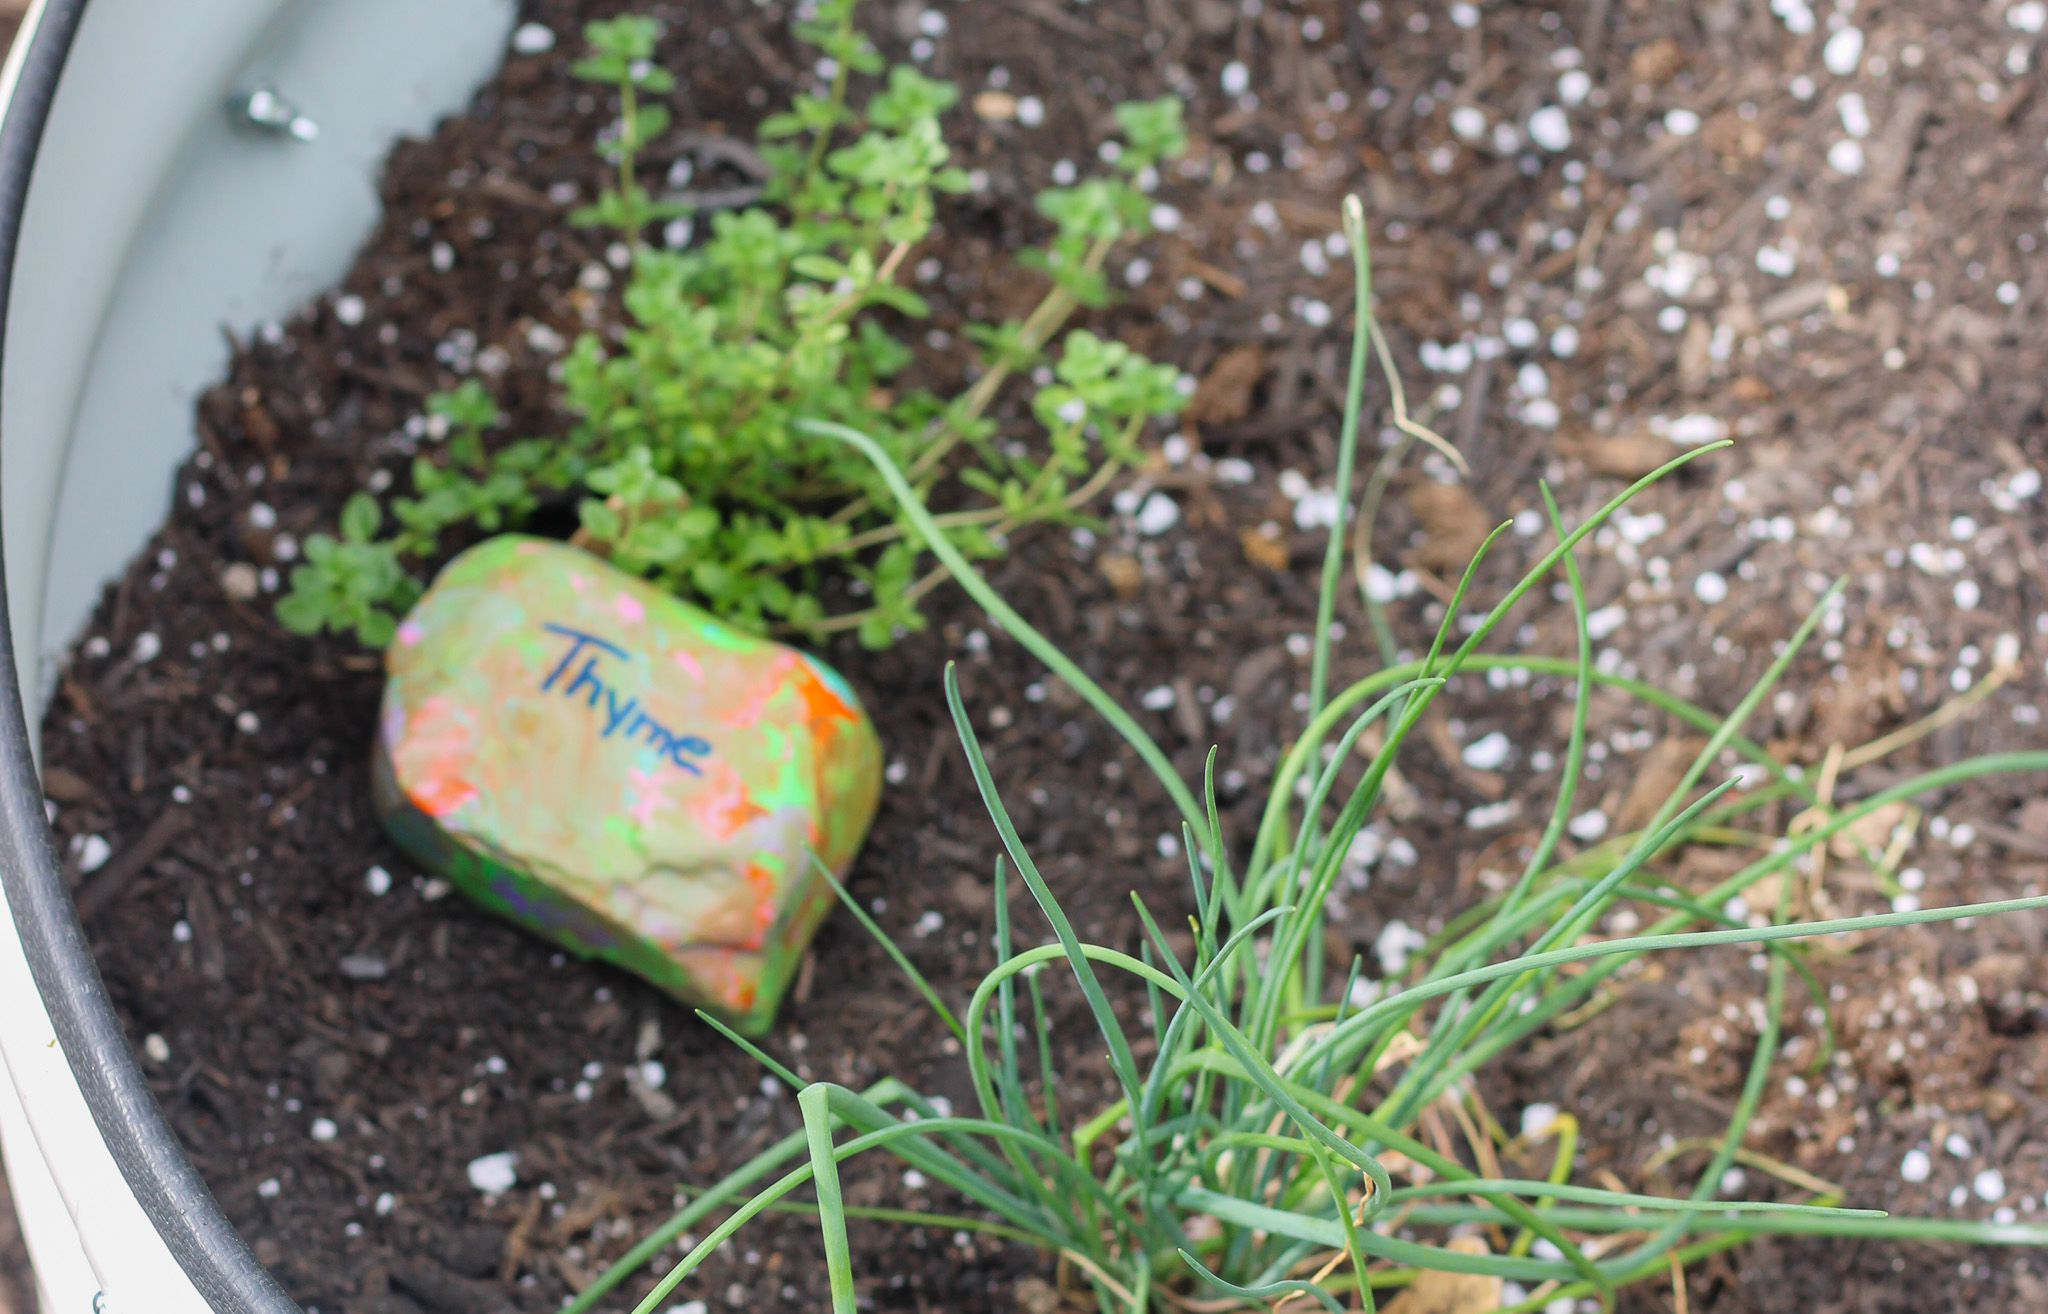
4. Add Herb Names
Using a paint pen or fine brush, write the name of each herb:
- Basil
- Thyme
- Rosemary
- Mint
- Parsley
- Cilantro
Tip: Lightly sketch the word with a pencil first for better spacing.
6. Seal Your Rocks
Once everything is completely dry, spray with a clear outdoor sealant. This protects your painted herb markers from rain, sun, and fading.
Best Herbs to Label with Rock Markers
If you're building a kitchen garden, these are great herbs to include:
- Basil
- Oregano
- Thyme
- Rosemary
- Sage
- Dill
- Chives
Having clearly labeled markers makes harvesting easier—especially if you’re new to gardening.
Tips for Long-Lasting Garden Rock Markers
- Use weatherproof acrylic paint
- Always seal with an outdoor UV-resistant spray
- Choose light-colored rocks for better visibility
- Reapply sealant each season if needed
- Keep markers slightly elevated to avoid constant moisture
Creative Ideas for Painted Herb Rocks
Want to take your DIY herb garden markers to the next level?
- Paint rocks to look like the herb (green for basil, purple for lavender)
- Use hand-lettered calligraphy for a farmhouse vibe
- Create themed sets (rustic, modern, cottage garden)
- Add glow-in-the-dark paint for nighttime gardens
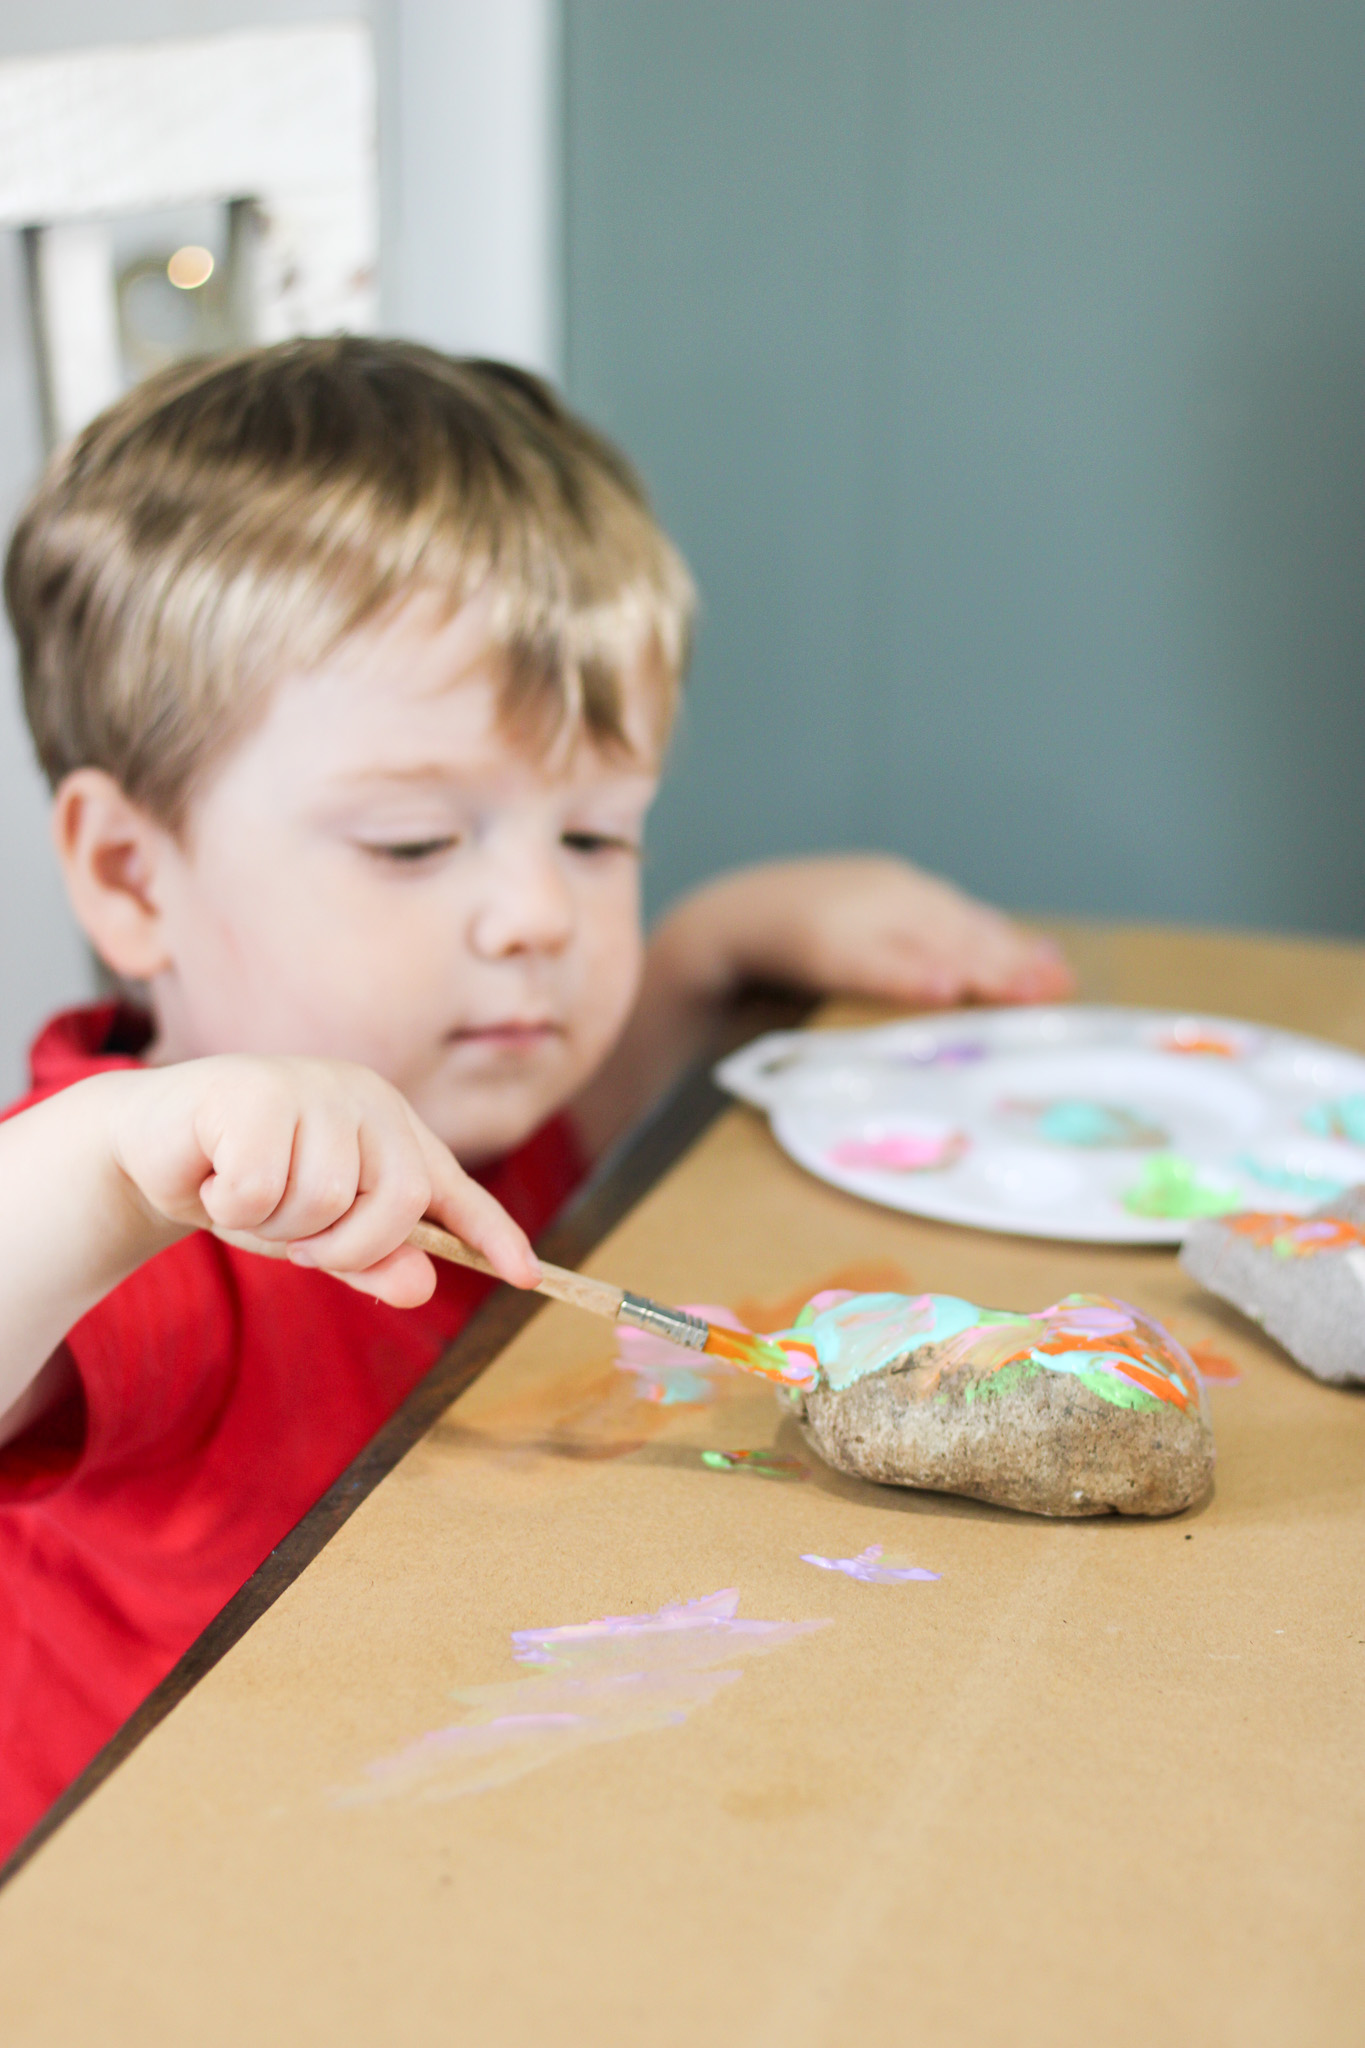
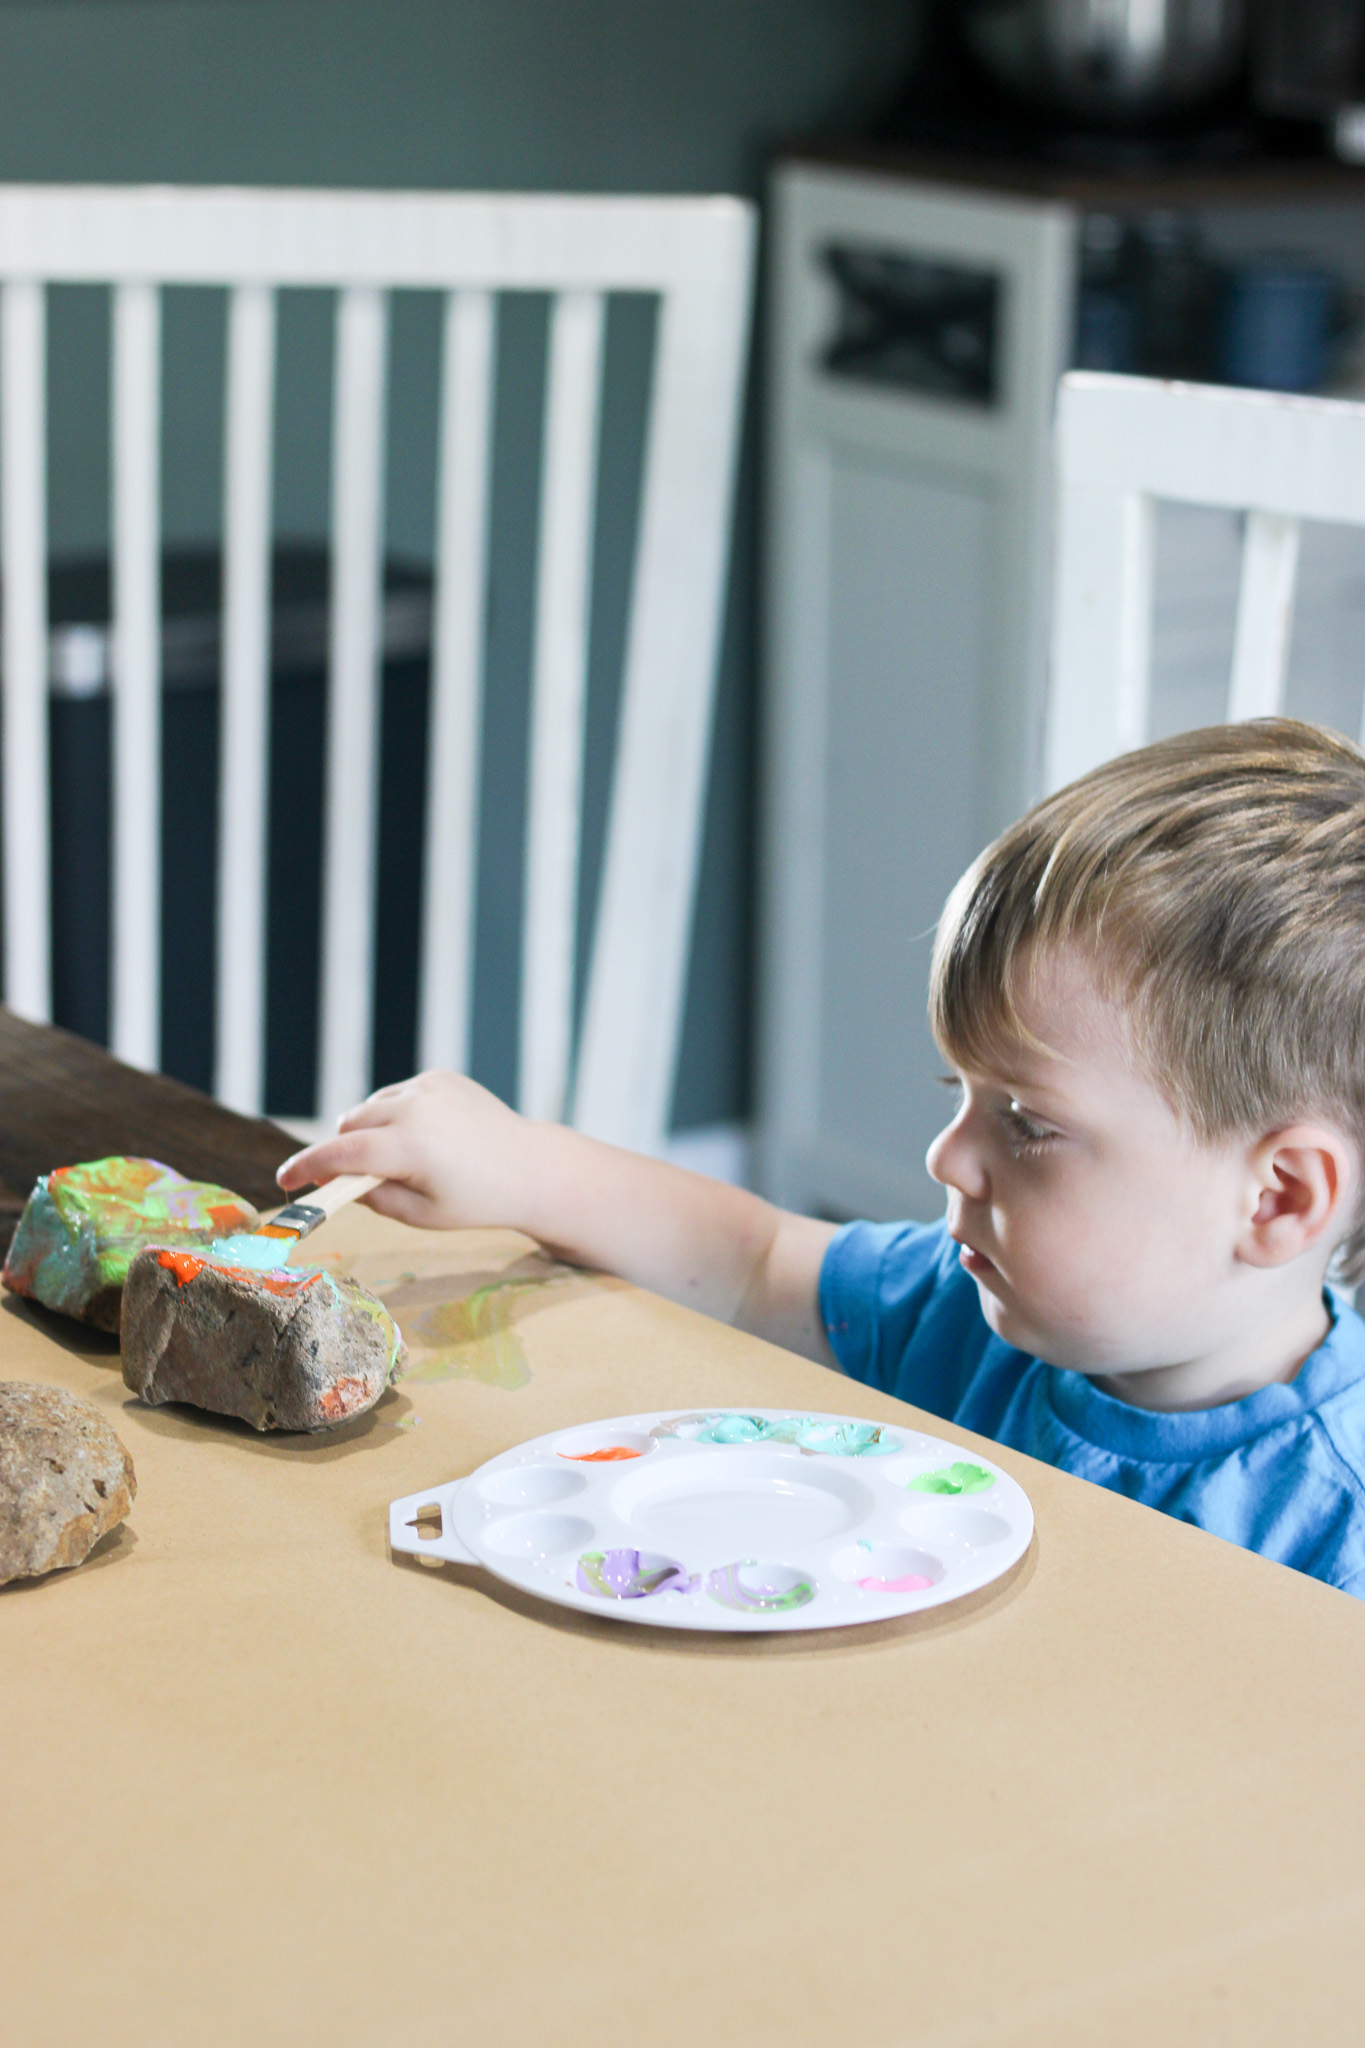
Make It a Family-Friendly DIY Project
One of the best things about painting rocks for garden herb markers is that it’s perfect for kids. Let them:
- Pick their favorite herbs
- Paint fun colors and designs
- Practice writing herb names
It’s a great way to get them involved in gardening while encouraging creativity.
Final Thoughts
Painting rocks for garden herb markers is a simple DIY that brings both beauty and function to your garden. Whether you’re planting a full herb bed or just a few pots on your porch, these handmade markers add a personal touch you won’t find in store-bought options.
Plus, it’s a relaxing project you can do in an afternoon—and enjoy all season long.