

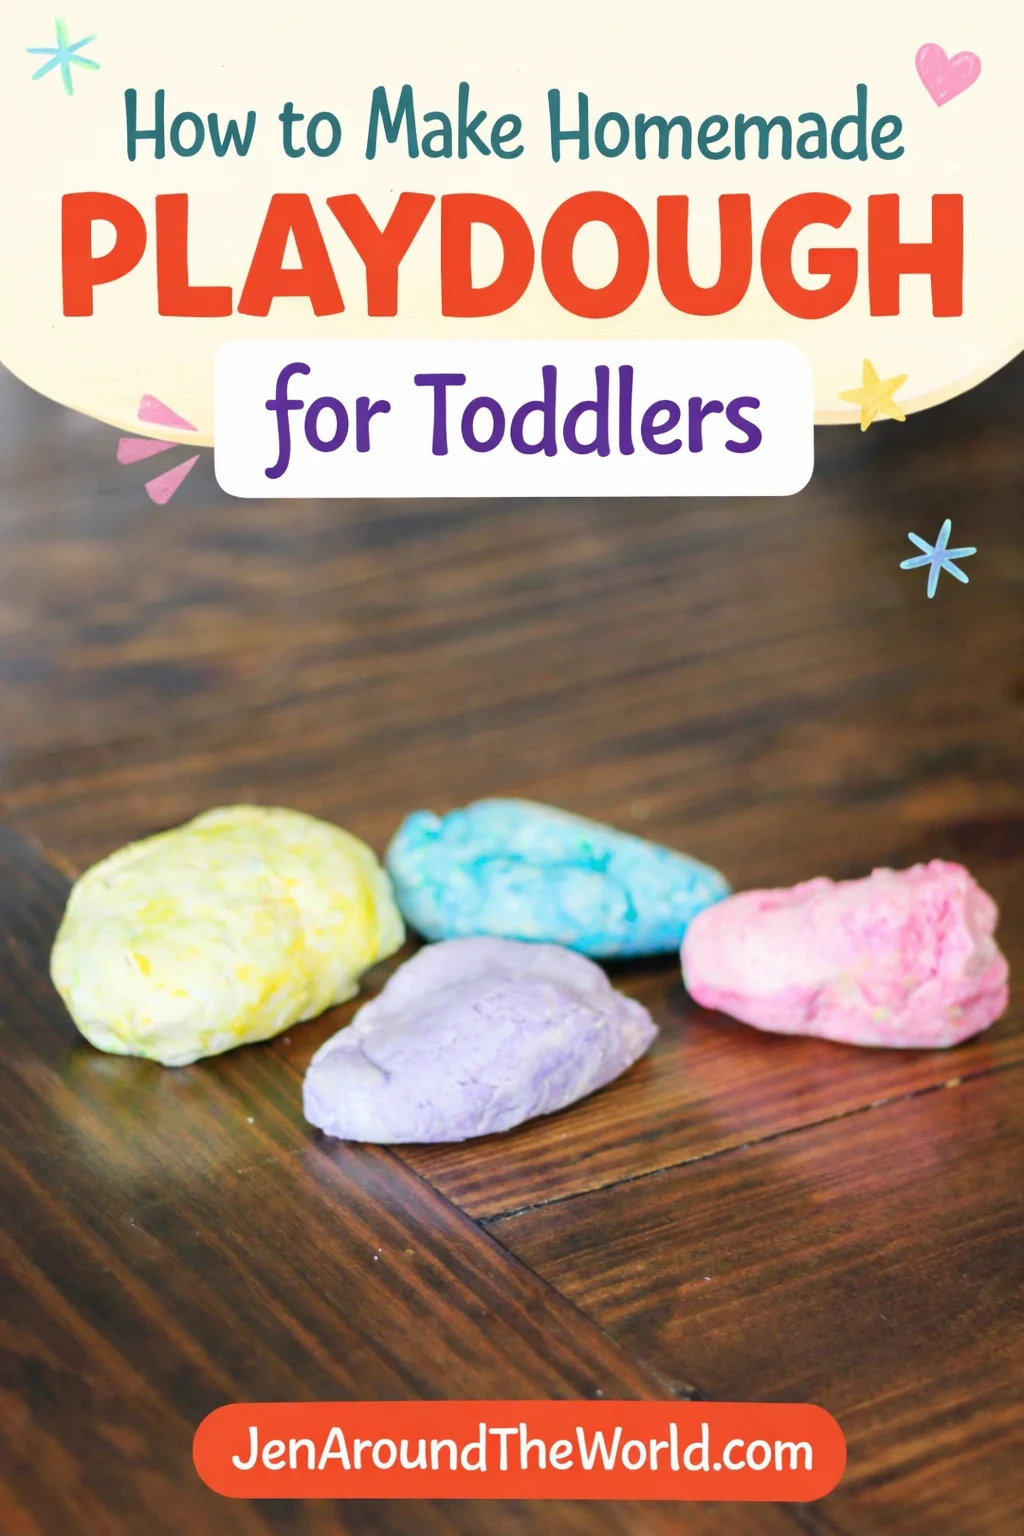
There is just something magical about setting a lump of soft, squishy homemade playdough in front of a toddler and watching their imagination come to life. Homemade playdough is one of those simple, budget-friendly activities that keeps little hands busy and creative minds engaged for hours.
If you’re looking for an easy sensory activity that doesn’t require a trip to the store, this homemade playdough recipe is perfect. You probably already have everything you need in your kitchen!

For other fun sensory play, check out my Winter sensory bin and how to make this fun Valentine sensory water bottle.
For a complete list of toddler activities, be sure to visit my Toddler Freebies page.
Why Make Homemade Playdough?
Making your own playdough has so many benefits:
- It’s inexpensive
- You control the ingredients
- It’s softer than store-bought
- You can customize colors and scents
- It’s a wonderful sensory activity for toddlers
Plus, toddlers love helping mix and stir. It becomes part craft, part kitchen science experiment.

Homemade Playdough Ingredients
- 2 cups all-purpose flour
- ¾ cup salt
- 2 tablespoons cream of tartar
- 2 tablespoons vegetable oil
- 1½ cups warm water
- Food coloring (gel works best)
- Optional: essential oils for scent

Step-by-Step Instructions for Homemade Playdough
1. Mix the Dry Ingredients
In a medium saucepan, combine the flour, salt, and cream of tartar. Stir to evenly distribute everything.
2. Add the Wet Ingredients
Add the vegetable oil and warm water. Stir until combined. Add your desired food coloring at this stage.
3. Cook the Dough
Place the saucepan over medium heat. Stir constantly. Within a few minutes, the mixture will begin to thicken and pull away from the sides of the pan.


Keep stirring until it forms a soft ball of dough.
4. Cool and Knead
Remove from the heat and allow it to cool slightly. Once it’s safe to touch, knead the dough for a few minutes until smooth and soft.
If it feels sticky, add a tiny sprinkle of flour while kneading.
Tips for Perfect Playdough


- Gel food coloring gives brighter colors without making the dough too wet.
- Add a few drops of lavender or lemon essential oil for a calming sensory experience.
- Store in an airtight container or zip-top bag.
- Properly stored, it lasts 2–3 months.
If it starts to dry out, knead in a few drops of water to refresh it.
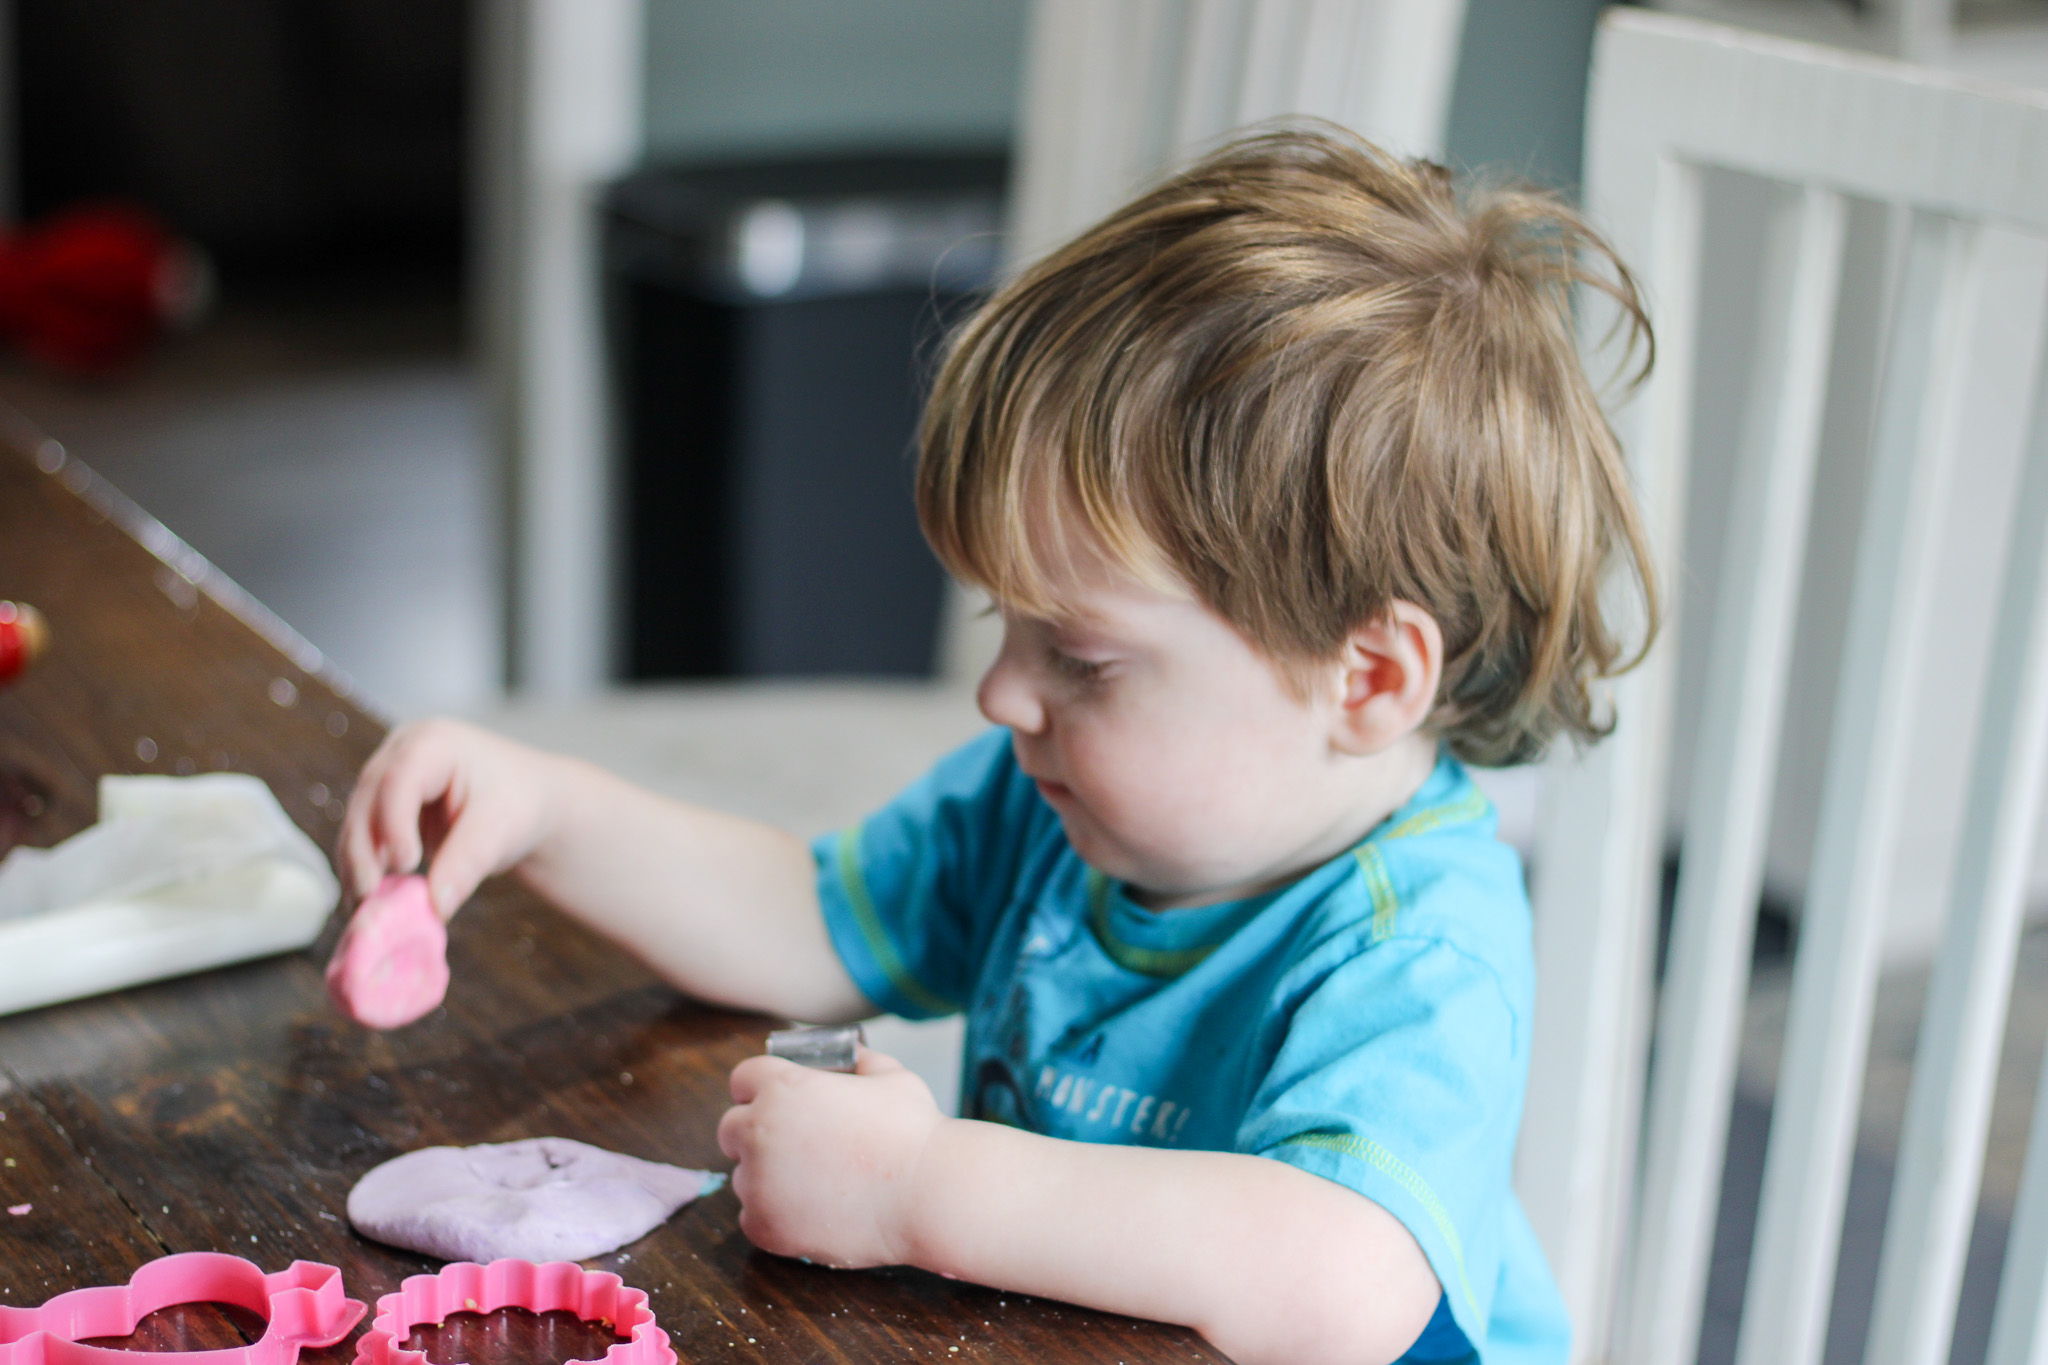

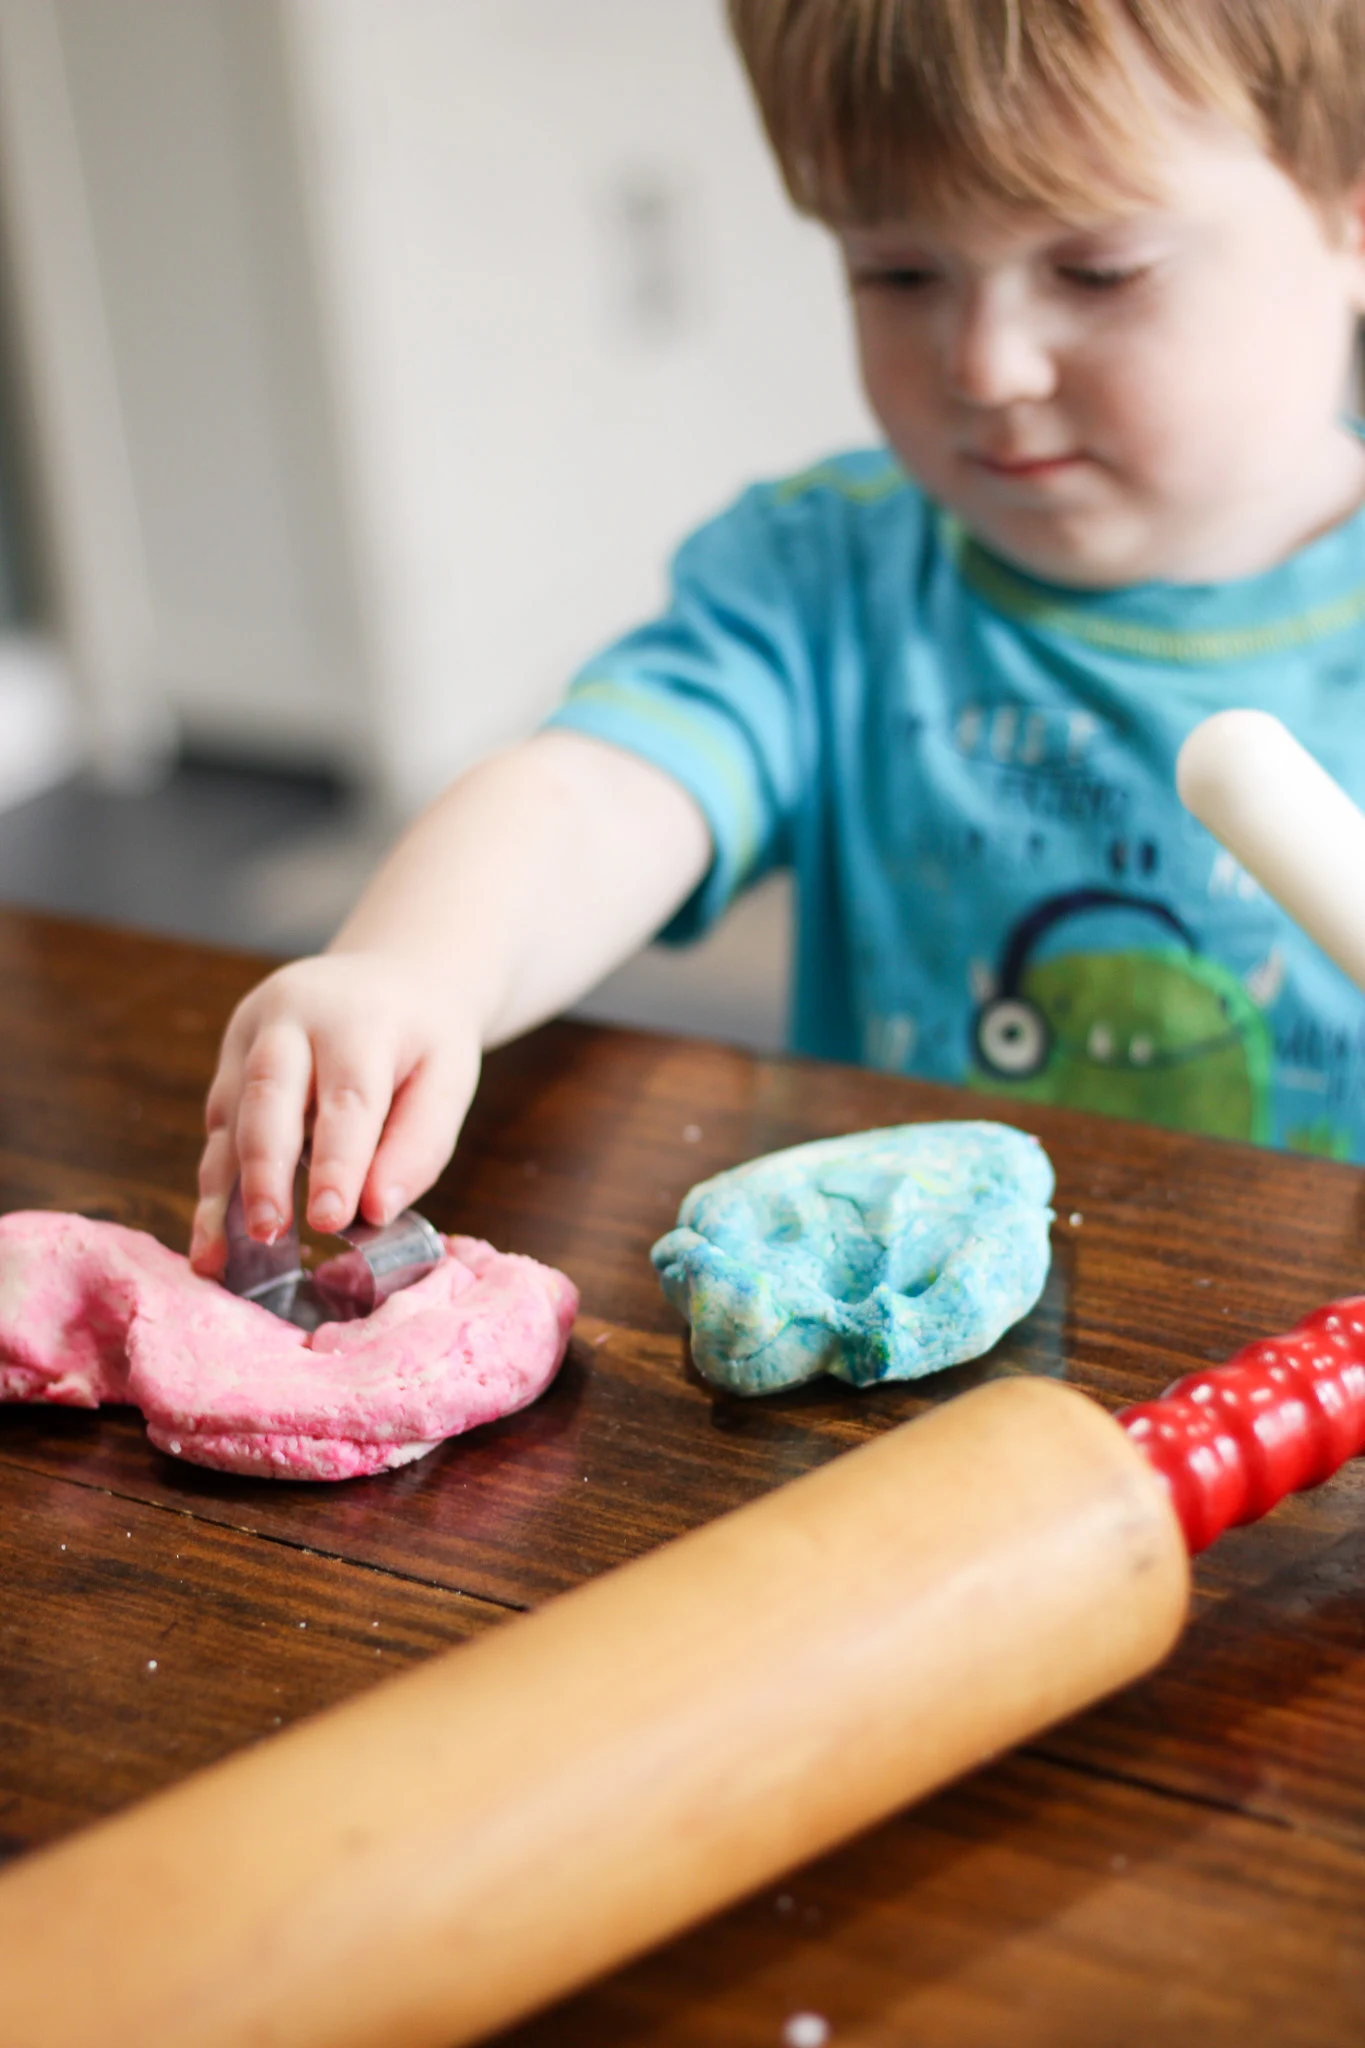
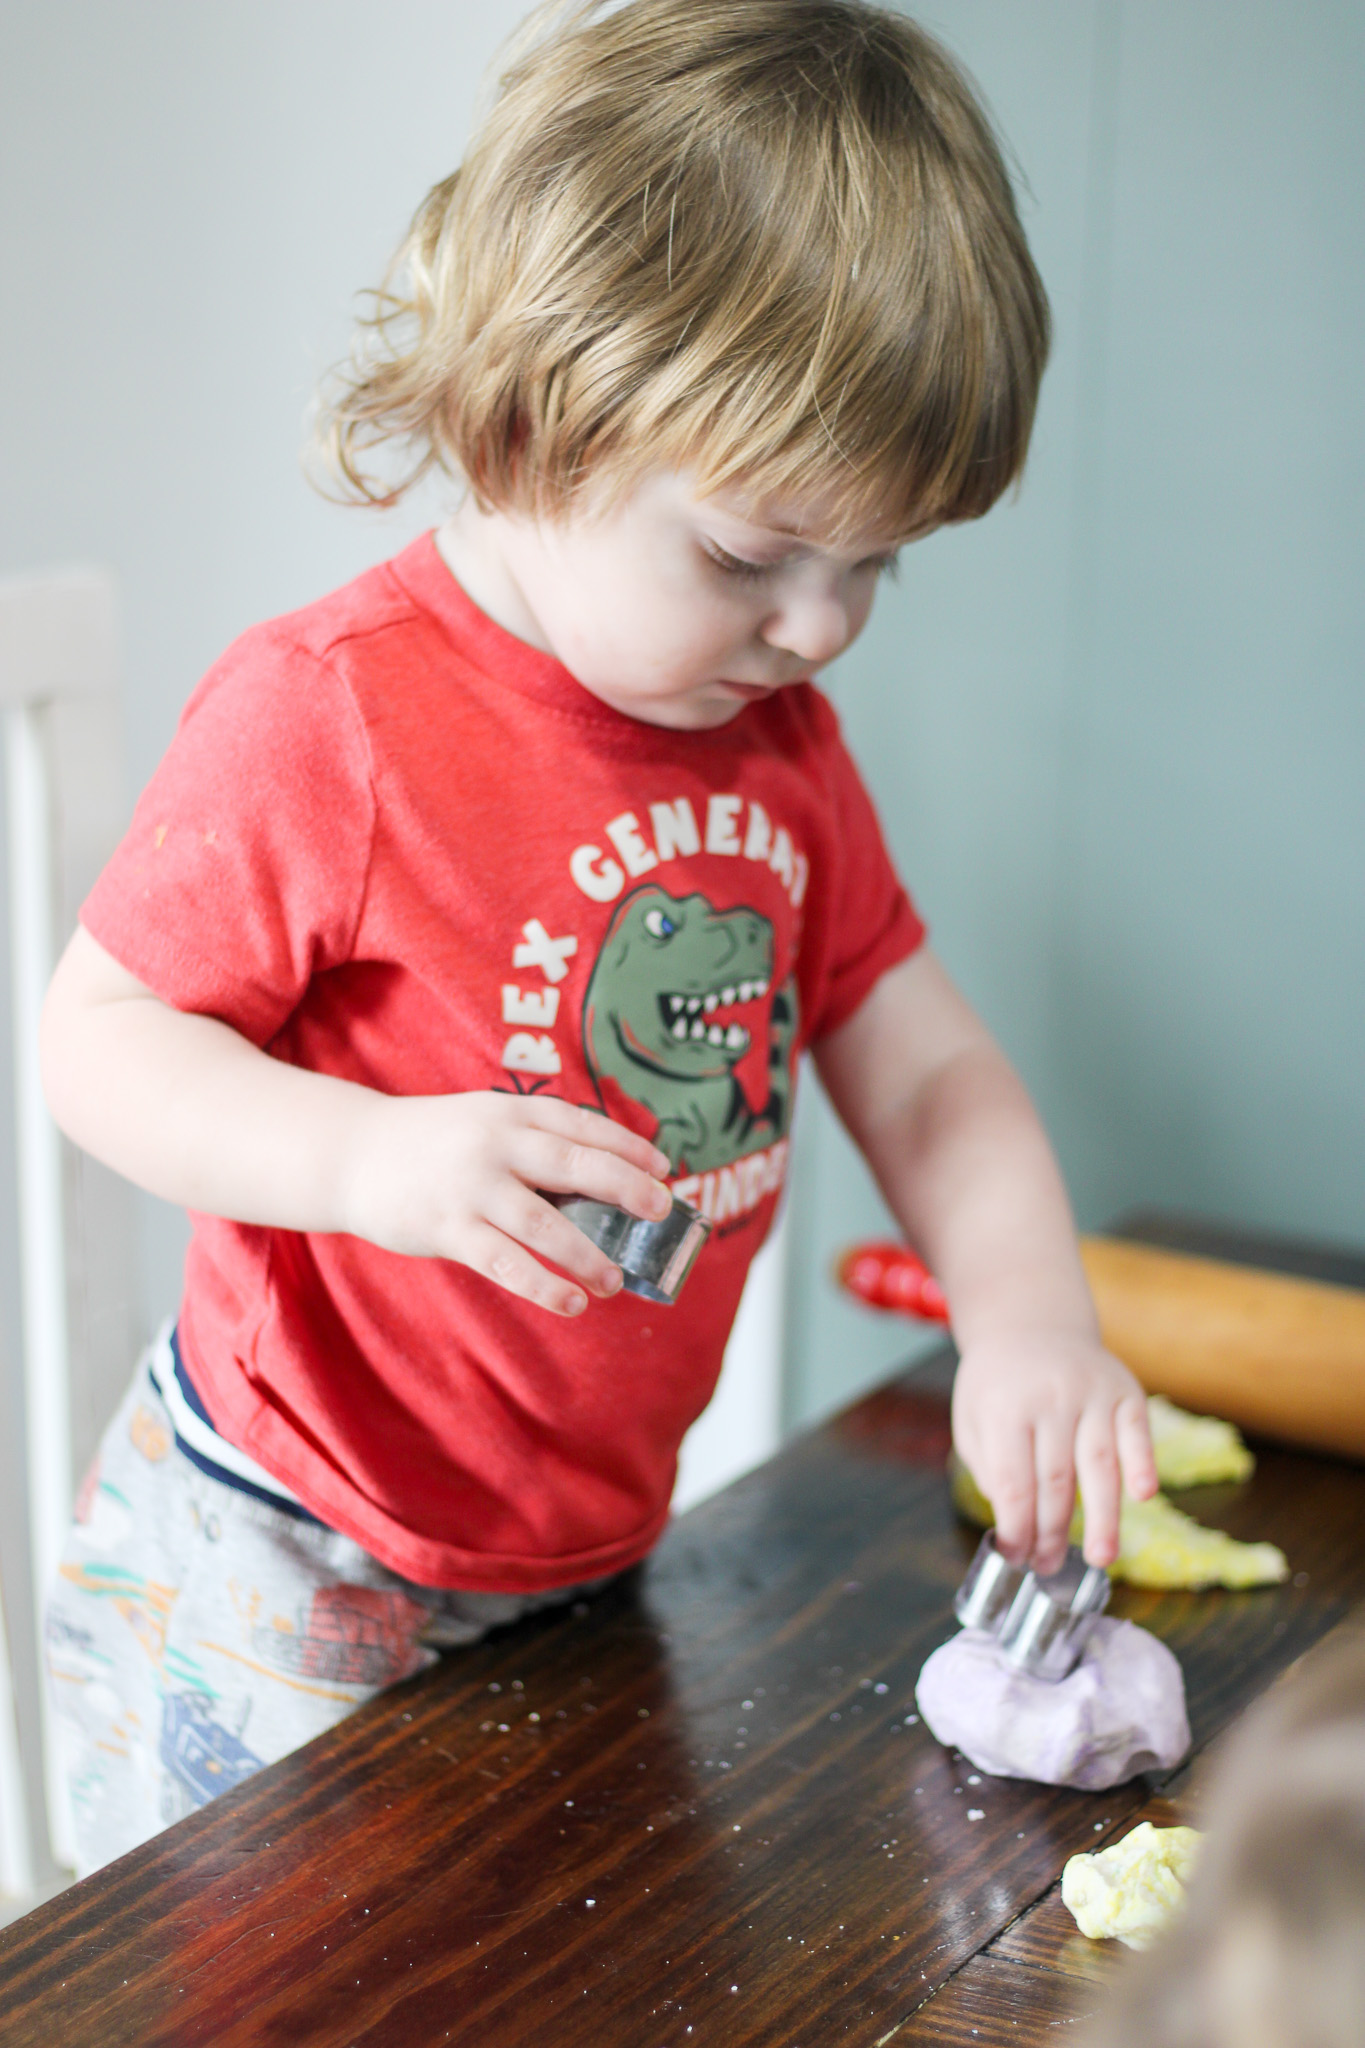
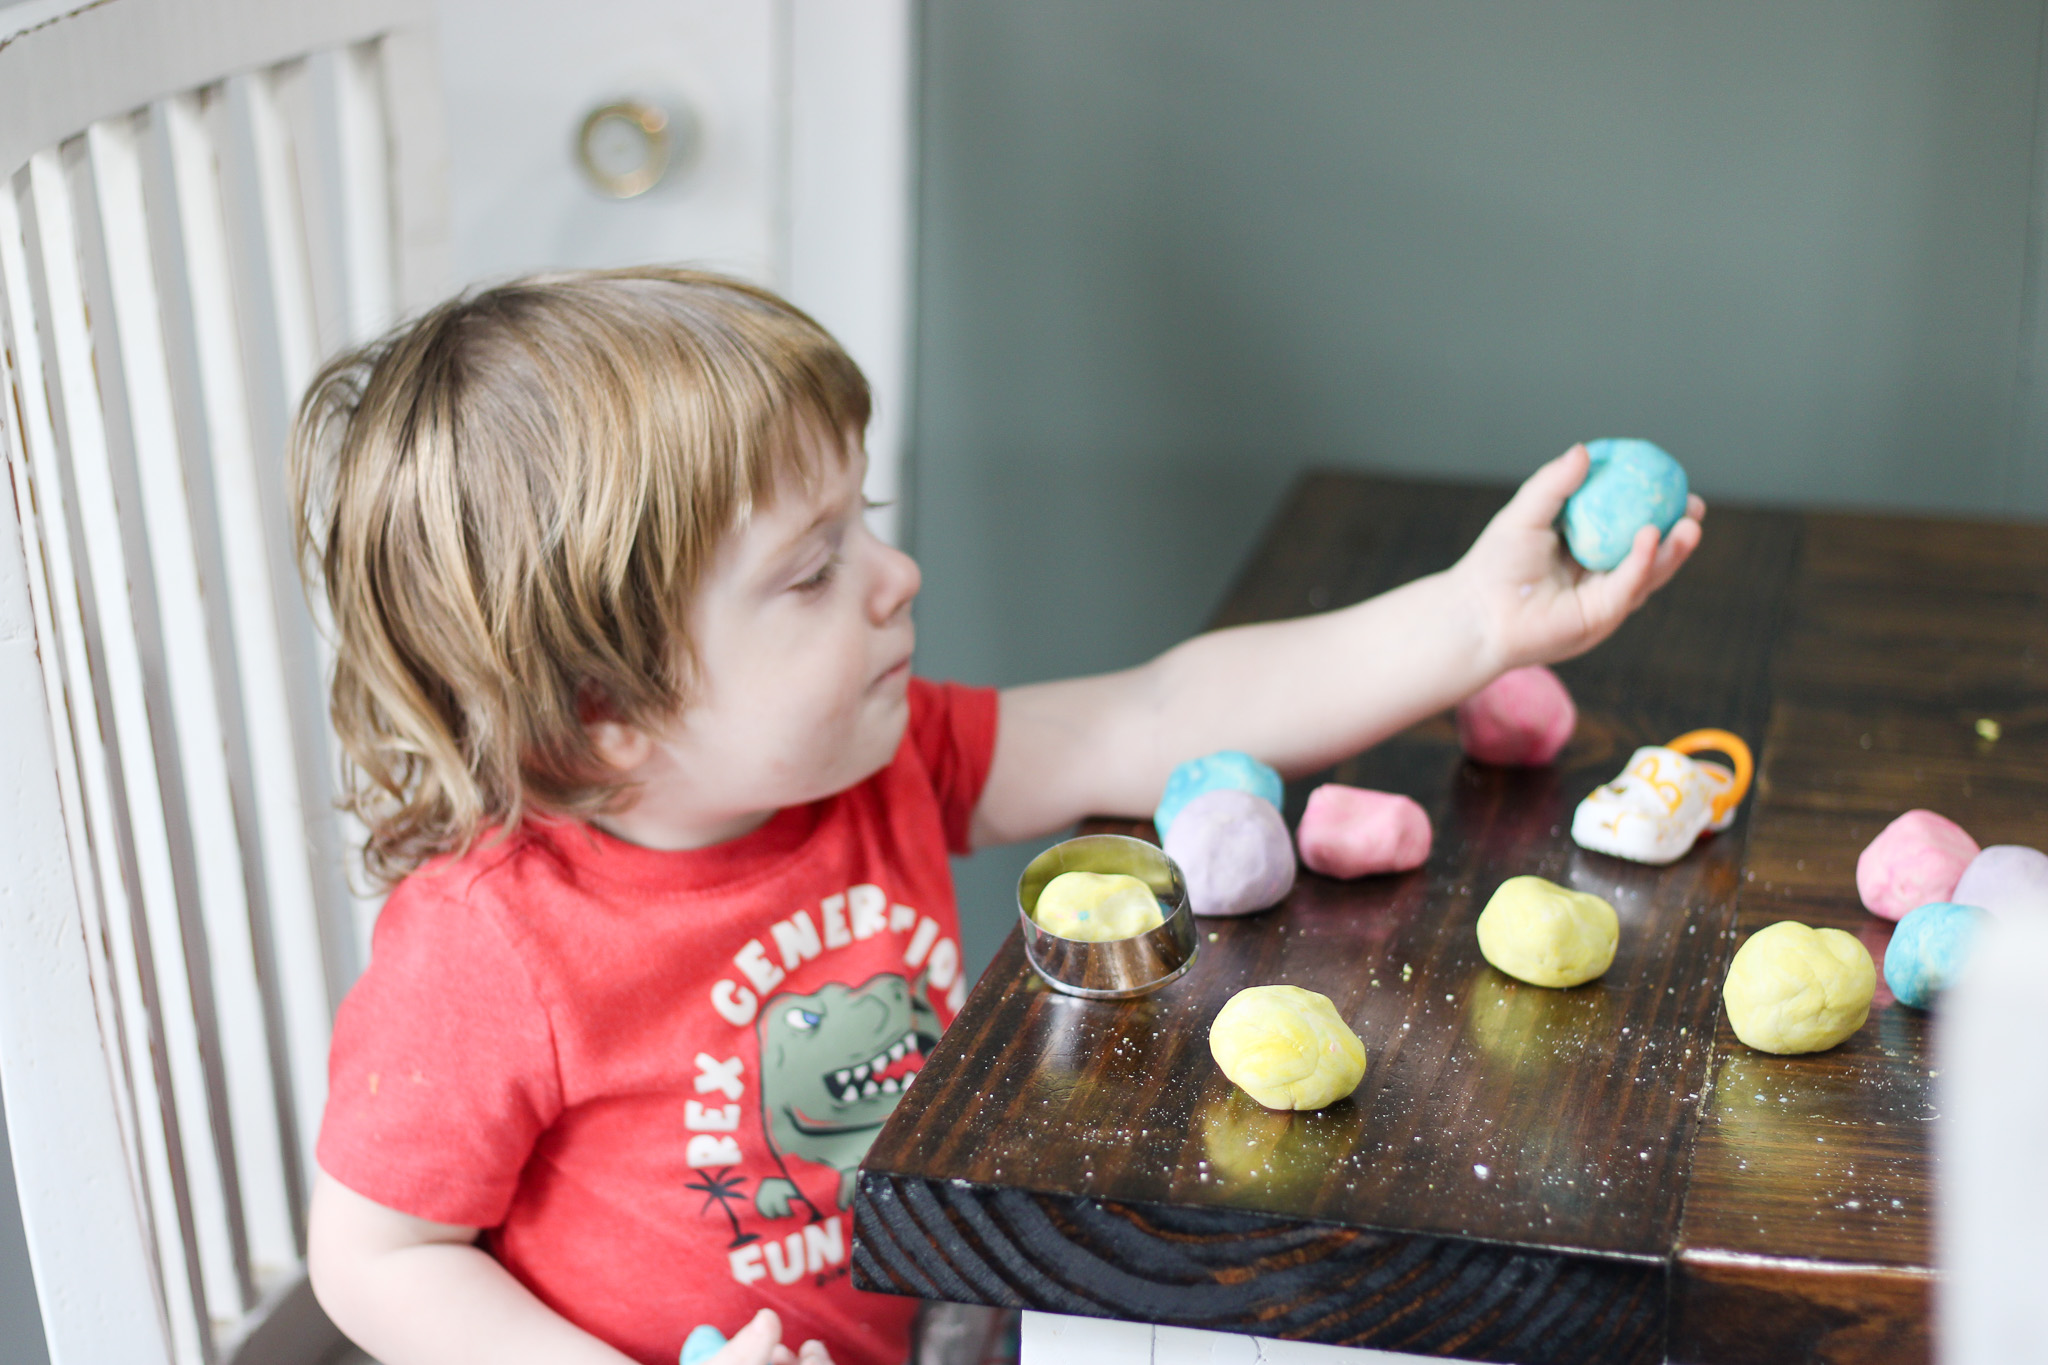
Fun Playdough Add-Ins for Toddlers
Once your playdough is ready, take it to the next level:
- Glitter for sparkle
- Mini cookie cutters
- Plastic animals
- Rolling pins
- Beads (with supervision)
- Craft sticks
You can even create themed dough — pastel colors for spring, red and green for Christmas, or orange and black for Halloween.

The Benefits of Playdough for Toddlers
Playdough isn’t just fun — it’s incredibly beneficial for development.
- Strengthens fine motor skills
- Encourages creativity
- Supports hand-eye coordination
- Provides calming sensory input
- Encourages independent play
It’s one of the easiest ways to give your toddler a meaningful activity without screens.
A Simple Activity with Big Impact
Some of the best childhood memories are made from simple things. Homemade playdough is inexpensive, easy to make, and packed with developmental benefits.
Set out a rolling pin, a few cookie cutters, and let your toddler explore. You might just find yourself sitting down and playing right alongside them.
Because sometimes, the simplest activities bring the biggest smiles.