

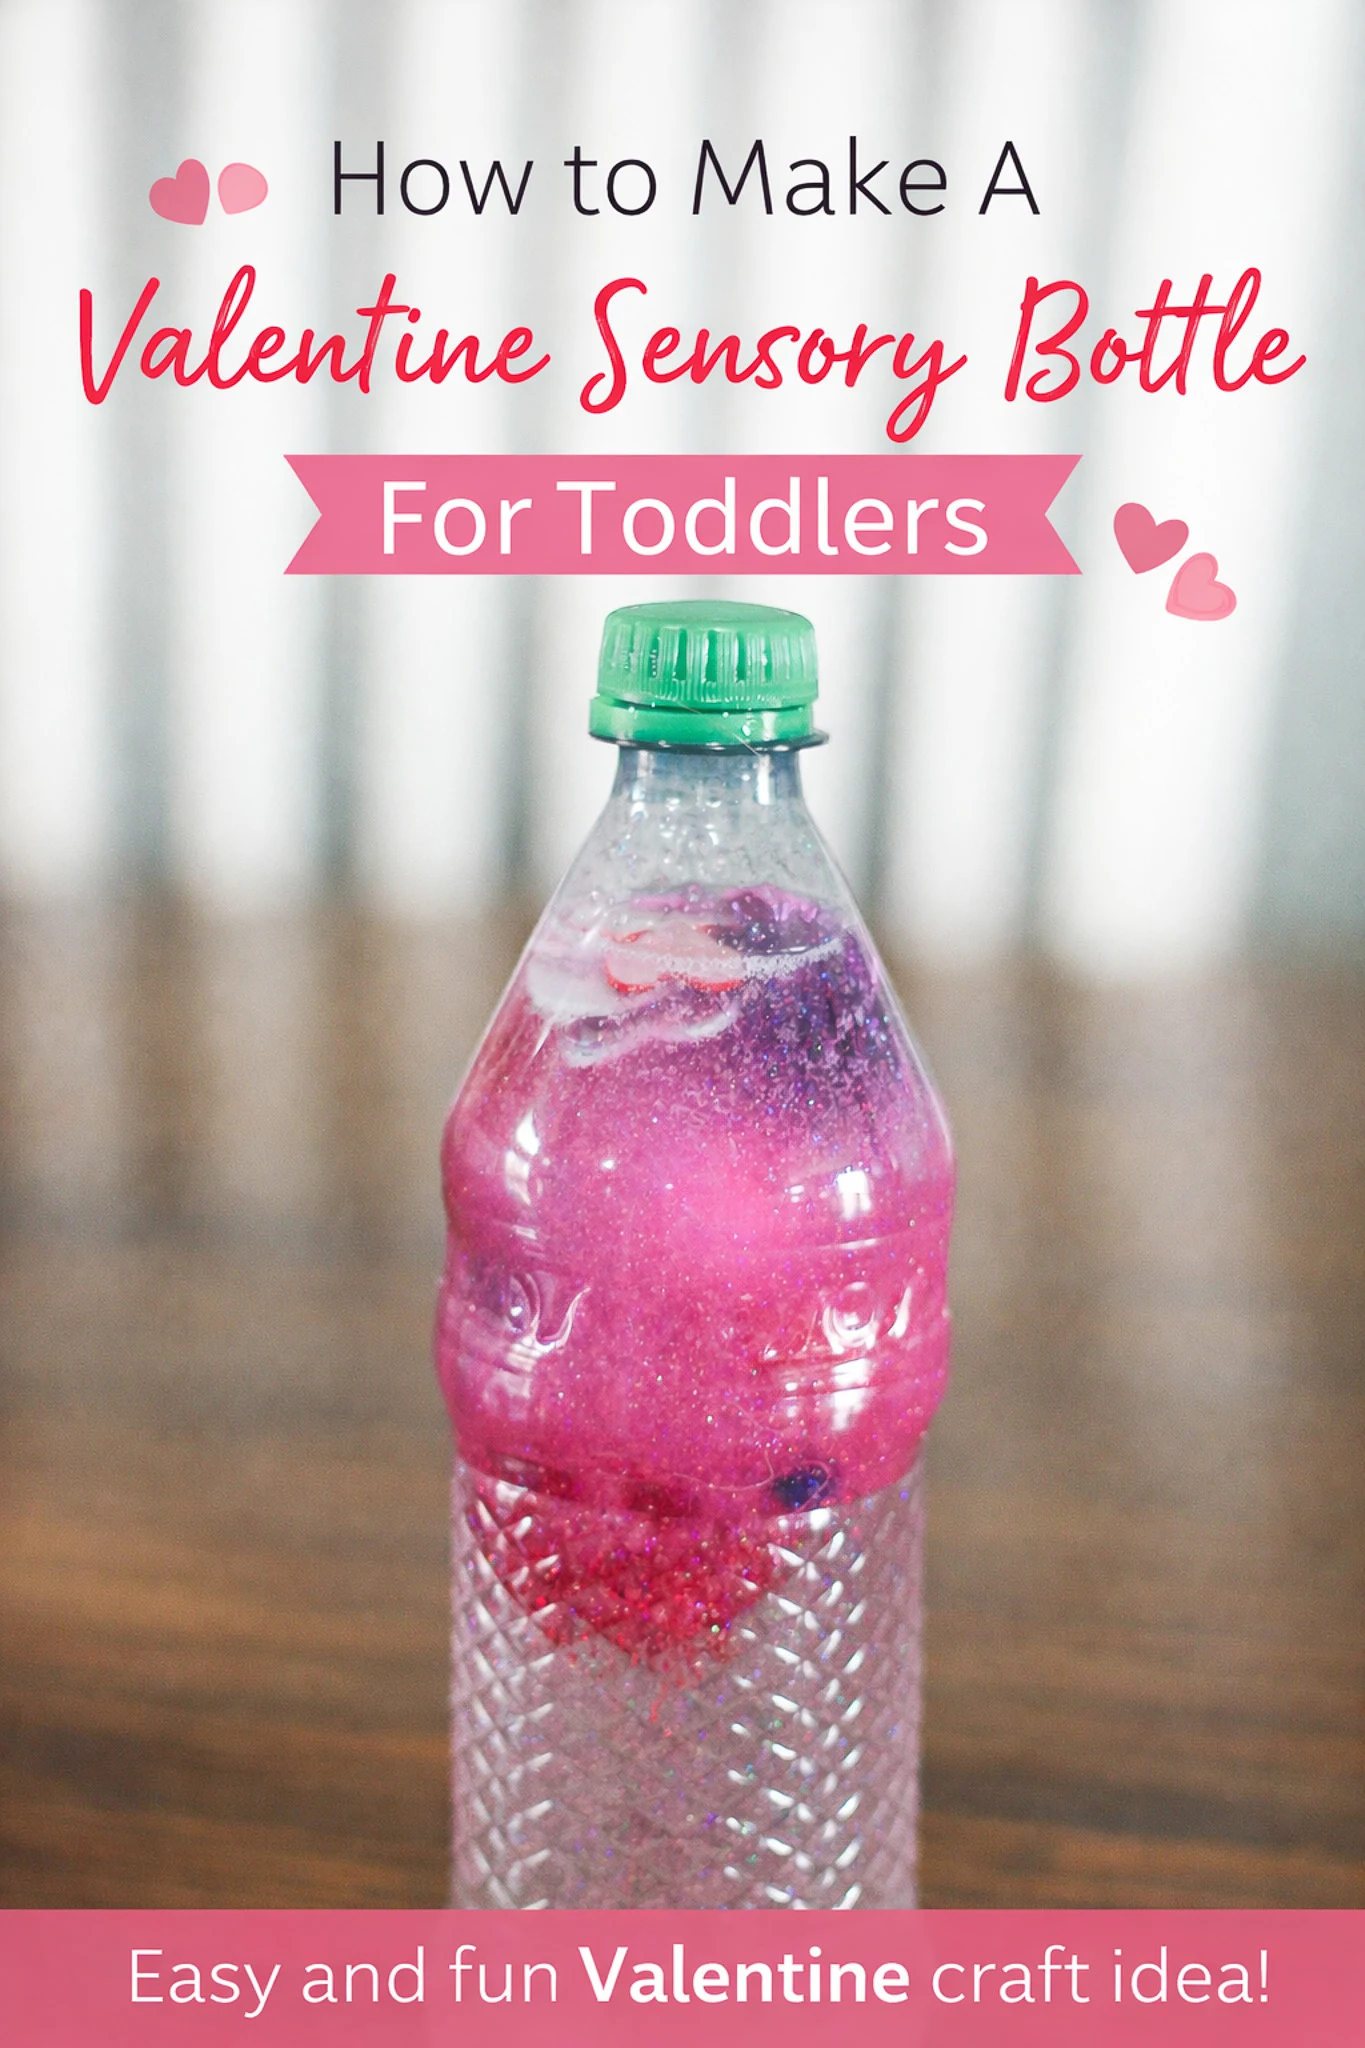
A Valentine sensory bottle for Toddlers is simple to make, inexpensive, and keeps little hands busy while encouraging curiosity and calm play.
Valentine’s Day is the perfect excuse to bring out the reds, pinks, sparkles, and hearts — and if you have toddlers at home, sensory crafts are one of the best ways to combine fun and learning.

If you’re looking for an easy afternoon craft, something for a toddler playdate, or even a quiet activity while you cook dinner, this Valentine Sensory Bottle for Toddlers is one of my favorite go-to projects. Plus, you can customize it with whatever craft supplies you already have at home.
For another fun Valentine project, let your toddler make a We Love You Bunches Toddler Handprint Card. For all things toddler, make sure to check out my page, Toddler Freebies.
Why Toddlers Love Sensory Bottles


Sensory bottles are magical for little ones. Watching glitter float, oil bubbles move, and tiny objects drift through liquid can be mesmerizing.
They help with:
- Sensory exploration
- Fine motor development
- Color recognition
- Calm down time or quiet play
- Creative expression
And honestly? They’re just really pretty to look at.


Supplies You'll Need for Valentine Sensory Bottle for Toddlers
You only need a few simple materials:
- Clear plastic bottle or jar with a tight lid
- Water
- Baby oil
- Red, pink, or purple glitter
- Heart confetti or stickers
- Pom poms
- Beads
- Small decorative rocks in Valentine colors
- Optional: food coloring (red or pink)
- Super glue (for sealing lid)


How to Make a Valentine Sensory Bottle for Toddlers
Step 1: Add Water
Fill your bottle about halfway with water. If you want colored liquid, add a drop or two of food coloring and gently mix.
Step 2: Add Baby Oil
Pour baby oil into the bottle until it is almost full. Leave a little space at the top so you can shake it easily.
The oil and water will separate — that’s part of the fun!
Step 3: Add Valentine Craft Items


Now comes the creative part. Let toddlers help choose what goes inside.
Try adding:
- Glitter
- Heart confetti
- Mini pom poms
- Colorful beads
- Small rocks or gems
Avoid anything sharp or tiny enough to be unsafe if the bottle opens.
Step 4: Seal the Bottle
Tightly close the lid. For toddler safety, add a ring of super glue around the inside of the lid before closing permanently.
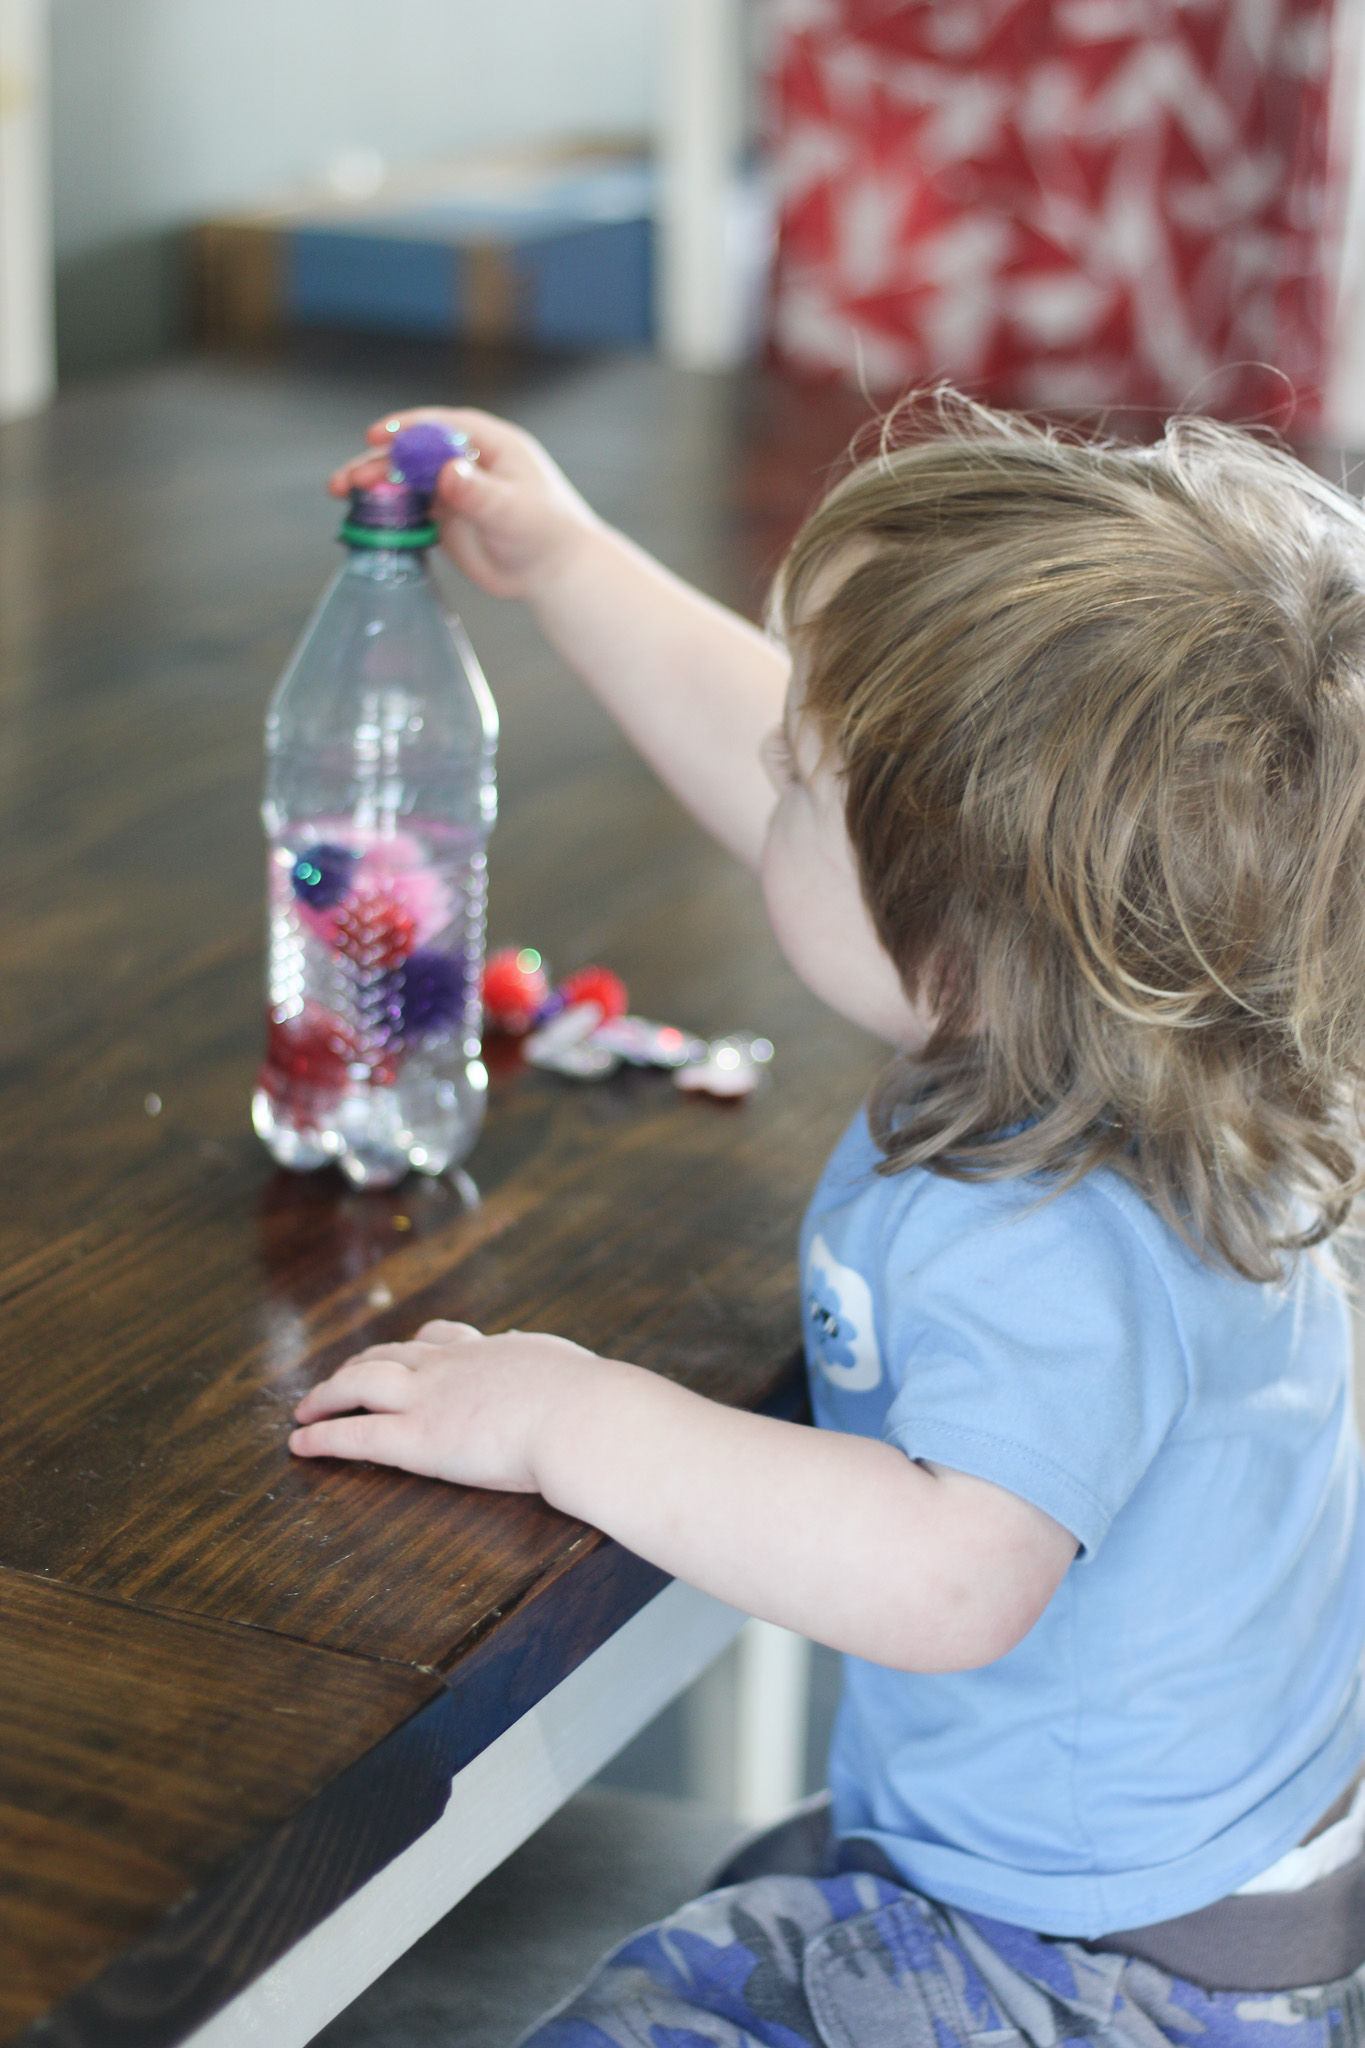
Step 5: Shake and Explore
Turn it upside down, swirl it slowly, or shake it fast. Watch how the glitter and objects move through the oil and water layers.
Safety Tips for Valentine Sensory Bottle for Toddlers
- Always supervise during play
- Use plastic bottles instead of glass when possible
- Glue lids shut for younger toddlers
- Avoid choking-hazard-sized pieces
Ways to Customize Your Valentine Sensory Bottle for Toddlers
Make it extra fun by theming it:
Love & Hearts Bottle
- Red glitter
- Heart confetti
- Pink pom poms
Sparkle Princess Bottle
- Pink and purple glitter
- Mini gems
- Shimmer beads
Nature Valentine Bottle
- Red rocks
- Small sticks
- Rose petals (fake works best)
Make It a Memory
One of my favorite things about crafts like this is how easy they are to turn into traditions. Make one each Valentine’s Day and watch how your toddler’s color choices and creativity change as they grow.
Plus, they make sweet keepsakes to pull out each year with your Valentine decorations.
If you’re looking for simple, budget-friendly toddler activities that still feel special and seasonal, this Valentine sensory bottle is a winner every time.