

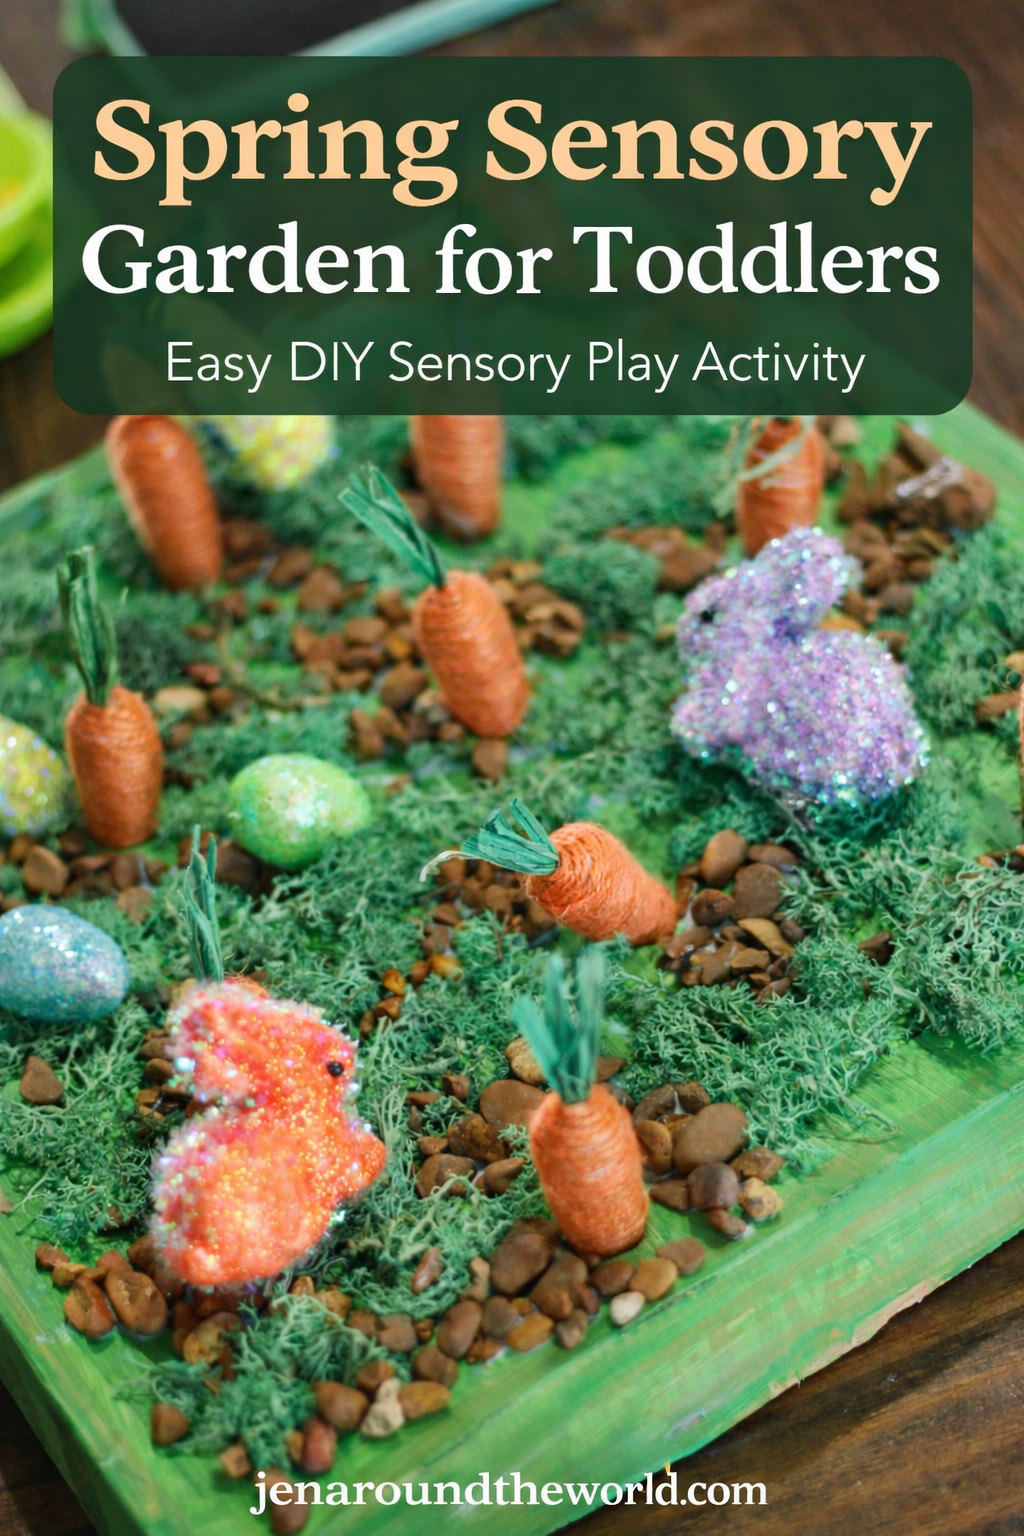
Spring is the perfect time to get toddlers excited about gardens, nature, and imaginative play. One fun activity we recently made was a DIY Spring Sensory Garden using simple supplies we already had around the house — plus a few cute foam decorations from Dollar Tree.
This activity is colorful, interactive, and perfect for little hands. Toddlers love pulling carrots from the “dirt,” discovering hidden eggs, and exploring different textures while they play.
The best part? It’s inexpensive, easy to make, and encourages creative play. For more inexpensive ideas for toddlers, check out my Toddler Freebies page with links to all kinds of inexpensive fun!
Why Sensory Play Is Great for Toddlers
Sensory activities help toddlers develop important skills while having fun. A simple project like this spring garden helps with:
- Fine motor skills (pulling carrots, picking up eggs)
- Hand-eye coordination
- Imaginative play
- Color recognition
- Exploration and curiosity
It also keeps little ones engaged for a surprising amount of time!
Supplies You'll Need for a Spring Sensory Garden
Most of these supplies can be found around your house, with a few extras from the Dollar Tree.
- Pizza box lid
- Paint (brown works best for “dirt”)
- Foam carrots
- Foam Easter eggs
- Foam bunnies
- Craft glue or hot glue (adult use)
- Small rocks or pebbles
- Fake moss
- Something sharp to poke holes (adult use)
You can customize this sensory garden with whatever decorations you have on hand.
How to Make a Spring Sensory Garden
1. Create the Garden Base
Start by using the top of a pizza box as your garden base. Paint the inside of the lid brown so it resembles soil.
Let the paint dry completely before moving on to the next step.
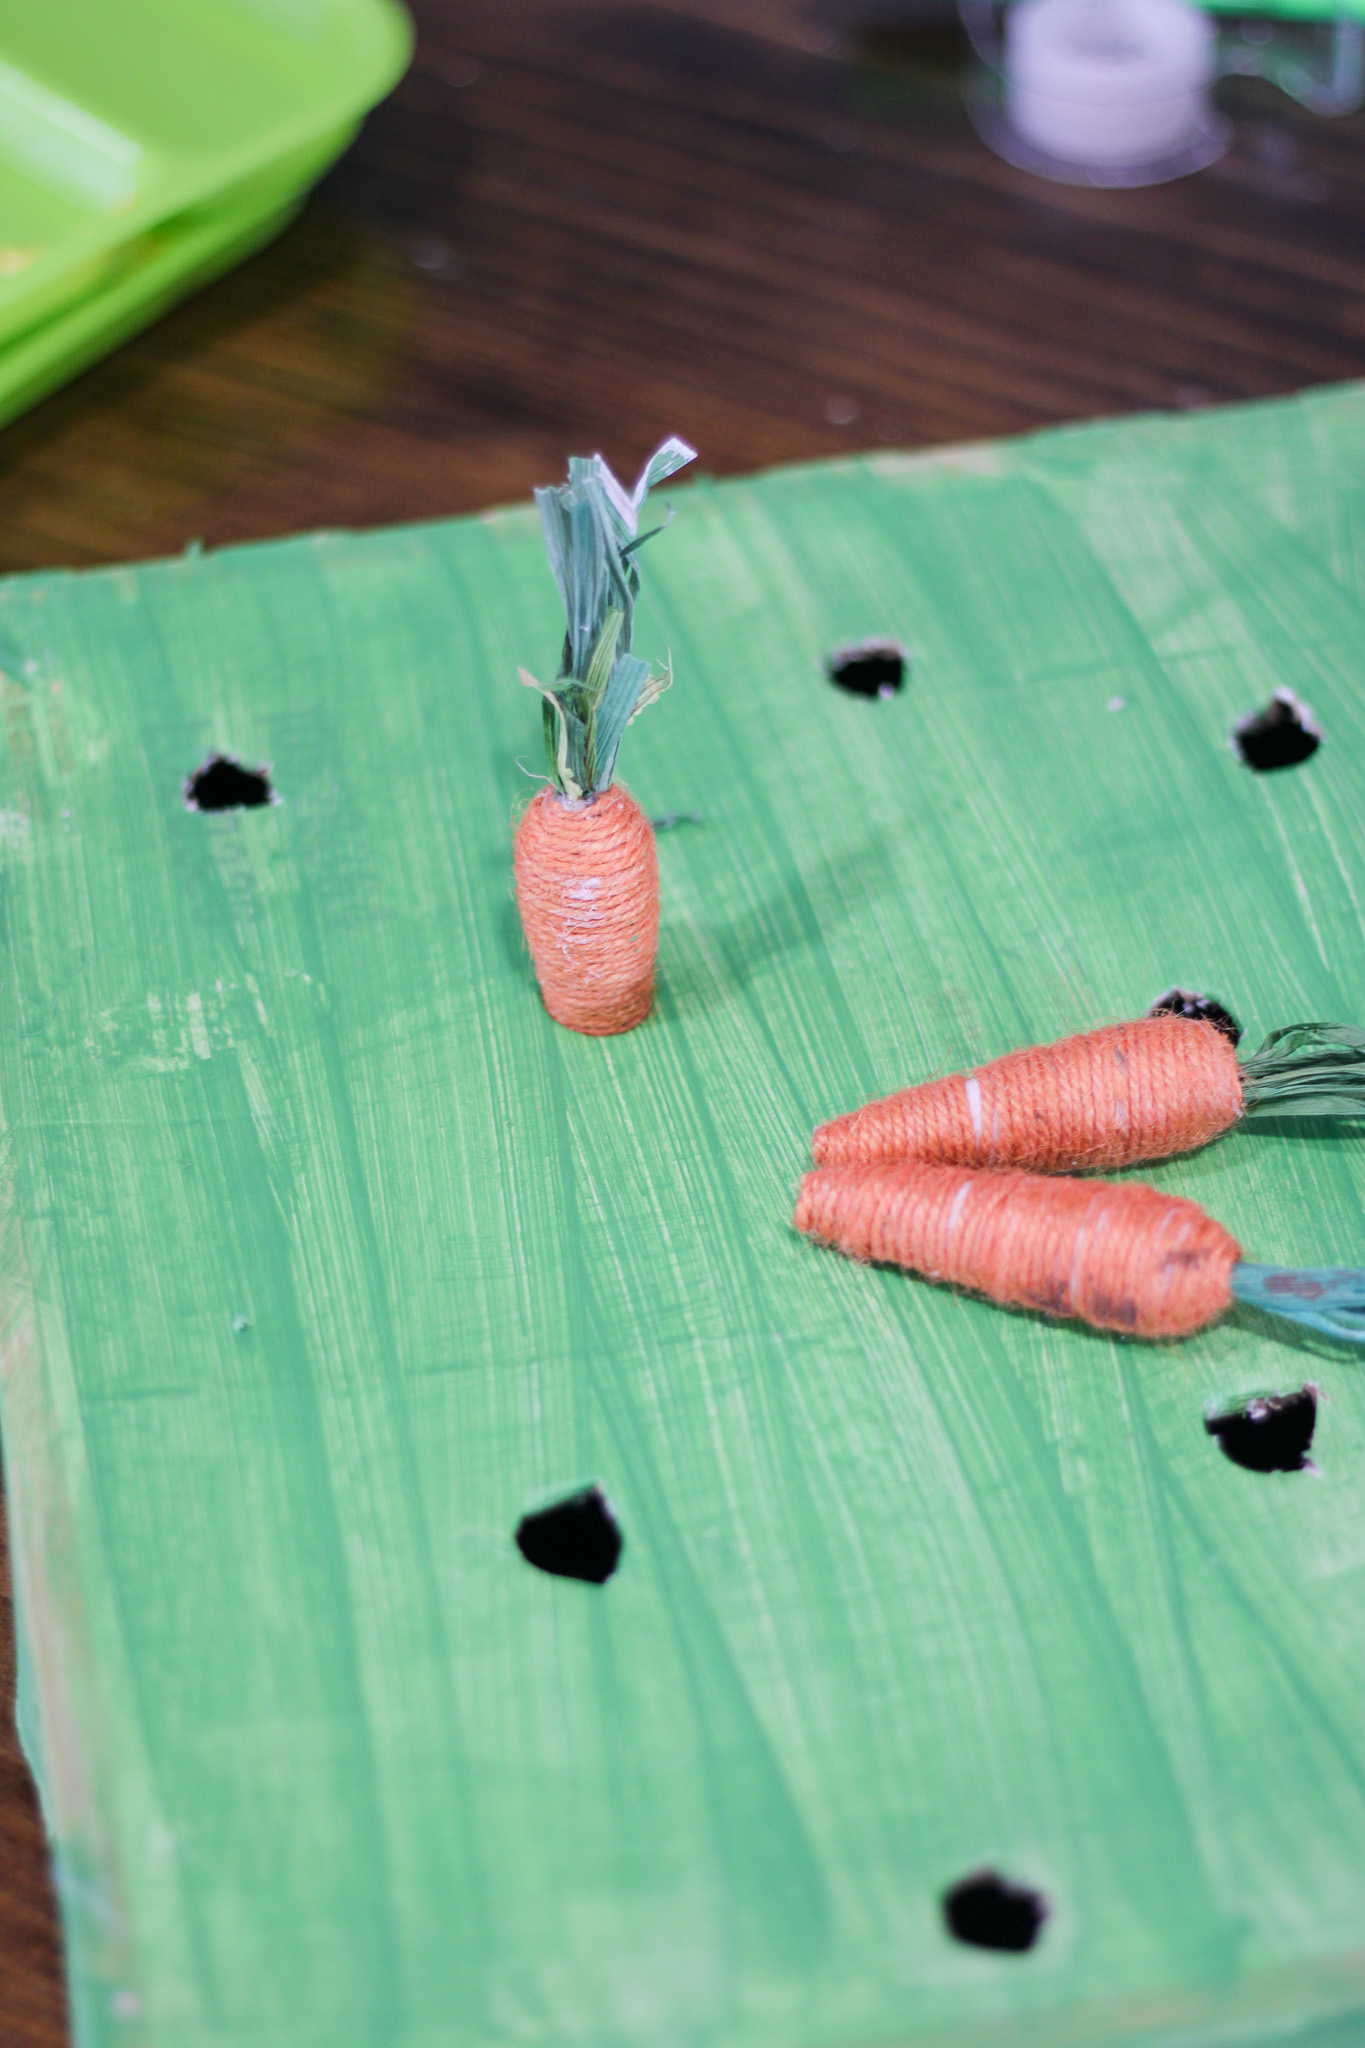
2. Make Holes for the Carrots
Once the paint is dry, carefully poke holes in the cardboard where the carrots will go.
The holes should be just big enough so the foam carrots can slide in and out easily. This is what makes the activity interactive for toddlers.
3. Decorate the Garden
Now it’s time to make the garden look more realistic.
Glue small rocks and pieces of fake moss around the surface of the box to give it texture and a natural garden look.

You don’t need to cover the entire surface — just enough to make it feel like a little garden patch.
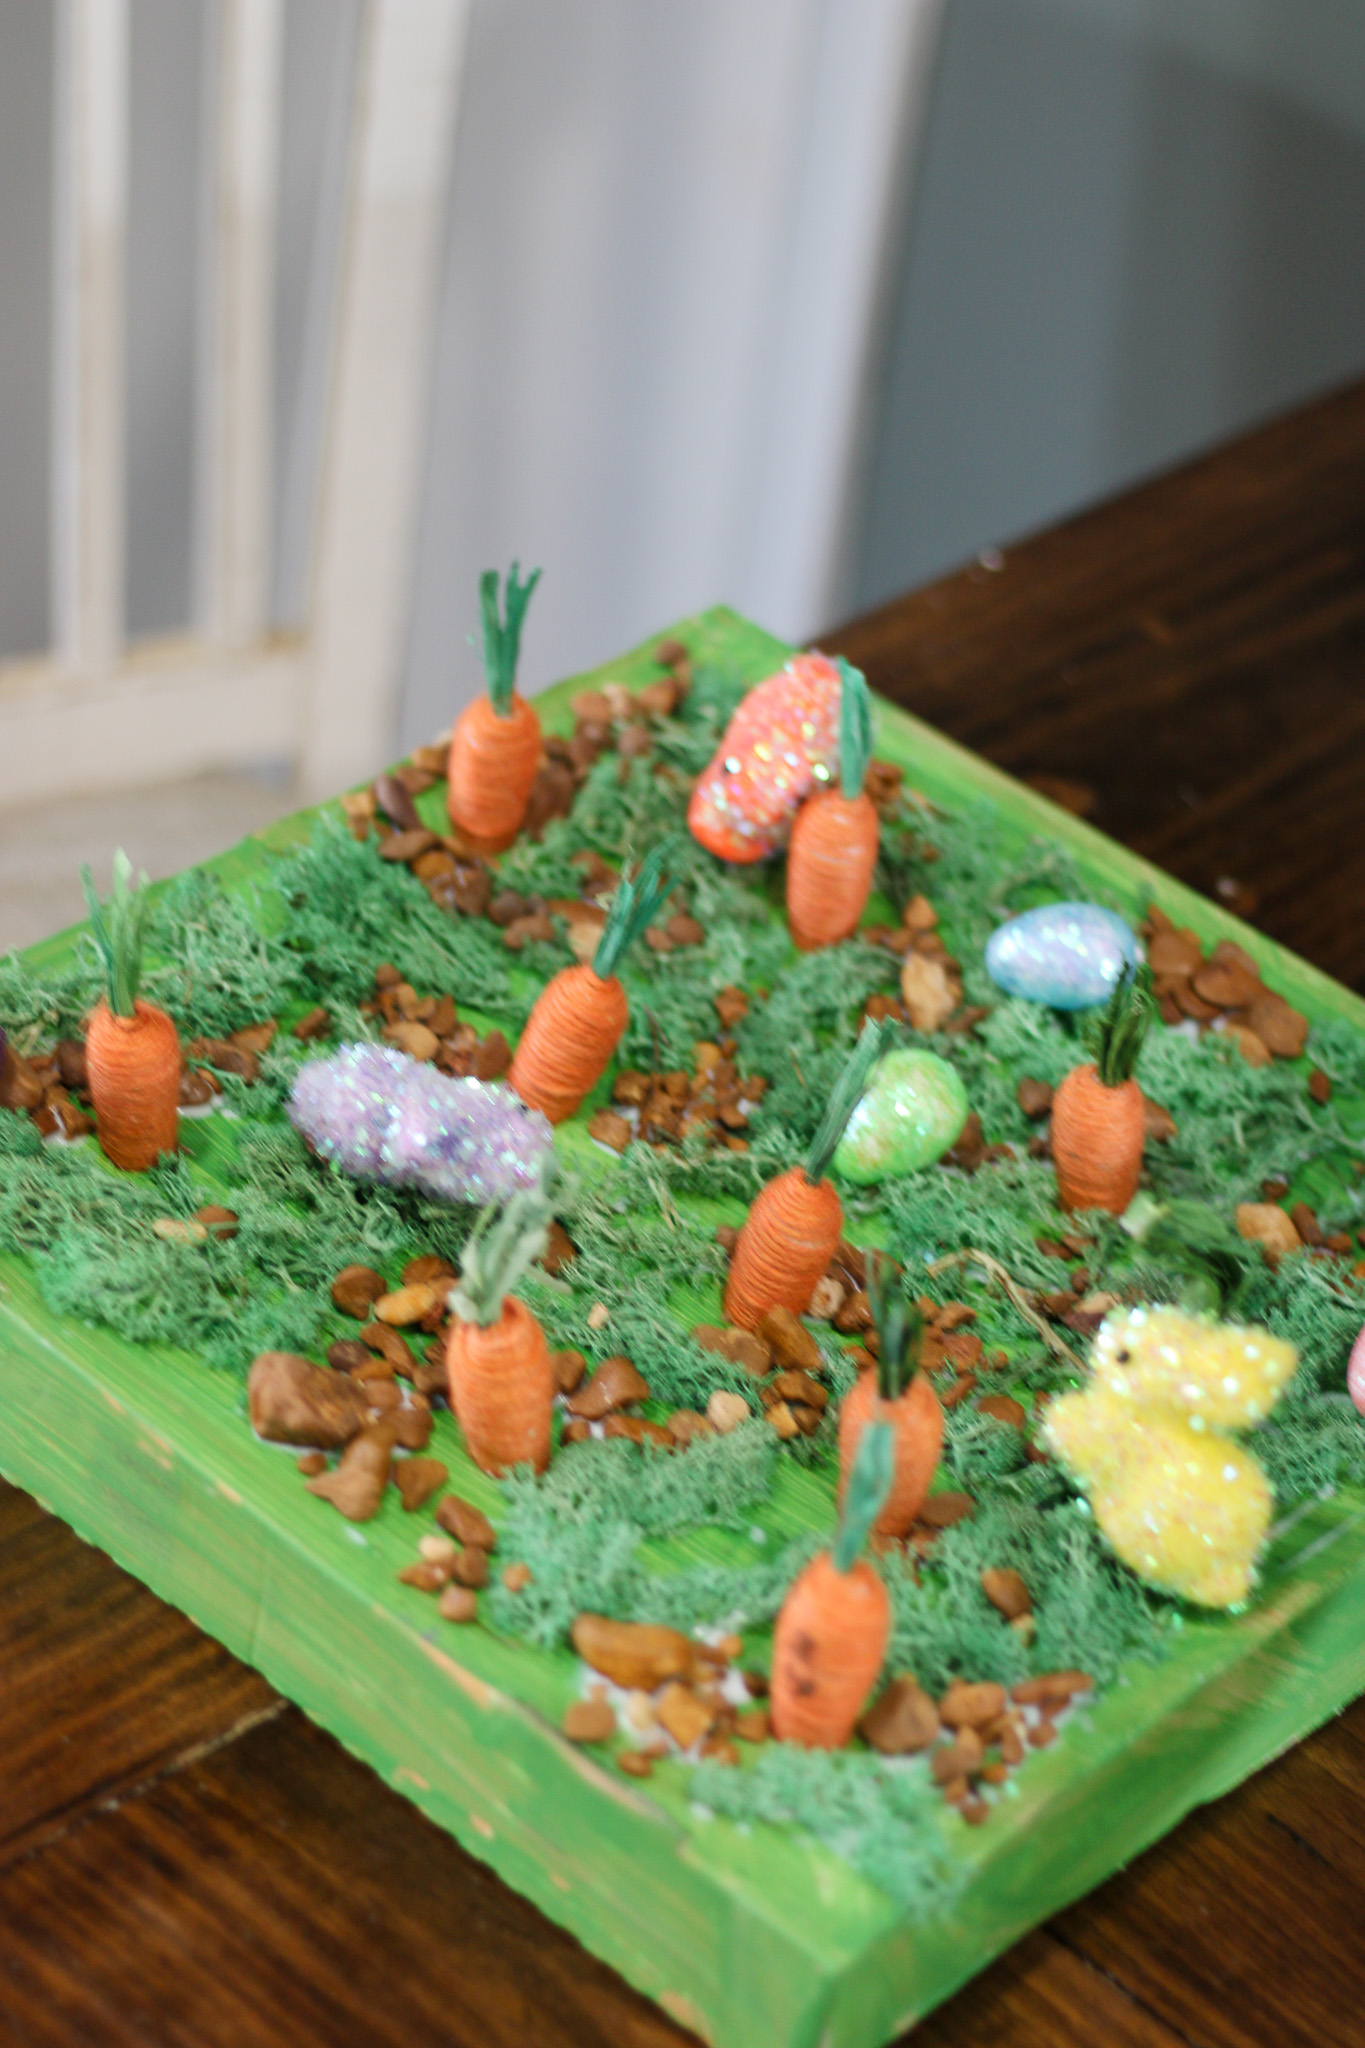
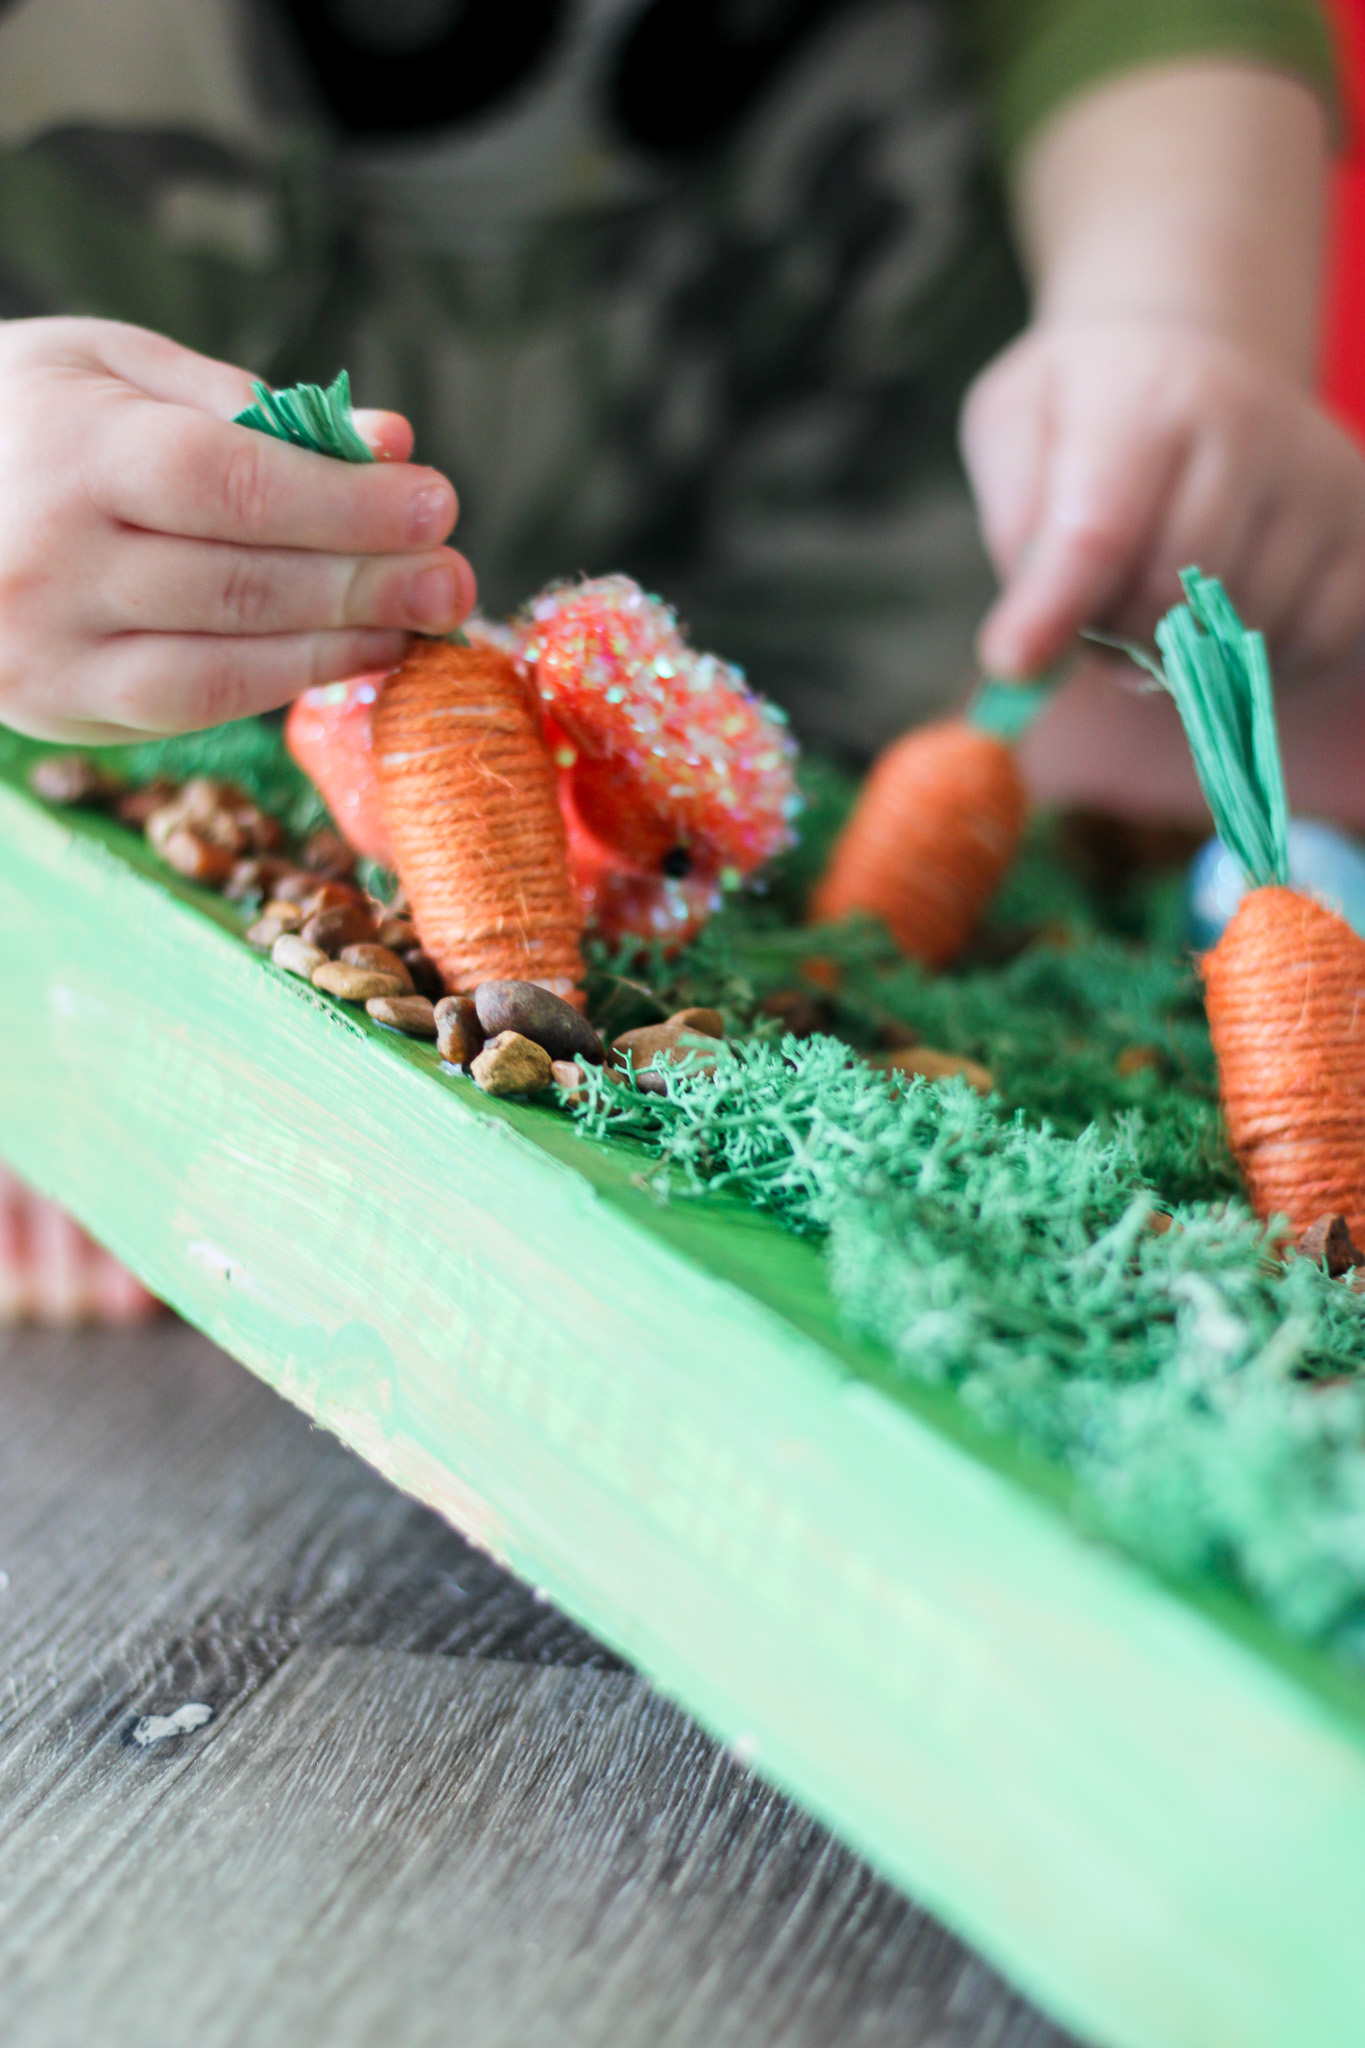
4. Add the Garden Items
Insert the foam carrots into the holes you created. Then place the foam eggs and bunnies around the garden.
You can tuck the eggs slightly under moss or rocks so toddlers can “discover” them while playing.
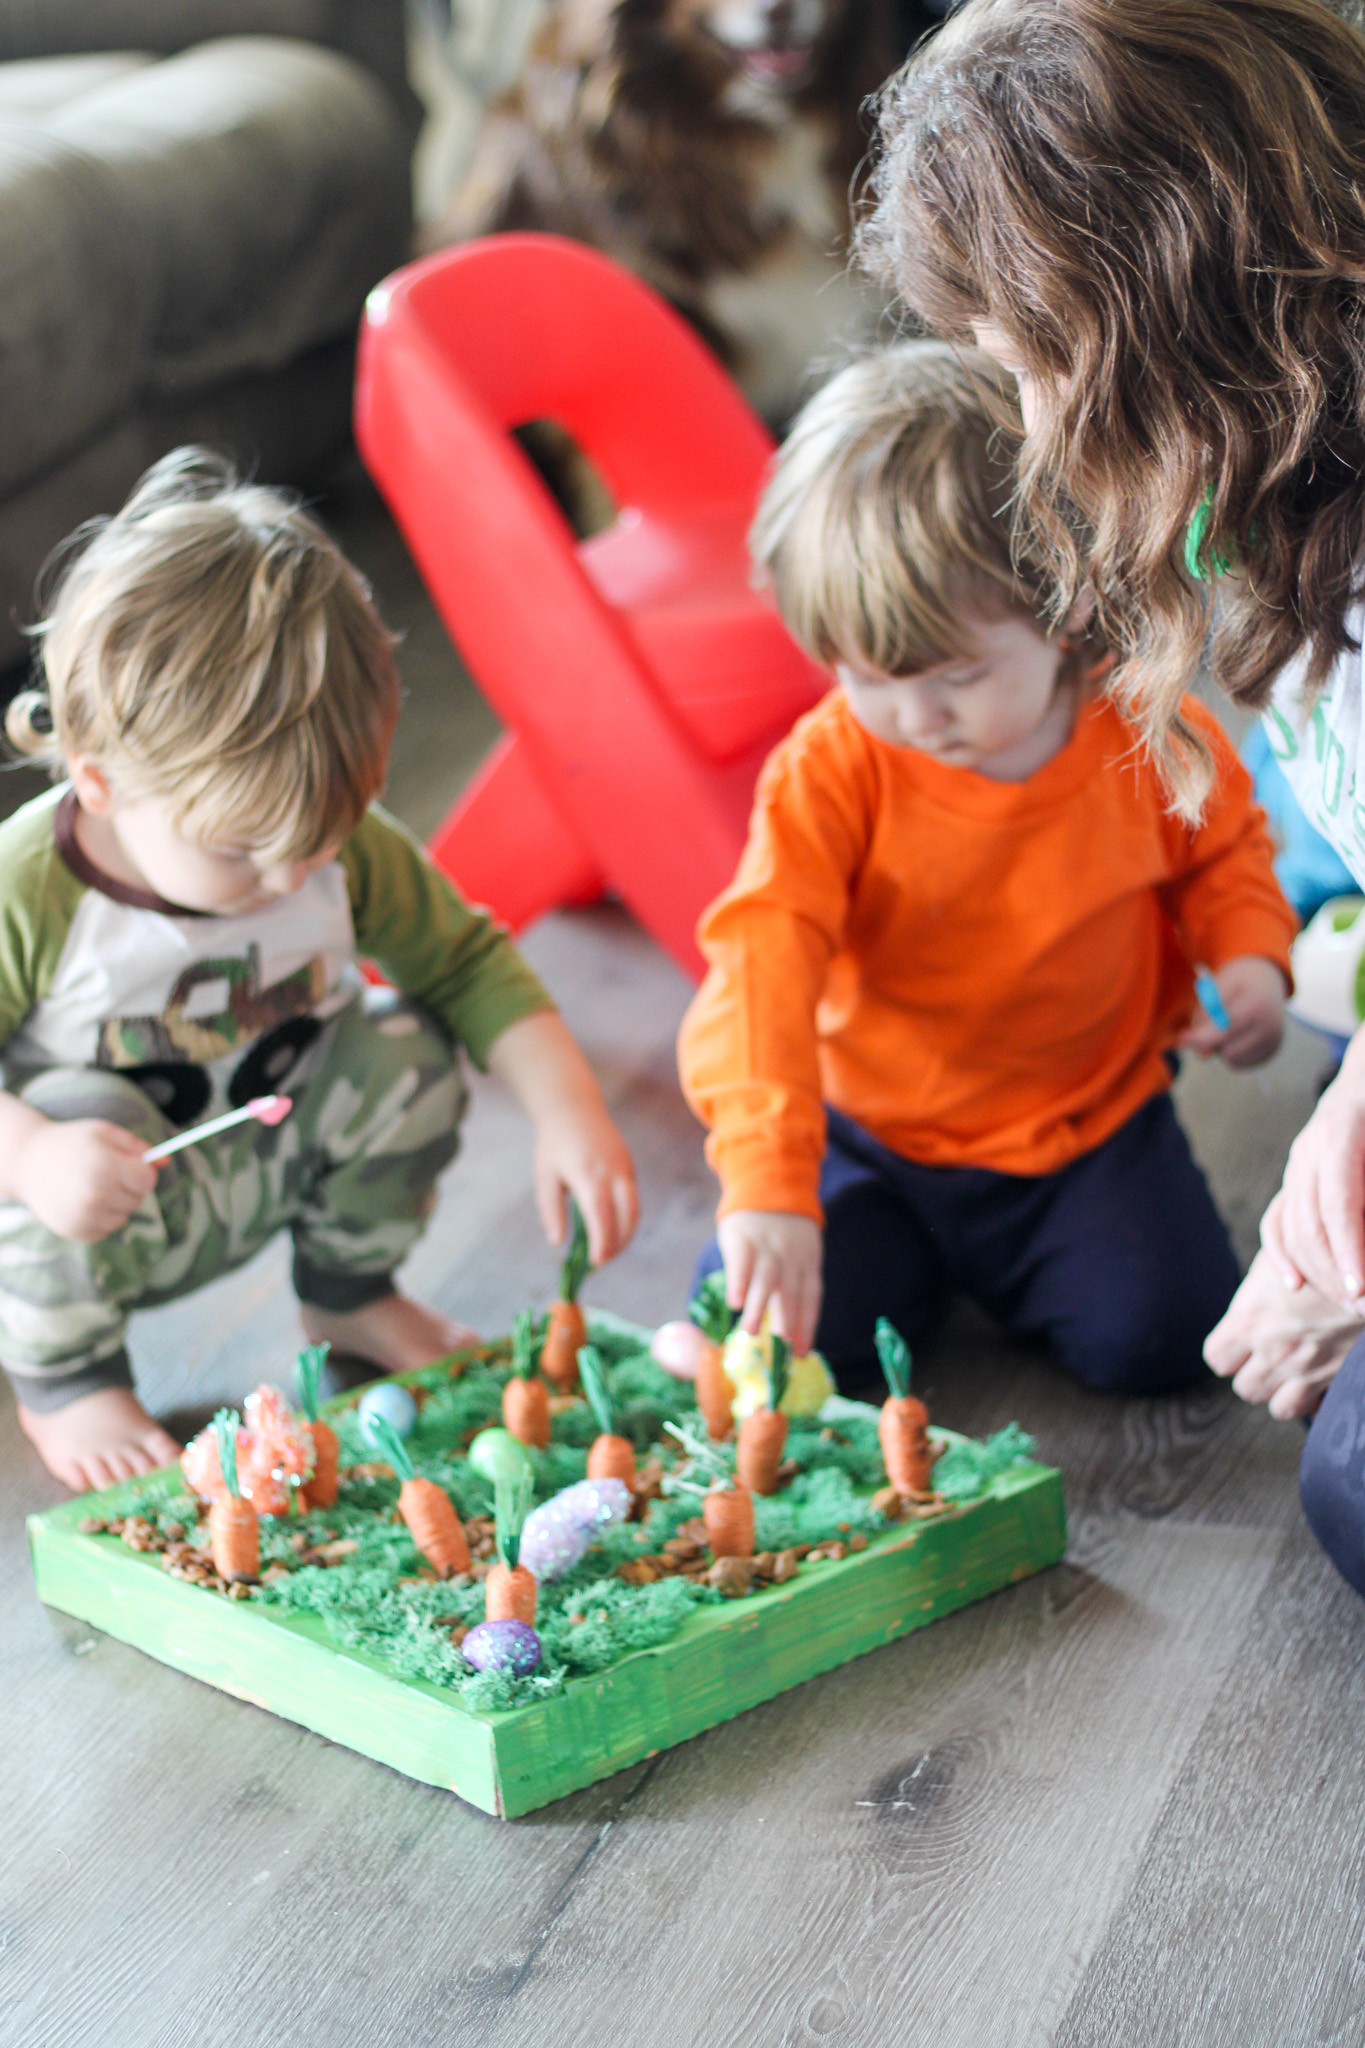
Let the Toddlers Play!
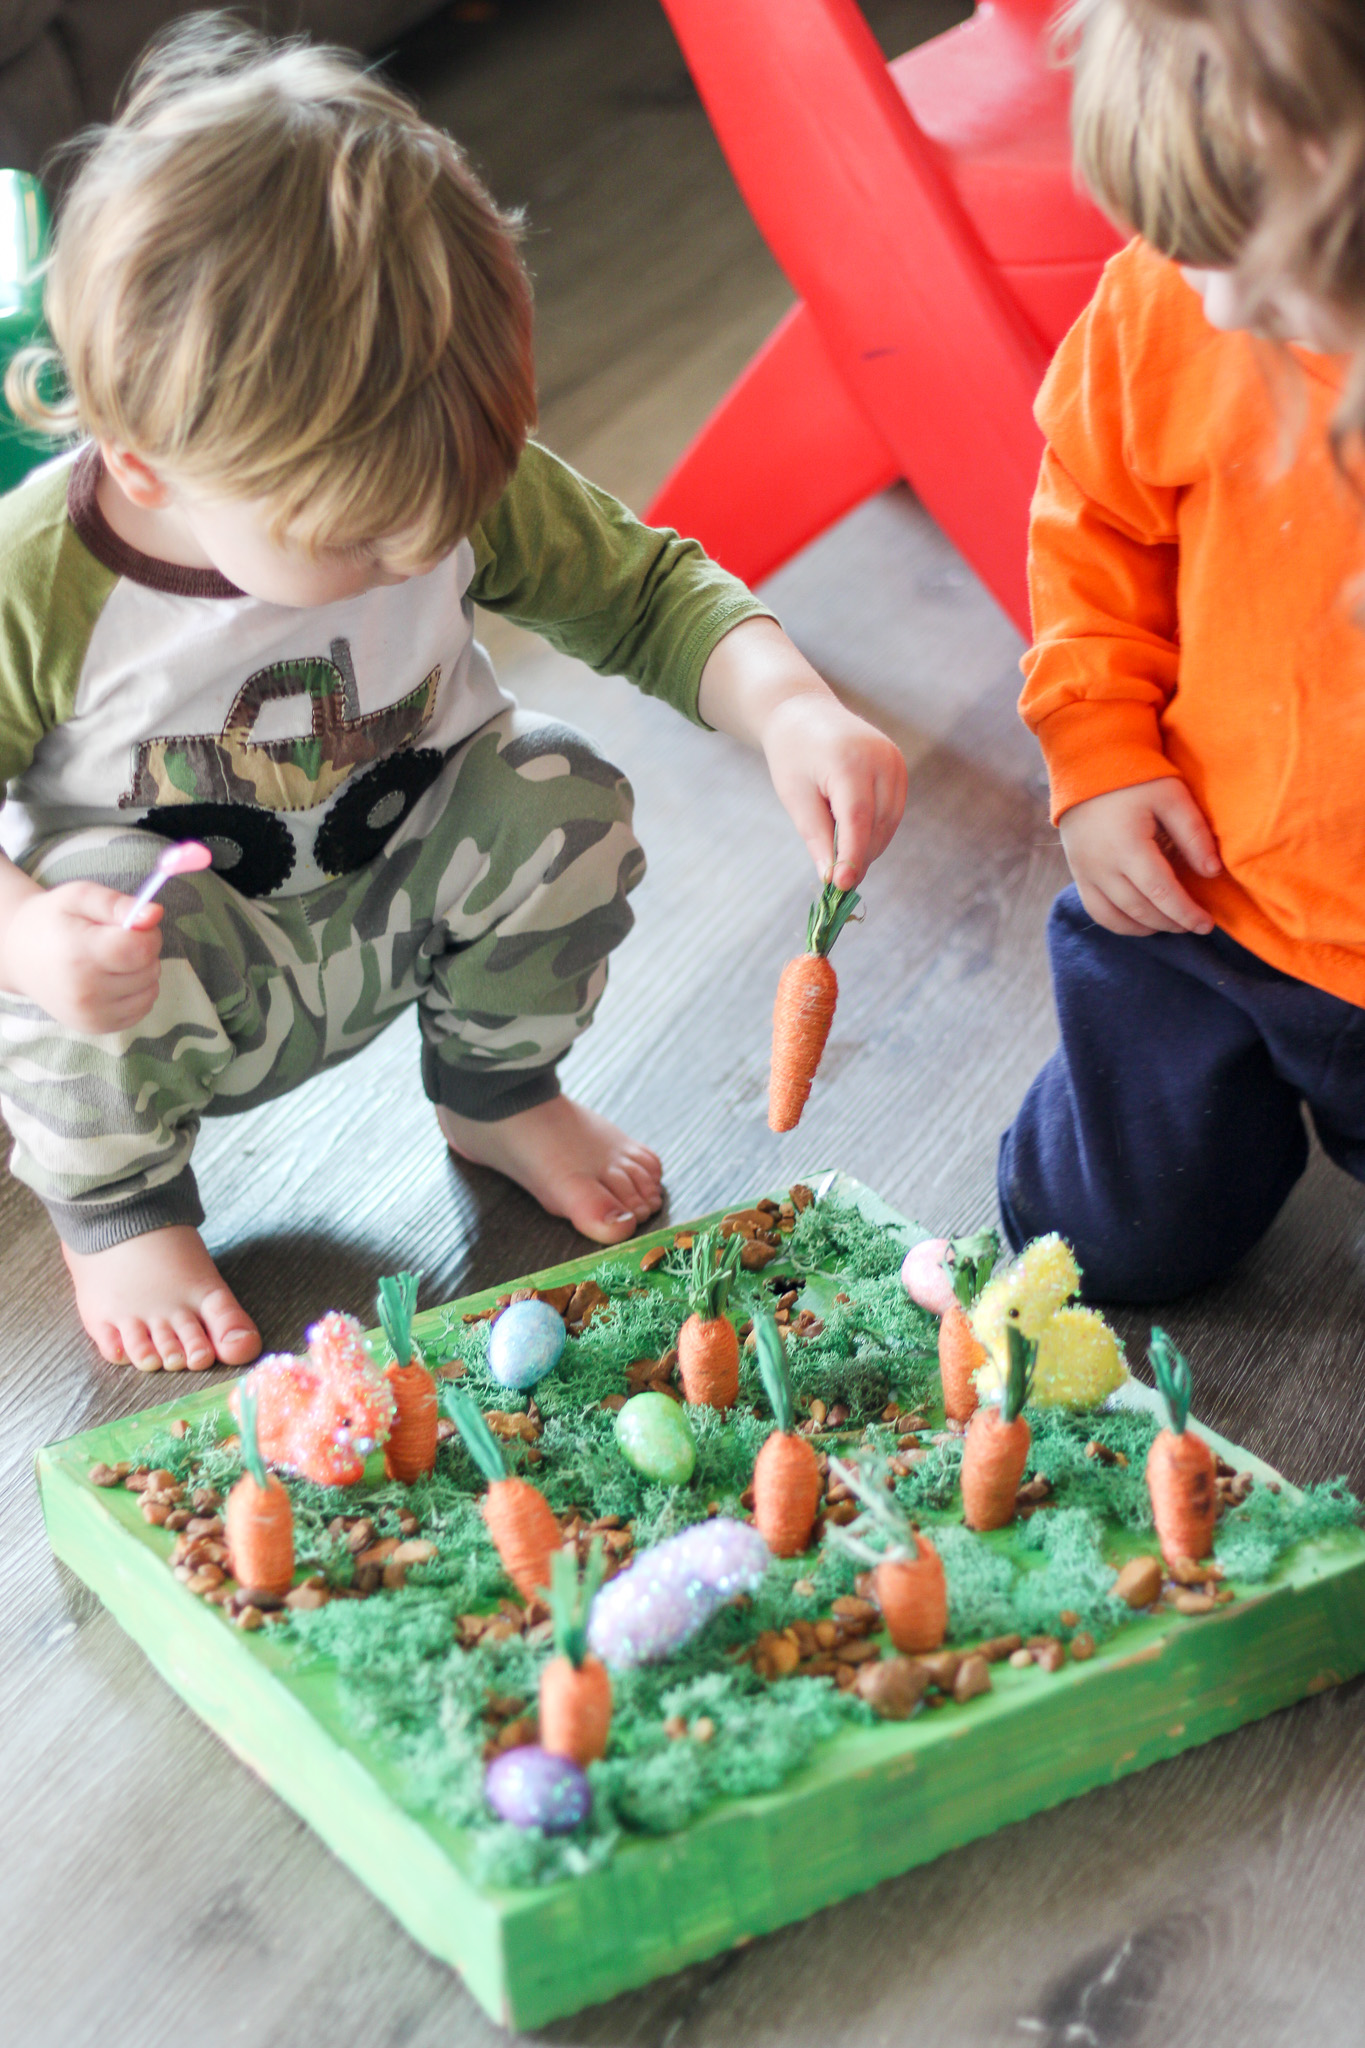
Once the garden is finished, the real fun begins.
Toddlers will love:
- Pulling the carrots out of the dirt
- Putting them back in the holes
- Picking up the Easter eggs and bunnies
- Exploring the textures of rocks and moss
It becomes a fun little pretend garden where kids can harvest carrots, hunt for eggs, and use their imagination.
Tips to Make It Even More Fun
You can easily customize this sensory garden with a few extra ideas:
- Add plastic flowers for color
- Hide small toy bugs in the moss
- Use green shredded paper for grass
- Add small watering cans or toy tools
These small additions make the garden feel even more interactive.

A Simple Spring Activity Toddlers Will Love
This DIY Spring Sensory Garden is a wonderful way to introduce toddlers to the idea of gardening while encouraging sensory play and creativity. For other sensory activities, check out our crafts for How to Make a Toddler Winter Sensory Bin and How to Make a Valentine Sensory Bottle for Toddlers.
It’s simple to make, budget-friendly, and provides plenty of entertainment for curious little hands.
Whether you're celebrating spring, Easter, or just looking for a fun indoor activity, this adorable Spring sensory garden is sure to be a hit with your toddler.