

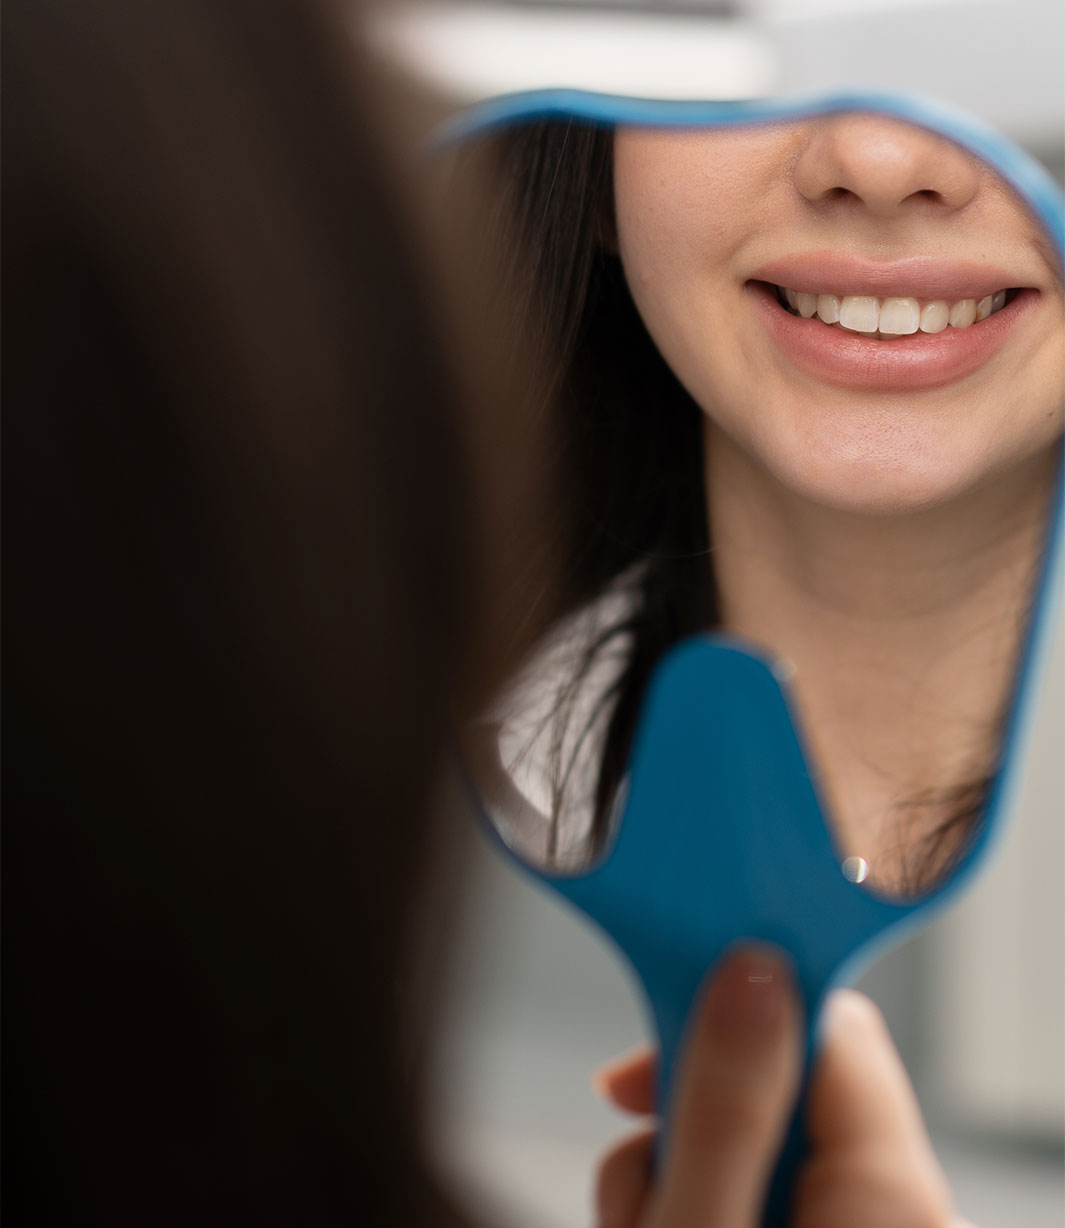
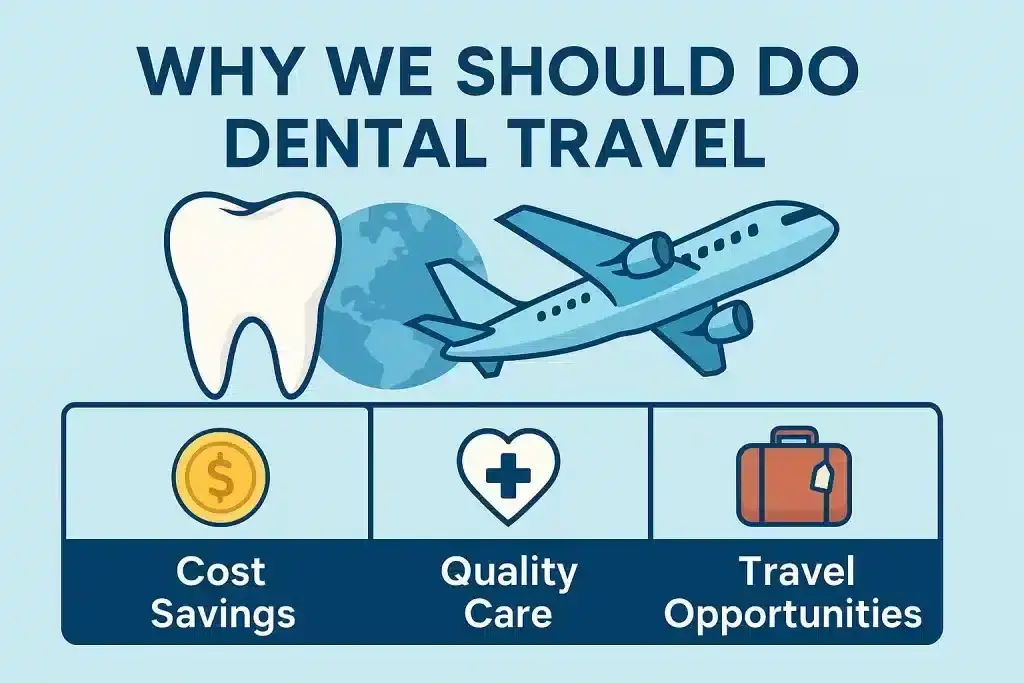
Traveling alone has a certain magic. You set the pace, you pick the stops, and you do not have to negotiate anyone else’s schedule. That same freedom is why dental tourism in Mexico can work especially well for solo travelers.
Still, combining a procedure with a trip means you need a plan that supports recovery, not just a good itinerary. Here’s what to consider before you book flights, choose a clinic, and build your day-by-day schedule.


Why combine a solo trip with dental care?
When you travel solo, you control your calendar and your budget. That can make procedure planning simpler because you only need to manage your own rest, meals, and follow-up timing.
Mexico is also a common choice because flights from the U.S. and Canada are often short, and many clinics are set up for international patients. If you choose a destination like Cancun, you also get a calm, familiar vacation setting while you recover. Sun, shade, and quiet dinners can go a long way.
Is dental tourism right for a solo traveler?
It tends to fit best when your case is straightforward, you are comfortable reviewing medical information, and you can protect a few days for low-key recovery. If you are the type who can actually rest when you are told to rest, you are already ahead.

If you expect complex surgery, feel anxious about managing pain alone, or cannot extend your stay if plans change, press pause. In that scenario, a thorough consultation at home first can help you confirm what is realistic for your timeline and comfort level.
How to vet a clinic from abroad
Many dental clinics are built around international care, but quality and consistency vary. The safest approach is to treat vetting like a checklist, not a vibe.
Credentials you can verify
Ask for the specifics that match your procedure, not general promises. You want to know who will do each part of the work and what their training is.
Focus on:
- License or registration details
- Specialist training for your type of case
- Years of experience with the exact procedure you need
- Who handles each step if multiple providers are involved
If answers feel vague, that is a signal. You should not have to chase clarity.
Facility and technology checklist
Good care is not only about the clinician. It is also about the tools and protocols behind the scenes.
Ask what they use for diagnosis and planning, such as:
- 3D imaging (CBCT scans) when relevant to implants or complex work
- Clear sterilization and infection-control protocols
- On-site lab support or a well-defined lab process
- Sedation options if you are anxious or your procedure calls for it
You are not being difficult. You are being careful.
Proof of outcomes and how they handle issues
Before-and-after galleries can help you see whether the clinic regularly treats cases like yours. Look for consistency, not one perfect photo.
Also ask two direct questions:
- What happens if something needs adjustment after the procedure?
- Where is that policy explained in writing?
Truthfully, the written policy matters more than the reassuring tone.
Communication and admin that makes solo travel easier
As a solo traveler, clear communication is not a “nice to have.” It is part of safety.
Look for:
- English-friendly coordinators who respond clearly
- Transparent quotes in writing
- Written consent forms you can review ahead of time
- A treatment plan shared before you book flights
Some clinics, such as Cancun Cosmetic Dentistry, may offer sample treatment plans or virtual pre-checks so you can make a decision with fewer surprises. Many clinics will share a draft plan by email if you ask and provide your records.
Pricing, quotes, and the “what’s included” question
When comparing dental prices across Mexico, the biggest risk is comparing numbers that do not include the same services. You want apples to apples.
What a real quote should list
A complete estimate should name each major step. If something is not listed, assume it is not included.
A solid quote often includes:
- Consultation and exam
- Imaging (X-rays, and 3D scans if needed)
- Extractions if required
- Bone grafts or sinus lifts when relevant
- Abutments and components for implants
- Temporaries (if part of your plan)
- Final restorations (crowns, bridges, full-arch options)
- Follow-ups and planned adjustments
Hidden costs to ask about
Some add-ons are small, but they stack up fast. Ask before you arrive.
Common extras include:
- Medications
- Night guards
- Bite adjustments after healing
- Airport transportation
- Currency and exchange-rate handling
Also confirm whether prices are quoted in U.S. dollars and whether the clinic updates dental prices frequently. If exchange rates may affect your total, you should know that up front.
How to pay without stress
Many clinics accept deposits, credit cards, and wire transfers. Some travelers use financing through services in their home country.
For solo travel, simple safeguards help:
- Bring two payment methods
- Confirm your daily card limit with your bank before you leave
- Keep receipts and written estimates in one easy-to-find folder
Solo-friendly timing and sample itineraries
Traveling alone gets easier when your calendar has structure. You do not need a rigid schedule, but you do need realistic buffers for rest, swelling, and follow-ups.
The 72-hour consult stopover
This works well if you want a clear plan and a firm quote before committing to treatment.
- Day 1: Arrive, check in, hydrate, and complete imaging if scheduled.
- Day 2: Exam, case review, and treatment discussion. Confirm timing, materials, and what is included.
- Day 3: Keep activities light, then depart.
Keep evenings quiet, prioritize sleep, and avoid trying to “fit everything in.” The goal is clarity, not sightseeing.
First visit for surgery (5–7 days)
If your plan includes extractions, implants, or other surgical steps, give yourself enough time to recover without rushing.
Expect:
- One main procedure day
- Two to three low-key recovery days
- A follow-up check-in before you travel
Avoid sun, alcohol, and intense activity until the clinic clears you. If you are in a beach destination, treat the sun like a recovery stressor, not a perk.
The return visit (3–6 months later)
Many treatment plans require a second trip for final fittings and restorations once healing is complete.
This visit is often more appointment-heavy than people expect. Book flexible flights when possible, and leave room for adjustment visits. That buffer can prevent a stressful scramble at the end.
Safety and logistics when you are on your own
Solo travel is not inherently risky. It just requires fewer assumptions and more planning.
Getting around
After appointments, you want simplicity. Pre-arranged pickup through the clinic or a trusted taxi service reduces stress, especially if you are tired or numb.
Choose routes that are short and predictable. Daylight transfers are easier. If you are walking anywhere, keep it close and straightforward.
Where to stay
Your lodging is part of your recovery plan. Pick a place within a short drive of the clinic, ideally with:
- Elevator access
- Quiet rooms
- A fridge or microwave for soft foods
Ask about early check-in and late checkout so you are not negotiating logistics on procedure day.
Low-key recovery ideas
Plan activities that help you feel human without pushing your body. Early beach walks, shaded cafés with Wi-Fi, and short museum visits can work well if you keep them brief.
If an activity risks swelling, fatigue, or missed medication timing, it is not worth it. Recovery comes first.
Backup plan
Save local emergency numbers, embassy contacts, and your insurance details on your phone. Also carry printed copies of your plan, addresses, and key contacts in case your battery dies.
That one small step can lower your anxiety more than you expect.
Aftercare you can manage solo
A solo recovery is absolutely doable when you know what to watch for and you set up a simple routine.
Pain and swelling timeline
Mild swelling often peaks around 48 to 72 hours, then gradually eases. Use cold packs as directed and follow the medication schedule your dentist provides.
Contact the clinic if you have worsening pain, fever, or bleeding. Do not try to “wait it out” just to avoid bothering anyone.
Eating soft without getting bored
Make a three-stage plan so you are not guessing when you are hungry:
- Liquids
- Smooth soft foods
- Fork-tender meals
Easy grocery options include yogurt, soups, eggs, and ripe bananas. Skip straws until your dentist confirms it is safe, especially after extractions.
Remote follow-ups
Many clinics will request photos, short videos, or bite checks after you return home. Confirm how remote follow-ups work before you leave, including expected response times and who you should contact after hours.
You do not want to figure this out when you are worried.
What to pack for a hands-free recovery
Pack like you are supporting your future self, not your “vacation self.”
Bring:
- ID, imaging, and any relevant medical records
- A medication organizer
- A reusable cold pack
- A supportive travel pillow
- Saline spray
- Extra charging cables
- A straw-free cup
- Easy snacks so you are not hunting for food right after treatment
If you work remotely, add headphones and a simple checklist of appointment times so you can plan short blocks without overcommitting.
Common questions, solo edition
Do I need Spanish?
Not always. Many teams work daily with international patients, though a few basic phrases help with taxis and shops.
Can I work remotely while I heal?
Often yes, if you keep your work blocks short and choose quiet lodging.
What if something goes wrong at home?
Ask how the clinic coordinates with a dentist in your city and what the warranty requires.
How do guarantees usually work?
Policies vary, but many cover workmanship for a defined period if you follow aftercare instructions and complete required check-ins.
Mini checklist
Before the trip: Verify credentials, request a detailed written plan, confirm what the quote includes, and map your lodging and transportation.
On site: Bring two payment methods, pick up medications, save emergency contacts, and schedule your follow-up.
After you return: Send requested photos, note any bite changes, and plan the second visit if your case requires it.