

Intimidated by pie dough? This homemade buttery flaky pie crust recipe teaches you every step for the perfect pie.
I love making pies, but what I used to do all the time is buy my pie crust — that was until I found out how incredibly easy it is to make your own pie crust from scratch.
I have a recipe for a Double-Crust Pie Pastry which comes in handy if you are making covered pies like my yummy Old Fashioned Apple Pie, Blackberry Pie, or Peach Pie.

You can also use this pie crust recipe for single pie crusts like my Fried Apple Hand Pies, Chocolate Pie, Chocolate Chip Cookie Pie, Chess Pie, and Pecan Pie. You just take half the dough and freeze it for the next time you need a pie crust.
How to Make a Buttery Flaky Pie Crust
Once you get the hang of making homemade pie crusts, the result is so much better than the typical frozen pie crust that you get at the store. And you will love telling people that you made it from scratch!

Combine flour, salt, and sugar in a food processor; pulse to mix. Add the butter and pulse 4 times.
Add shortening in small chunks, and pulse 4 more times. The mixture should resemble coarse meal, with butter no bigger than the size of peas.
Add in 6 tablespoons of ice water over the flour mixture. Pulse a couple of times. If the dough is still crumbly and not coming together when you pinch it, you will need to add more water.
Add a teaspoon of water at a time, pulsing once after each addition, until the mixture just begins to clump together.
Carefully empty the dough mixture onto a clean, dry, lightly floured surface.
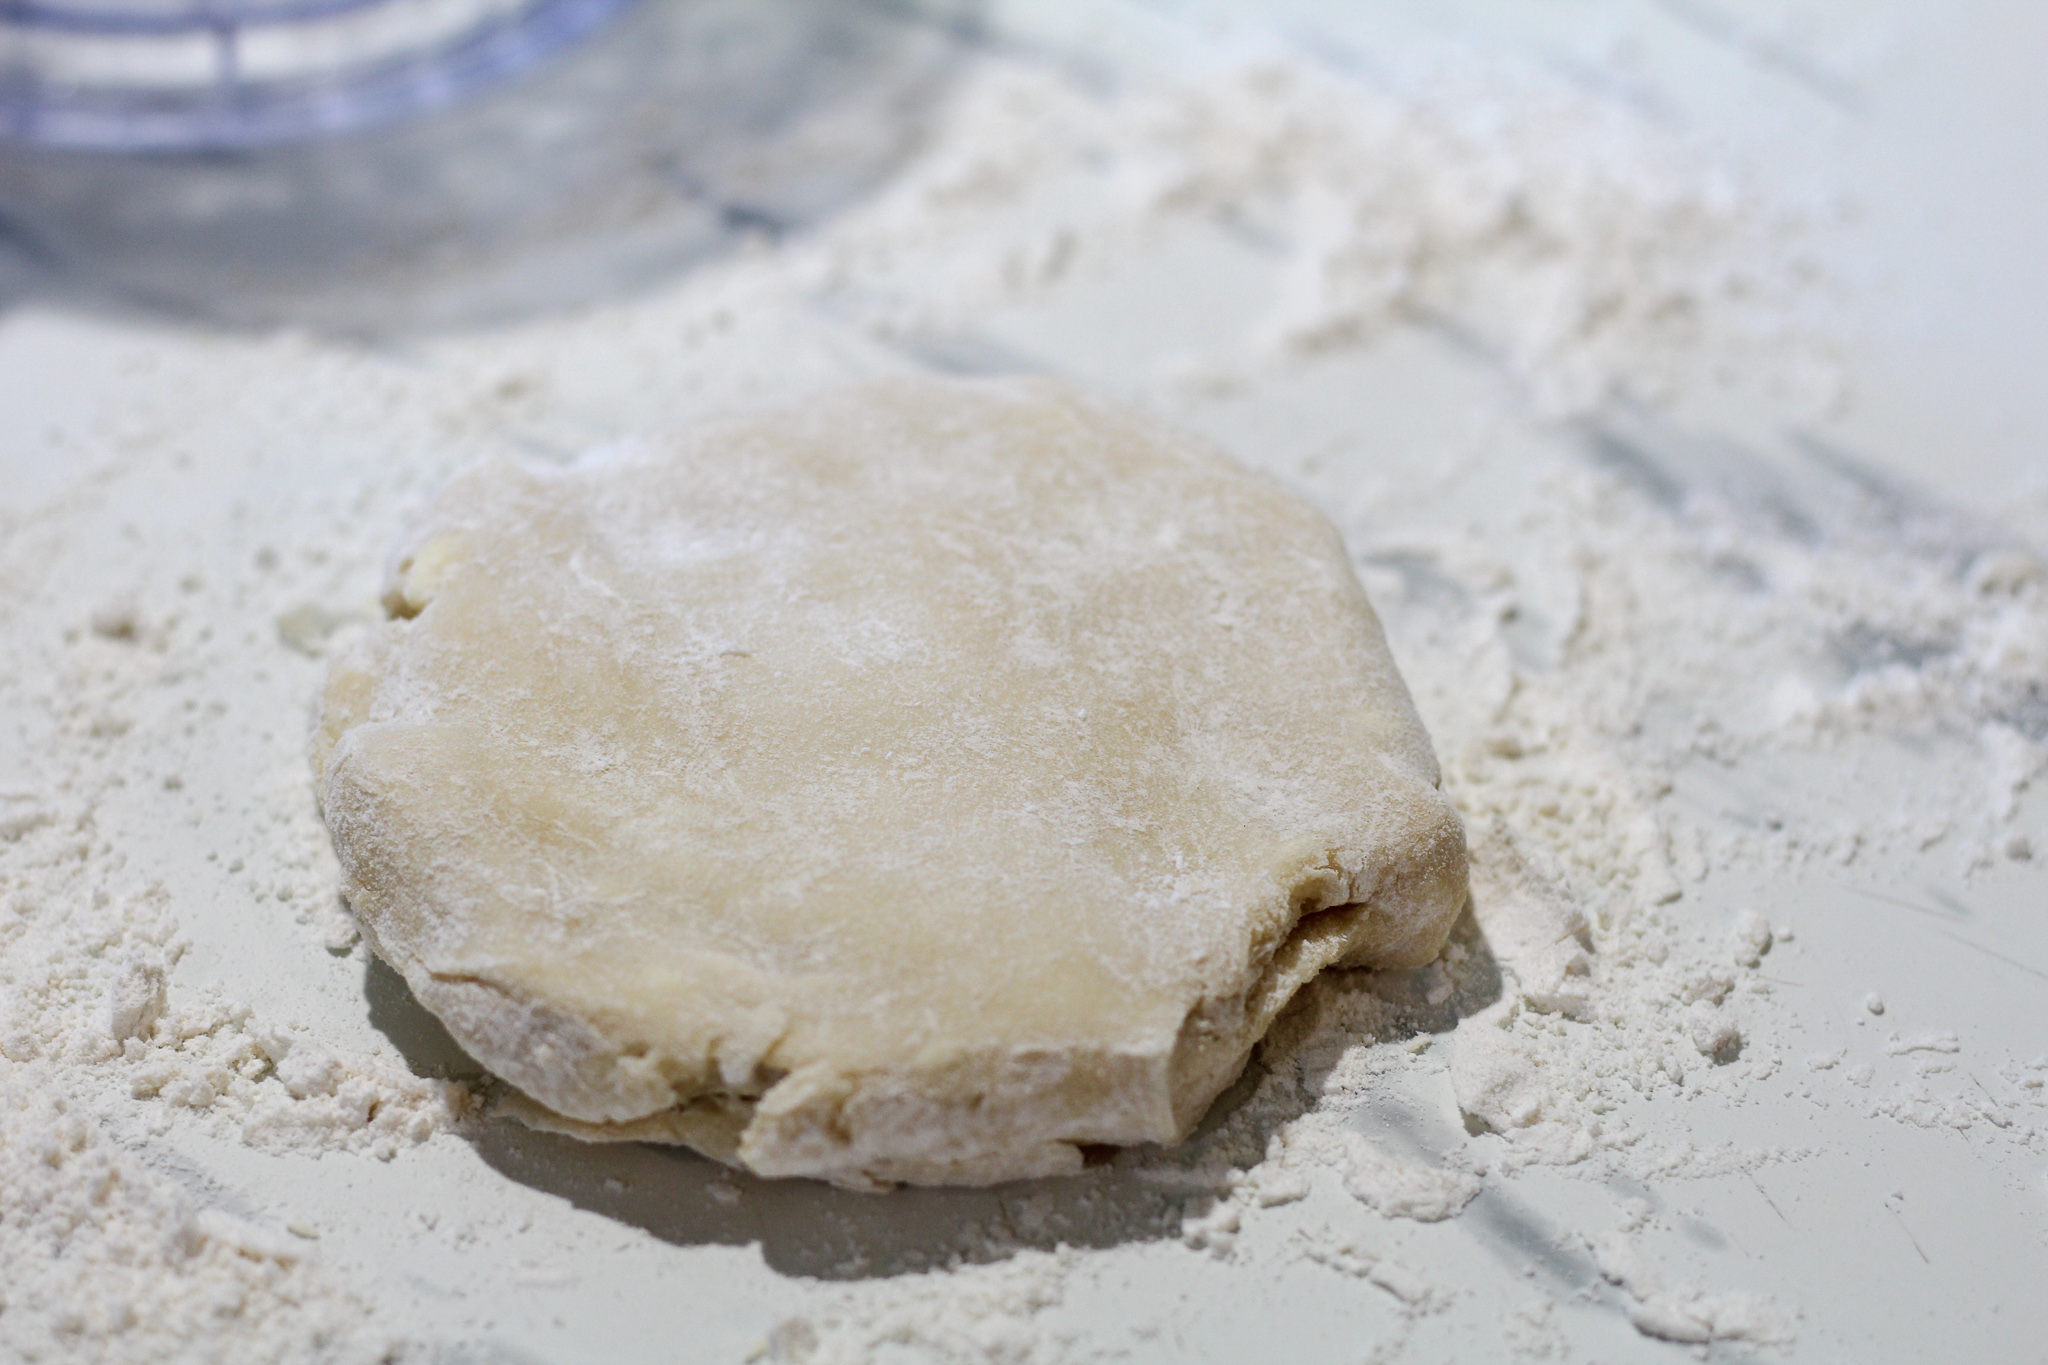

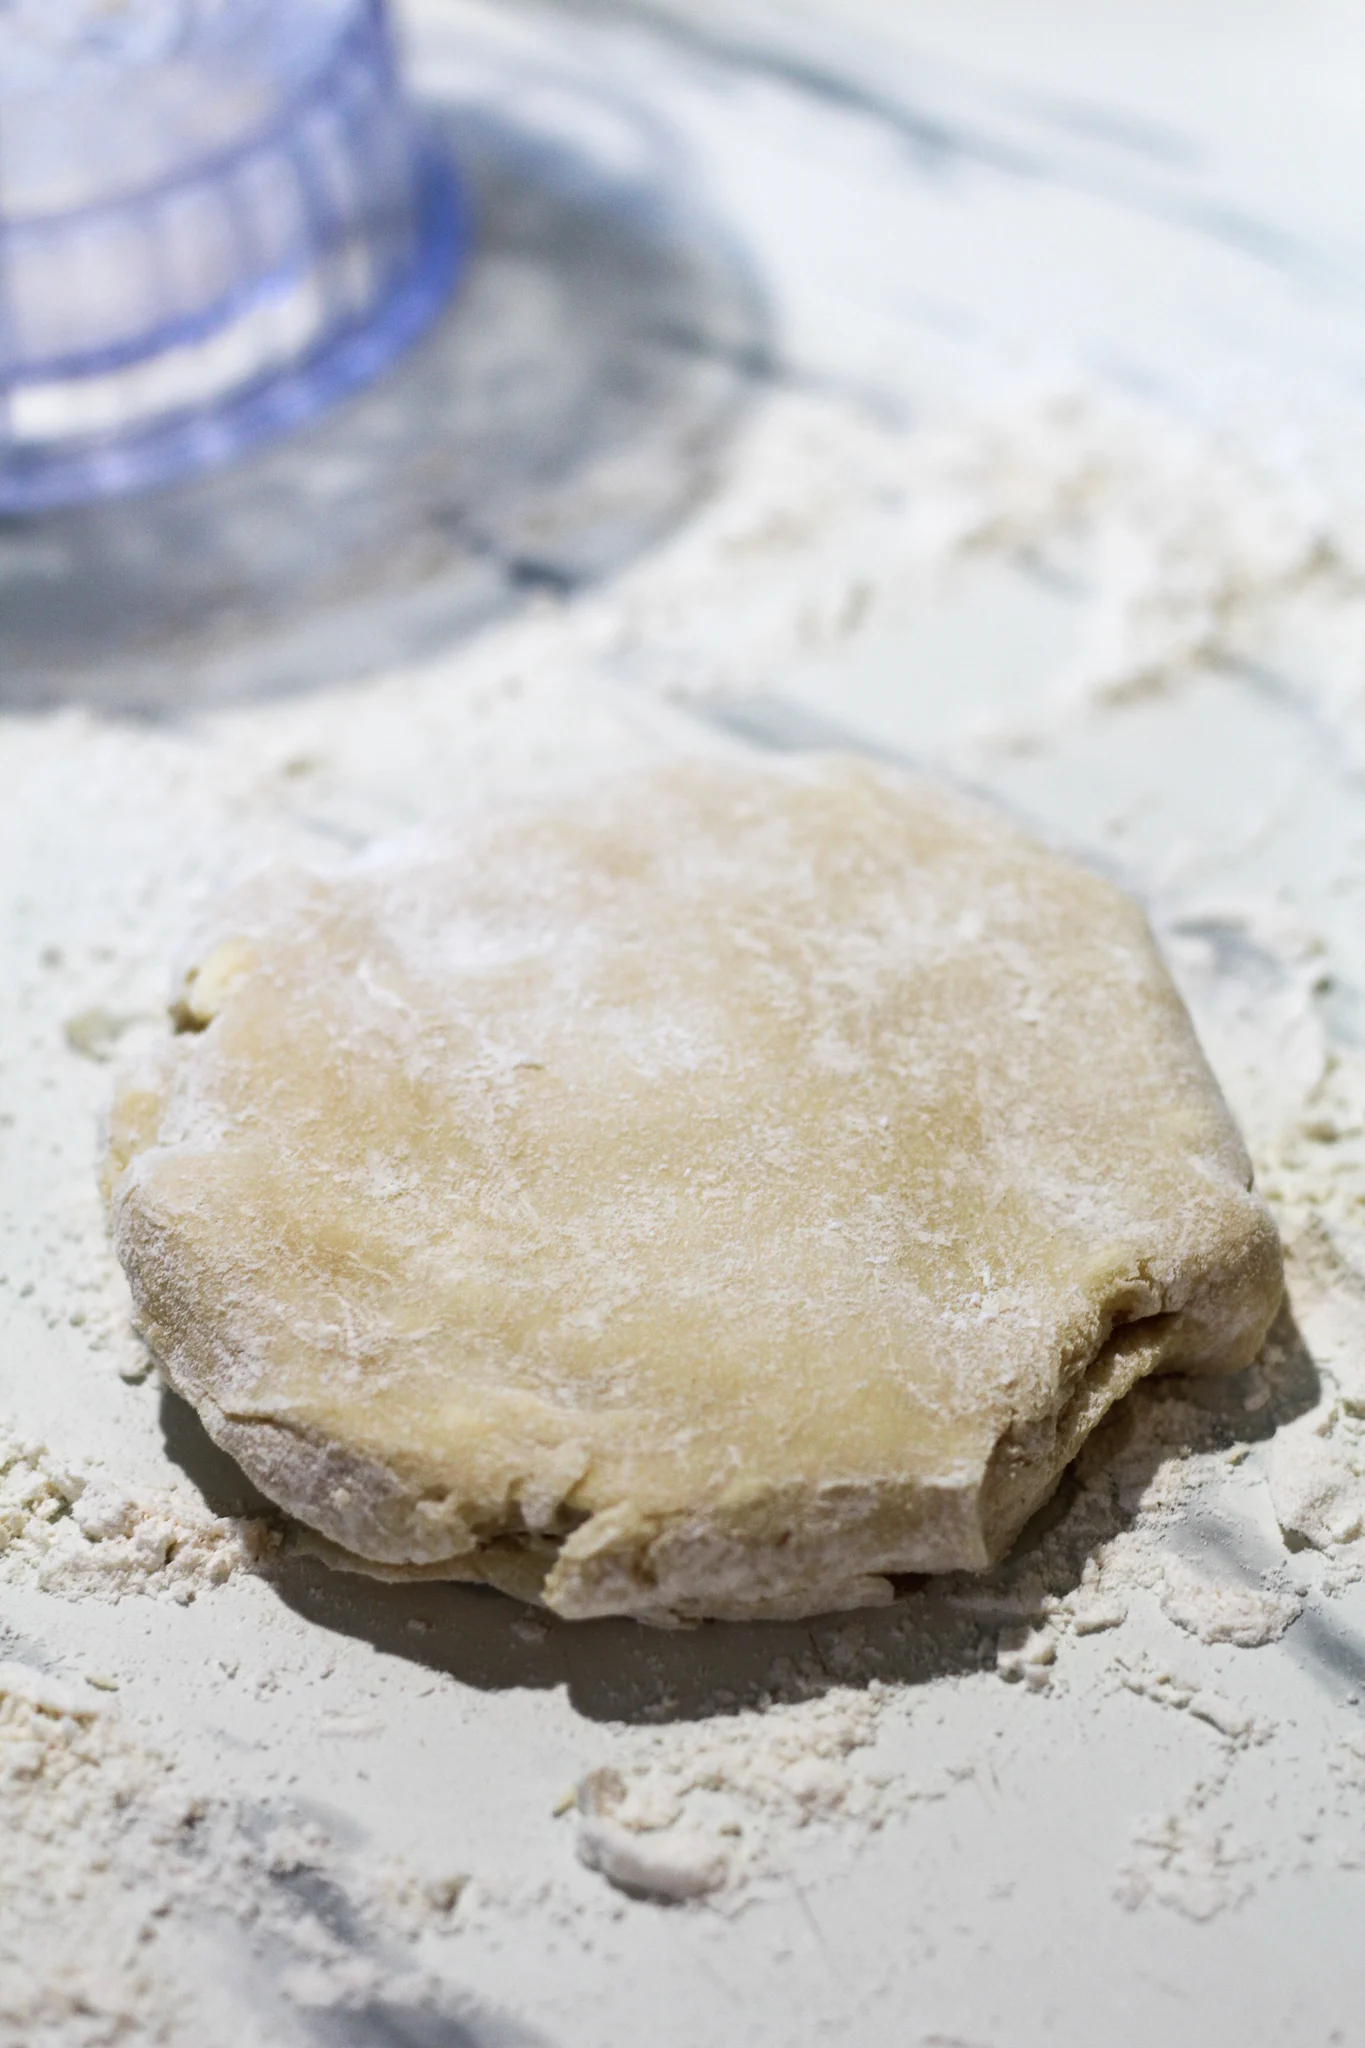
Divide the dough mixture into two even amounts. Knead each mound with your hands just enough to form a disc. Be sure and only knead just a little. If you knead the dough too much, it will develop gluten which will toughen the dough. Knead enough so that the dough holds together without cracks.
Sprinkle each disc with a little flour, wrap each one in plastic wrap, and refrigerate for one hour or up to 2 days. The reason that you refrigerate before rolling is so that the dough has a chance to chill again before rolling.

Let's Roll the Dough
When you are ready to make the pie, remove one disc from the refrigerator. Let it sit at room temperature for 5-10 minutes in order to soften just enough to make rolling out a bit easier.
Using a rolling pin on a lightly floured surface, roll the dough from the center to the outside edge. Turn a quarter turn and repeat, all the way around. This will make sure the dough stays in a rough circle.
As you roll out the dough, check if the dough is sticking to the surface below. If necessary, add a few sprinkles of flour under the dough to keep the dough from sticking.
Using the rolling pin, lightly roll the dough around the rolling pin. Transfer to the pie plate and allow it to roll out onto the pan.
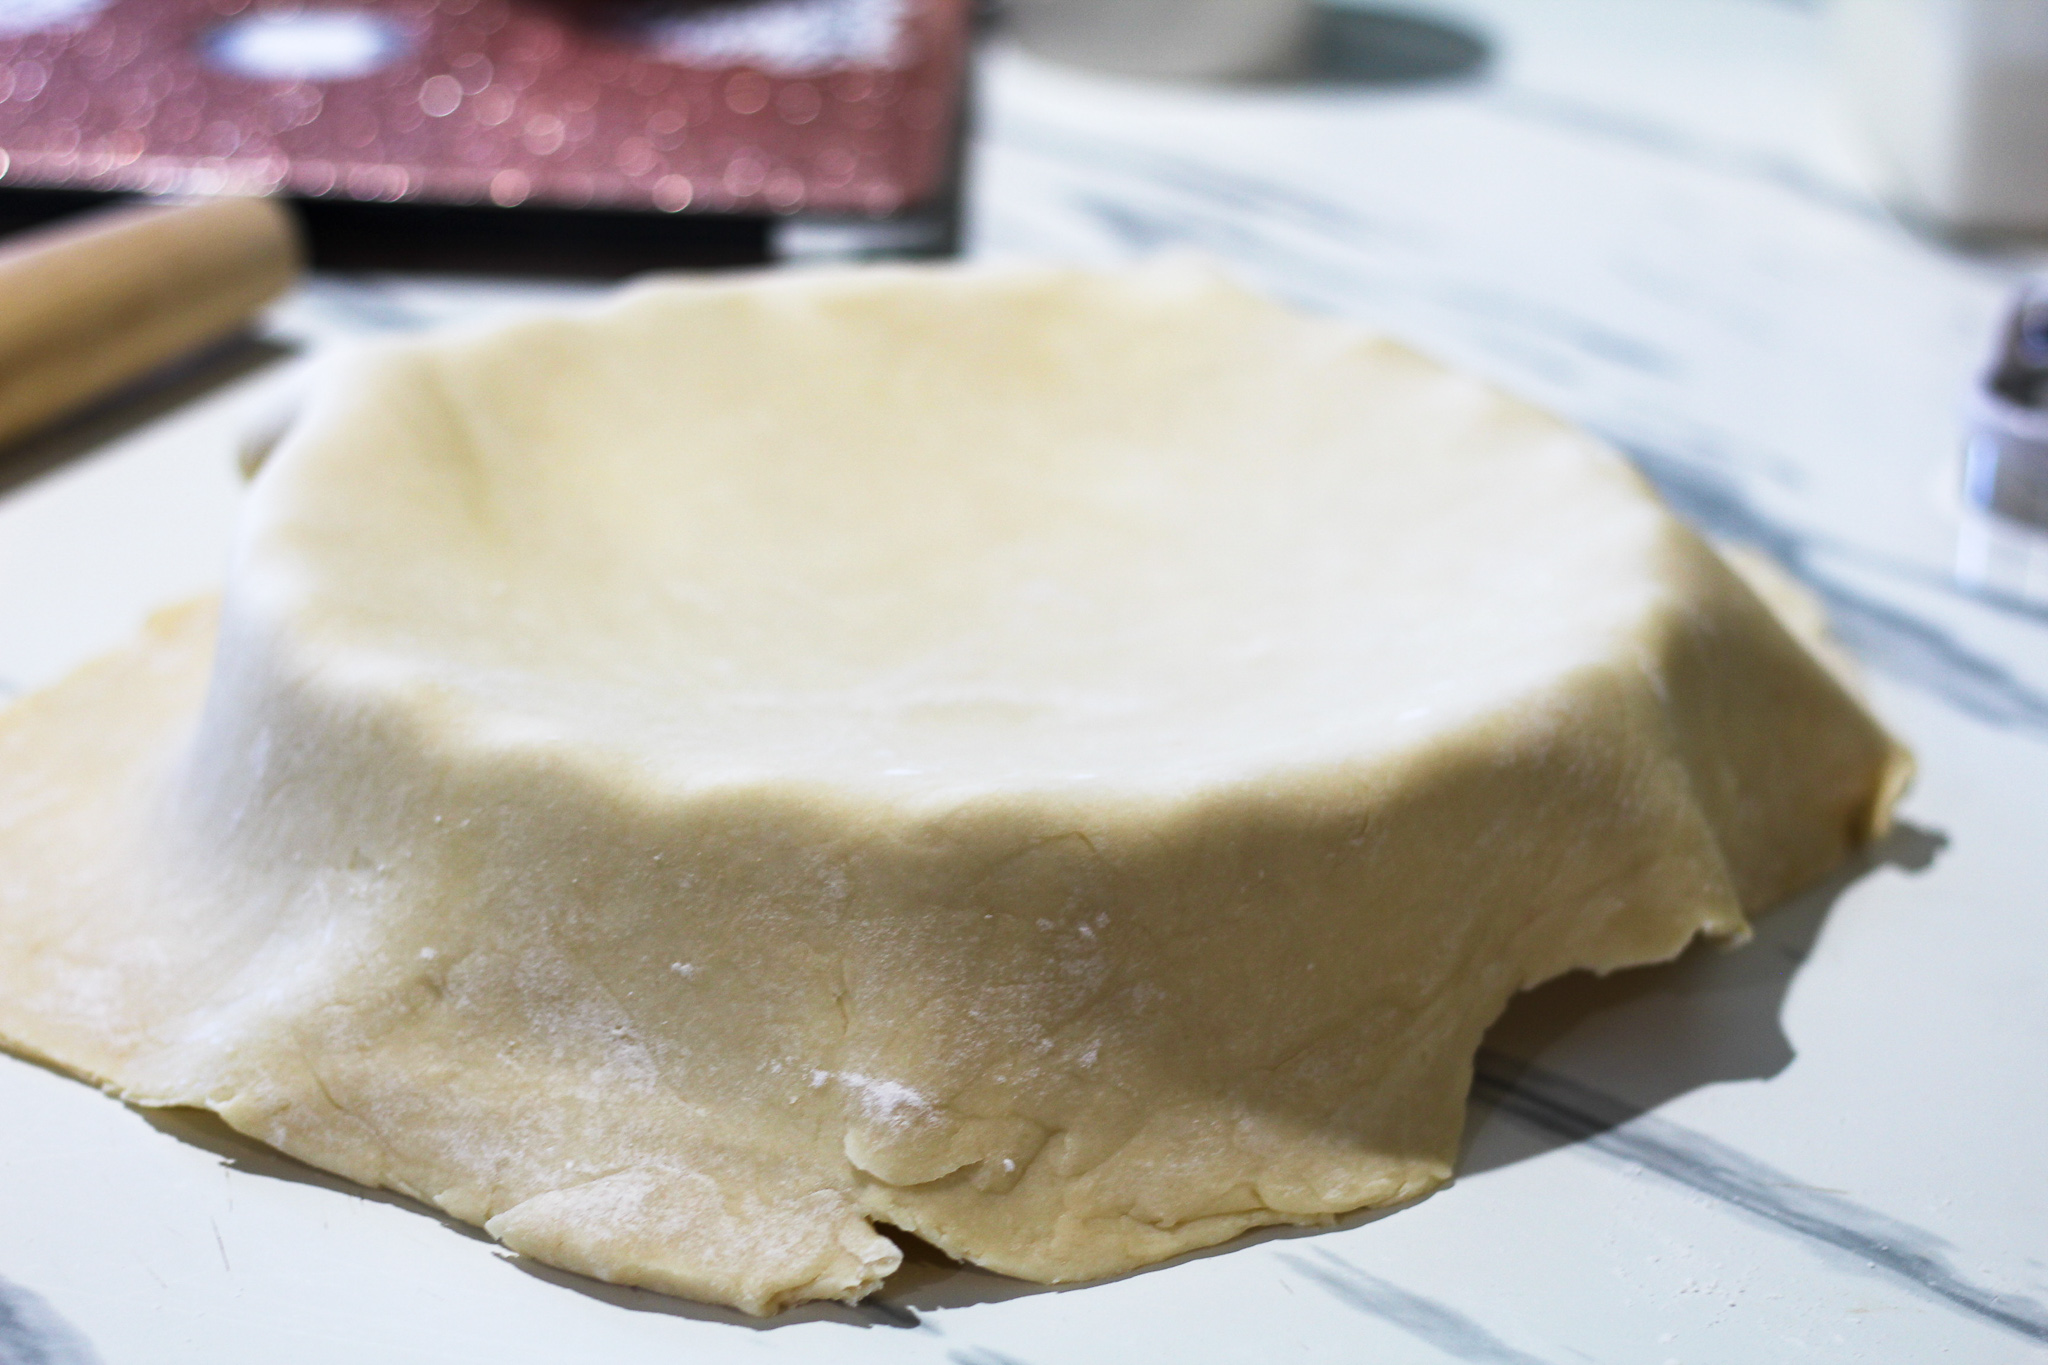

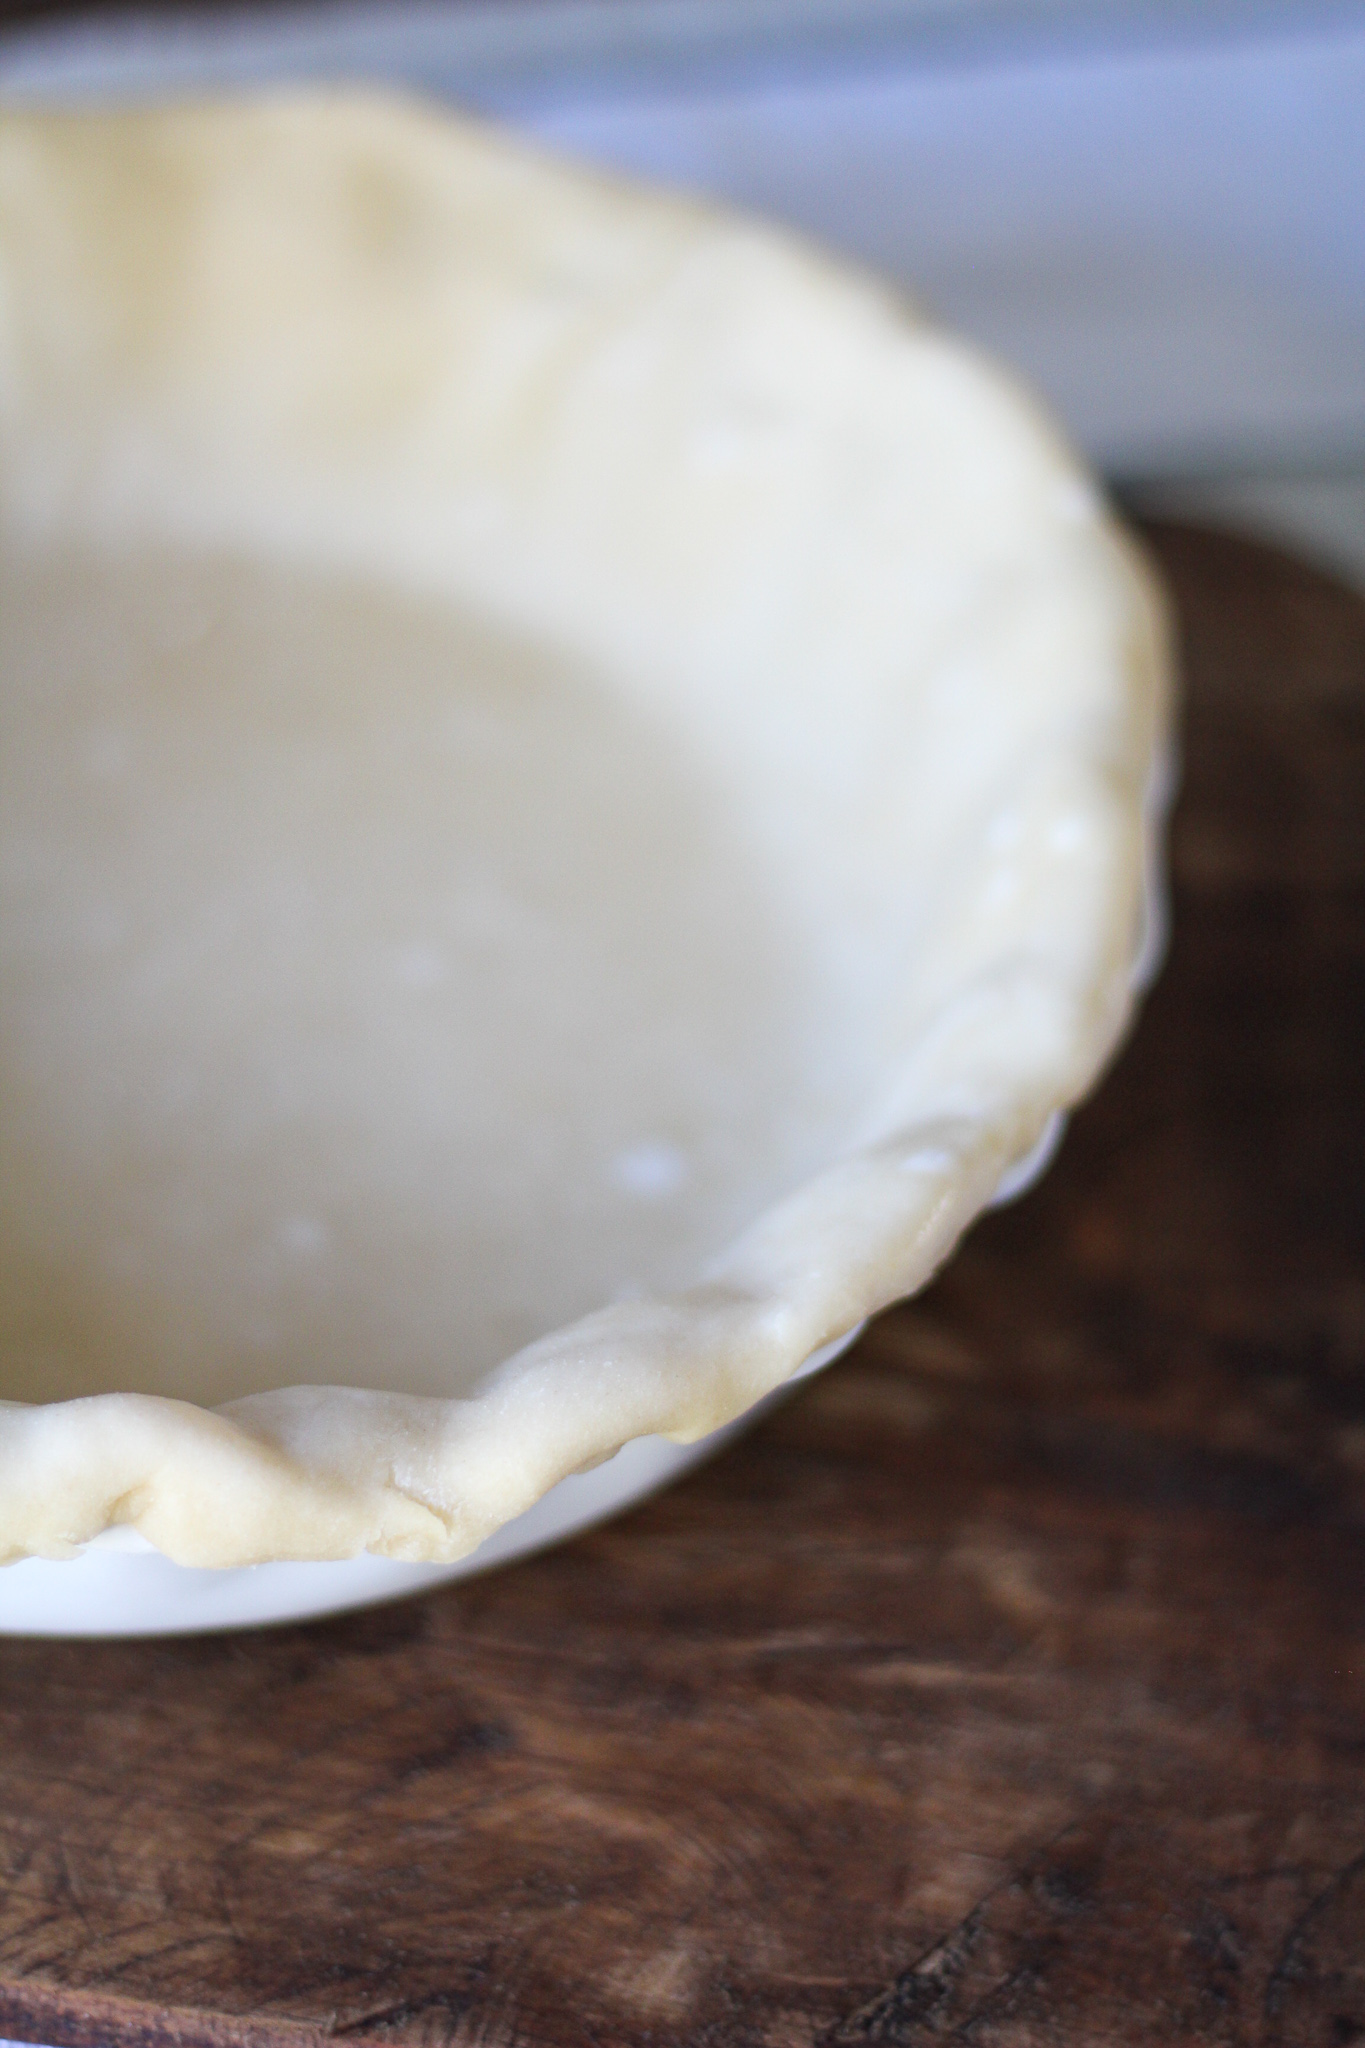
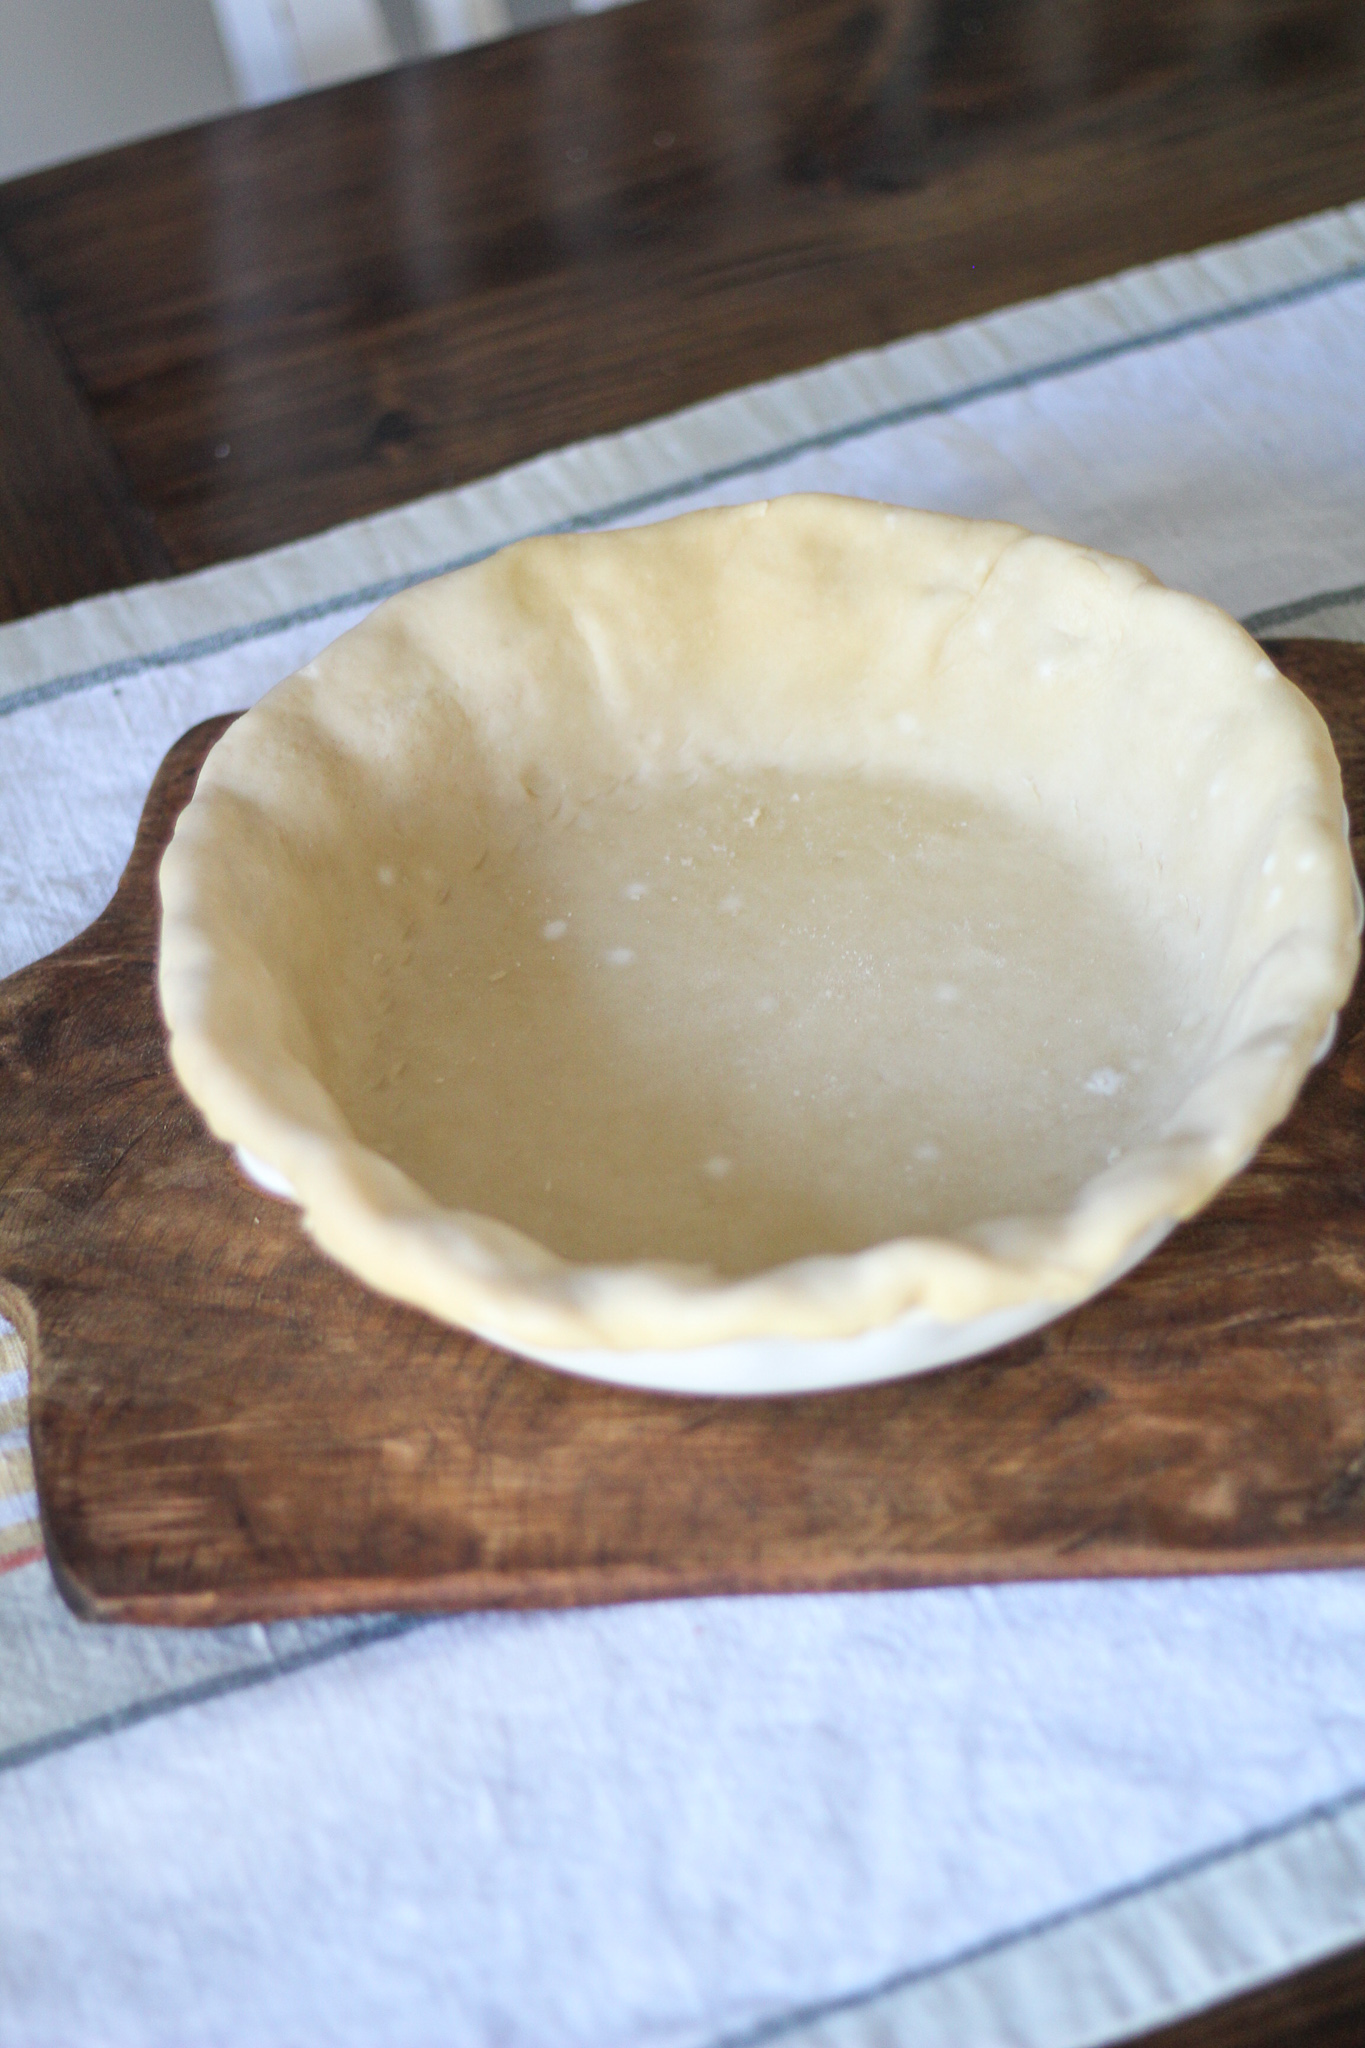
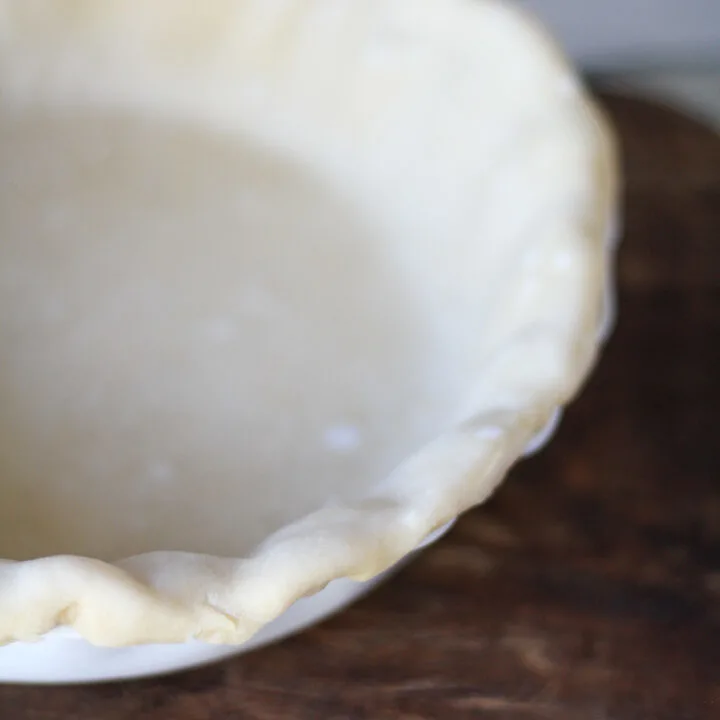
Gently press the pie dough down so that it lines the bottom and sides of the pie plate.
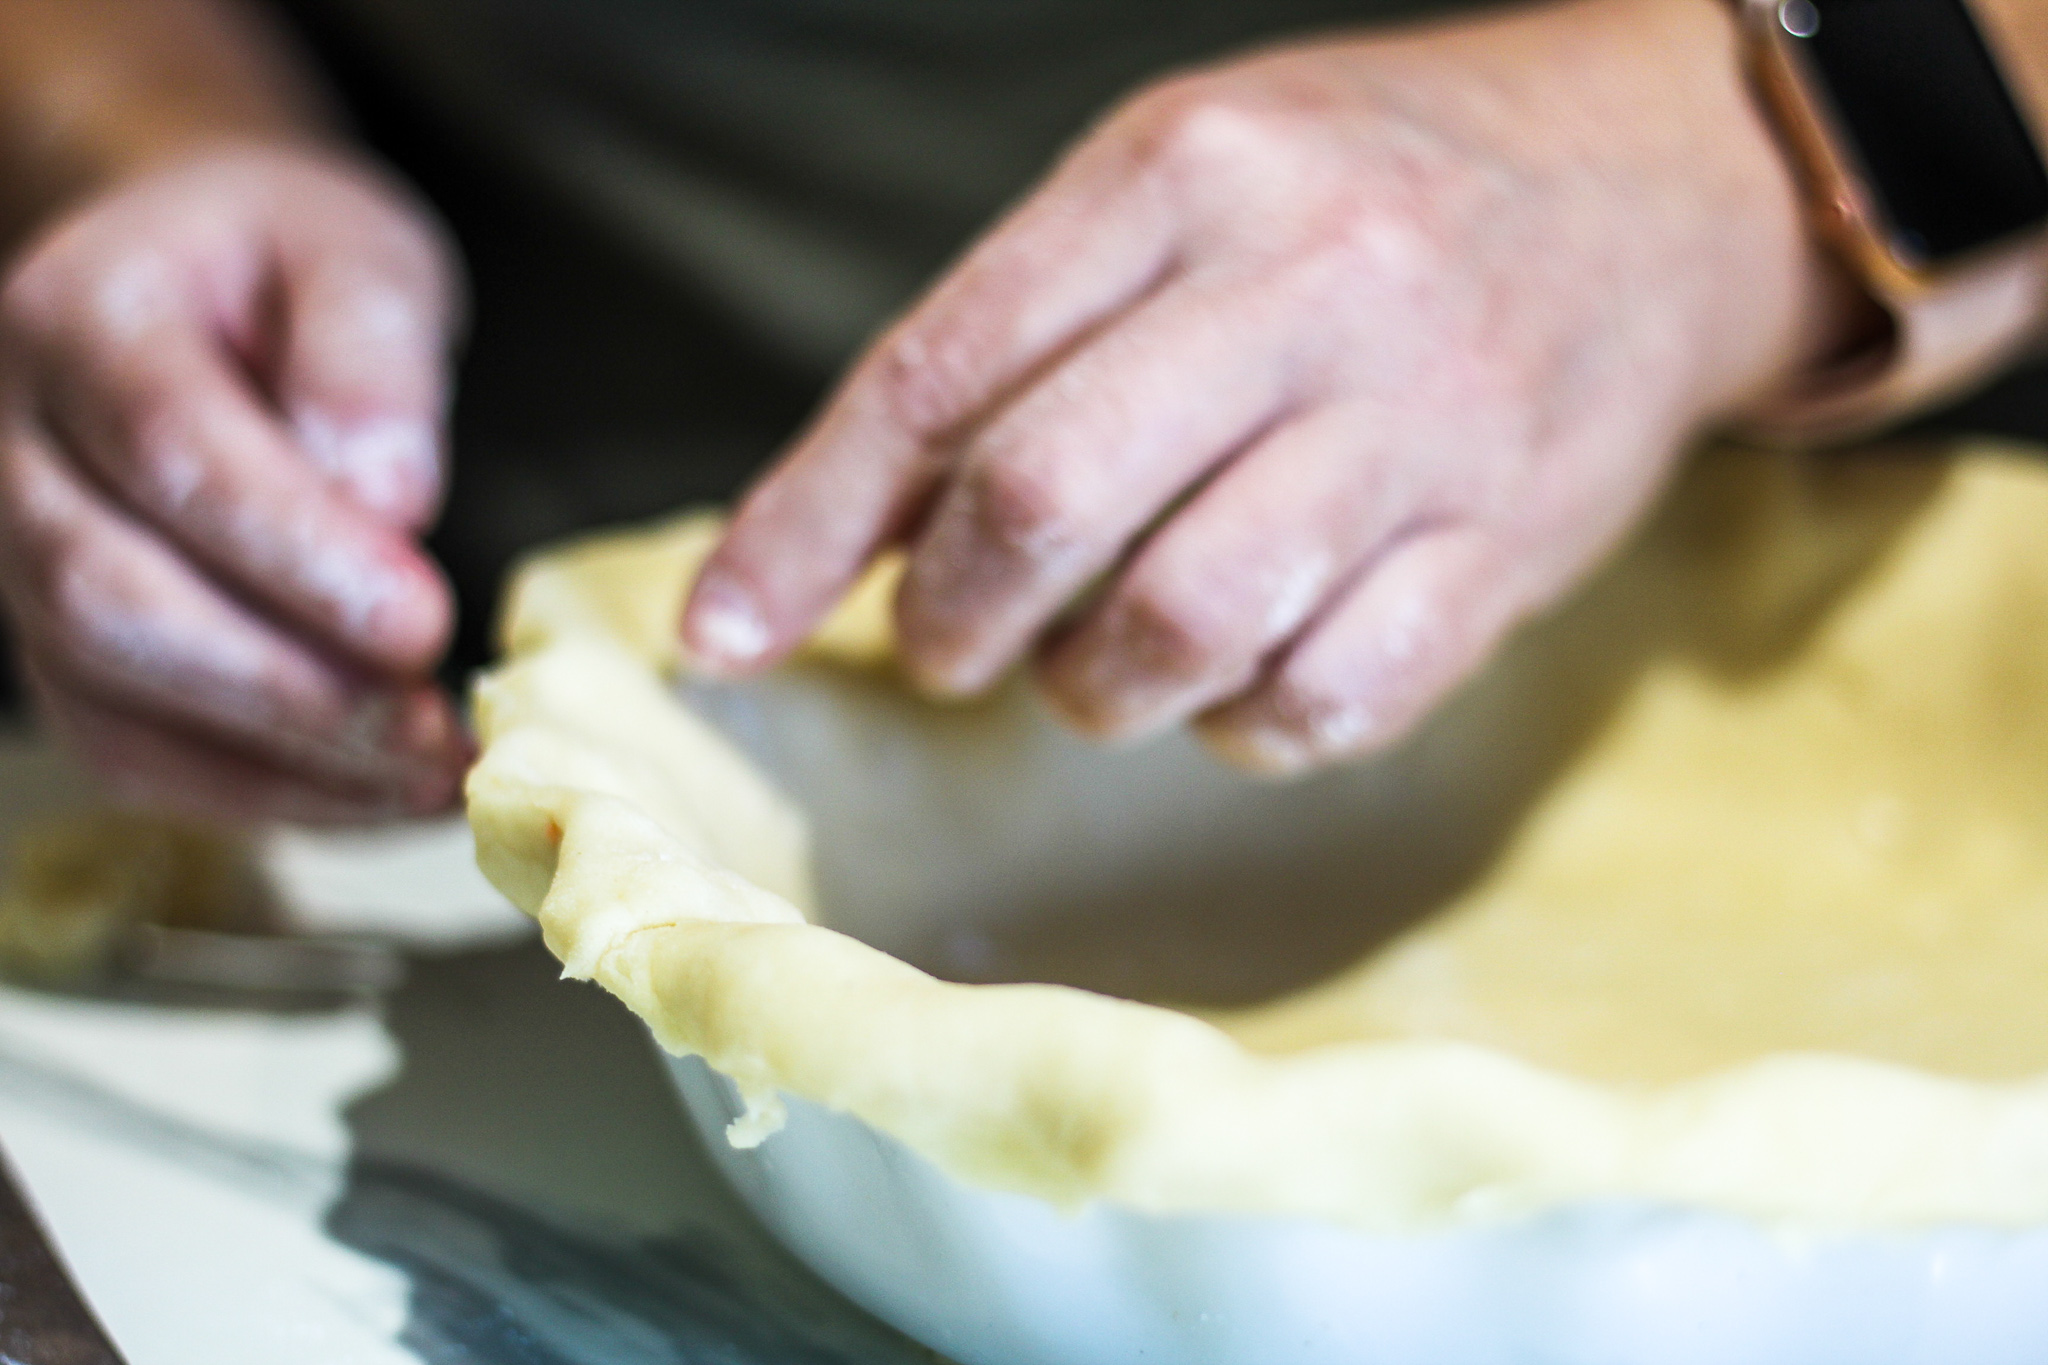
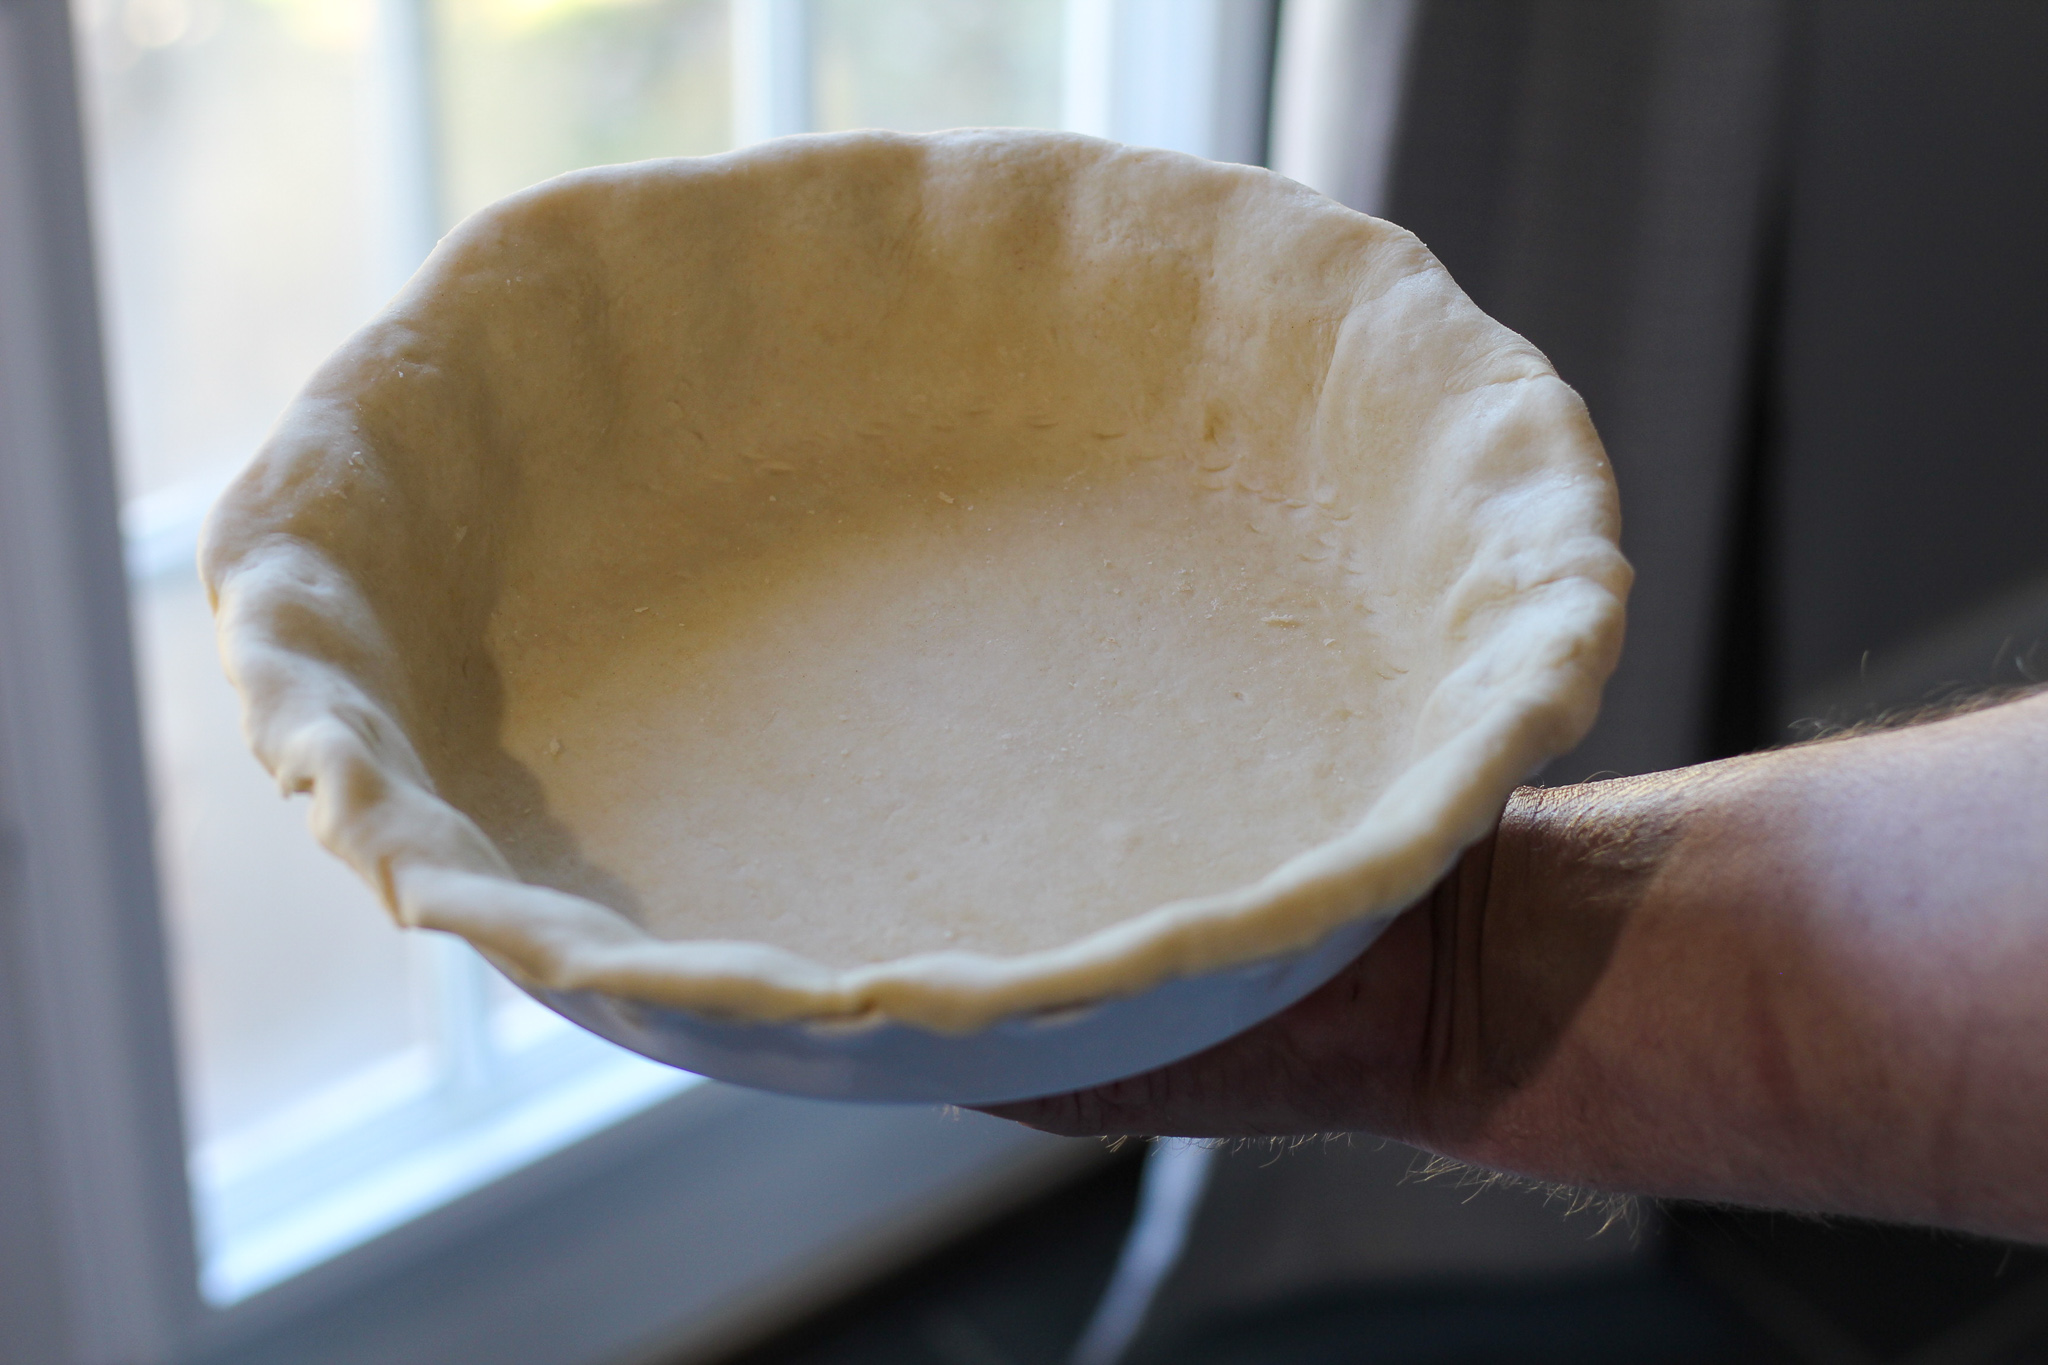
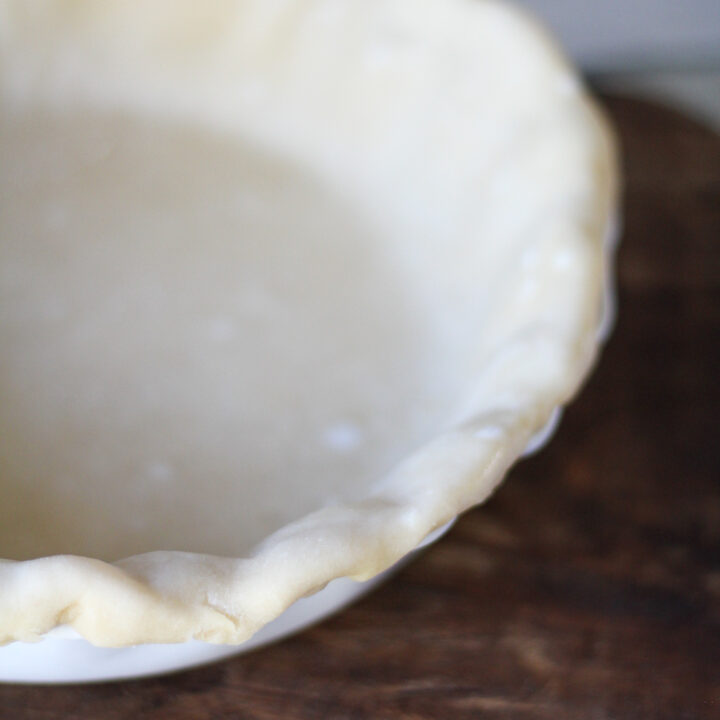
Use a pair of kitchen scissors to trim the dough to within 1/2 inch of the edge of the pie dish. Using your fingers, pinch the edges to crimp.

Now you can add your pie filling to the pan. If you are making a double-crust pie, do the same thing with the second crust. If you are making a single pie, you only need one pastry dough.
How to Pre-Bake a Pie Crust
If your recipe calls for a pre-baked crust, for pies like my Chocolate Cream Pie, follow all the steps above for a single, bottom crust only, and then do the following.
Freeze the crust until chilled, about 15 minutes. This is an important step in pre-baking. Otherwise, the crust will slip down the sides. Preheat the oven to 350°F.

Line pie crust with aluminum foil. Let the foil hang over the edge by a few inches then fill with pie weights. This makes it easier to lift and remove the pie weights when the baking is done.
Fill the crust to the top with pie weights. You can purchase those on Amazon, or you can do like I do and use dry beans — it's a lot cheaper.
Bake at 350°F for 8-10 minutes until the crust has cooked. Cool the crust before filling.
Delicious Pies To Make Using my Pie Crust Recipe
What favorite pie could you make tonight and try out this recipe?
Buttery Flaky Pie Crust
Make the most amazing flaky buttery pie crust ever with this simple and easy recipe.
Ingredients
- 2 1/2 cups all purpose flour
- 1 teaspoon salt
- 2 tablespoons sugar
- 12 tablespoons butter, chilled, cut into 1/4 inch cubes
- 1/2 cup vegetable shortening
- 8 tablespoons ice water
Instructions
- Combine flour, salt, and sugar in a food processor; pulse to mix. Add the butter and pulse 4 times.
- Add shortening in small chunks, and pulse 4 more times. The mixture should resemble coarse cornmeal, with butter no bigger than the size of peas.
- Add 6 tablespoons of ice water to the flour mixture. Pulse a couple of times. Check the dough. If it does not hold together when you pinch it, you need to add another teaspoon of water. Pulse once after each addition, until the mixture just begins to clump together.
- Carefully empty the dough mixture onto a clean, dry, lightly floured surface.
- Divide the dough mixture into two even amounts. Knead each mound with your hands just enough to form a disc. Be sure and only knead just a little. If you knead the dough too much, it will develop gluten which will toughen the dough. Knead enough so that the dough holds together without cracks.
- Sprinkle each disc with a little flour, wrap each one in plastic wrap, and refrigerate for one hour or up to 2 days. The reason that you refrigerate before rolling is so that the dough has a chance to chill again before rolling.
- When you are ready to make the pie, remove one disc from the refrigerator. Let it sit at room temperature for 5-10 minutes in order to soften just enough to make rolling out a bit easier.
- Using a rolling pin on a lightly floured surface, roll the dough from the center to the outside edge. Turn a quarter turn and repeat, all the way around. This will make sure the dough stays in a rough circle.
- As you roll out the dough, check if the dough is sticking to the surface below. If necessary, add a few sprinkles of flour under the dough to keep the dough from sticking.
- Using the rolling pin, lightly roll the dough around the rolling pin. Transfer to the pie plate and allow it to roll out onto the pan.
- Gently press the pie dough down so that it lines the bottom and sides of the pie plate.
- Use a knife to trim the dough to within 1/2 inch of the edge of the pie dish. Using your fingers, pinch the edges to crimp.
- Now you can add your pie filling to the pan. If you are making a double-crust pie, do the same thing with the second crust. If you are making a single pie, you only need one pastry dough.
- Follow pie instructions to bake pies from this point forward.
Nutrition Information:
Yield:
10Serving Size:
1Amount Per Serving: Calories: 351Total Fat: 25gSaturated Fat: 13gTrans Fat: 1gUnsaturated Fat: 10gCholesterol: 80mgSodium: 331mgCarbohydrates: 27gFiber: 1gSugar: 3gProtein: 4g
Rustic Apple Pie - Jen Around the World
Sunday 6th of March 2016
[…] versions of this and I knew I wanted to try it on a larger scale. For the crust, I just made my homemade pie crust. I did not have a pie pan, so my trusty pizza stone became the perfect pan for my rustic crust. […]
Rustic Apple Pie - Jen's Journey
Wednesday 21st of January 2015
[…] versions of this and I knew I wanted to try it on a larger scale. For the crust, I just made my homemade pie crust. I did not have a pie pan, so my trusty pizza stone became the perfect pan for my rustic crust. […]