

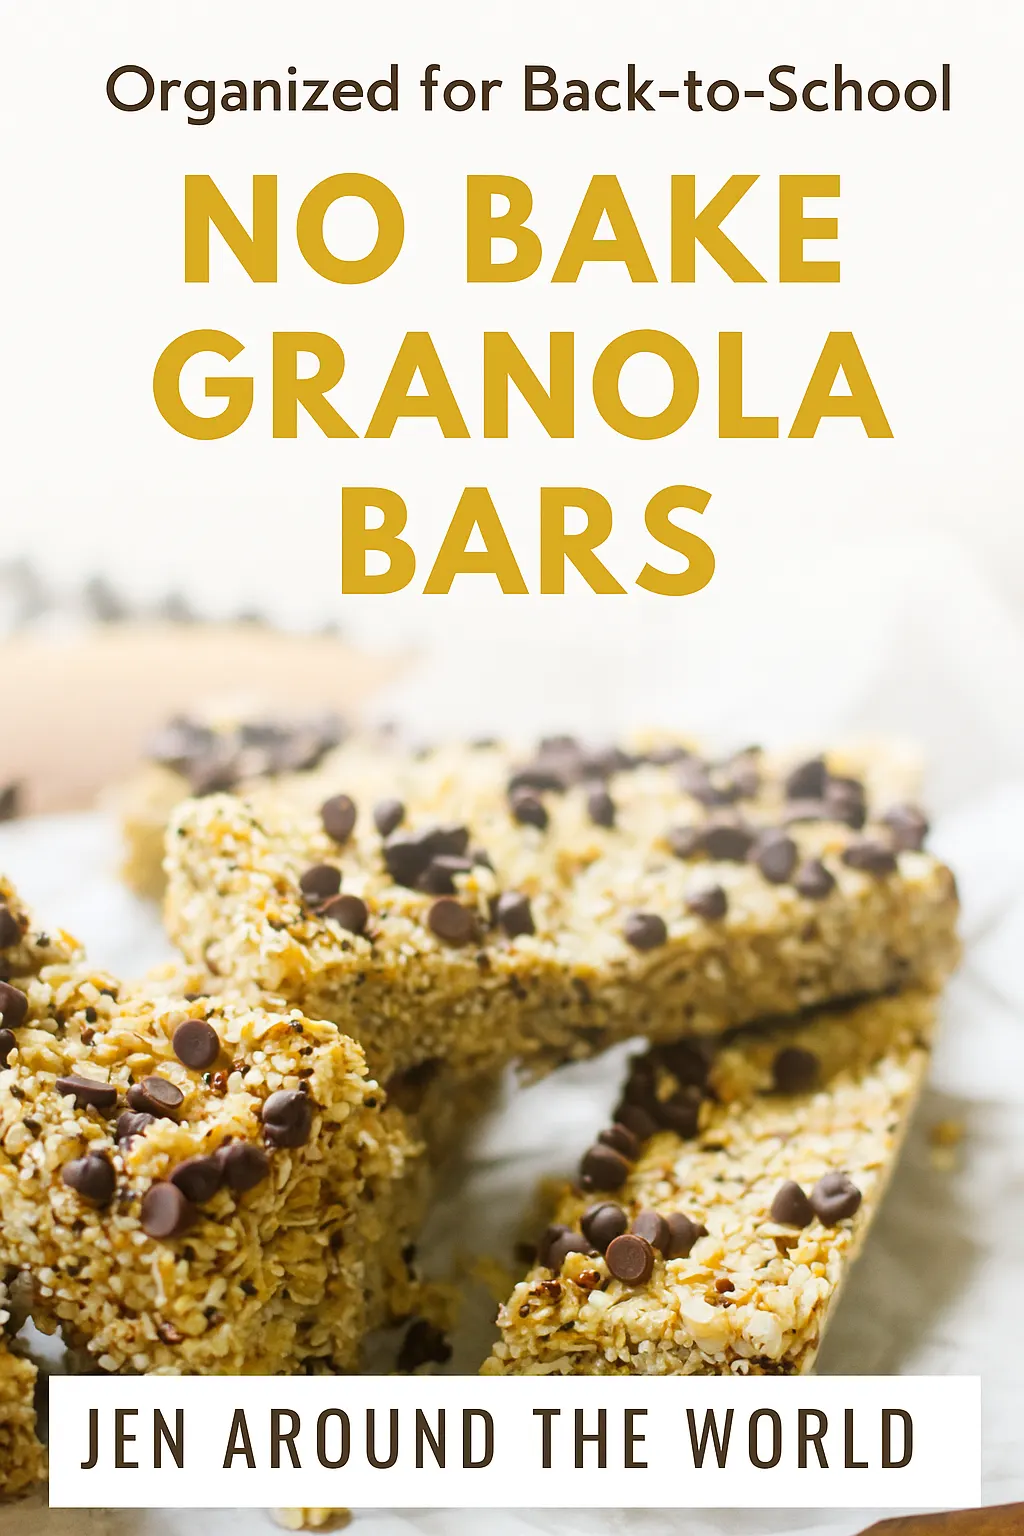
Back-to-school season is here, which means busy mornings, packed lunches, and hungry kids coming home in the afternoons. One of my favorite ways to keep everyone fueled and happy is with these easy No-Bake Granola Bars.
They’re chewy, sweet, and packed with wholesome ingredients – plus, they only take about 10 minutes to throw together!

Not only are these bars a healthier alternative to store-bought versions, but you also get to control exactly what goes into them. Customize them with your favorite mix-ins like chocolate chips, dried fruit, or even a drizzle of peanut butter on top. For more inspiration, check out all these amazing No-Bake Recipes.
These bars are budget-friendly, freezer-friendly, and picky-eater approved. Let’s get into the recipe!


Ingredients
- 2 ½ cups old-fashioned rolled oats
- 1 cup crispy rice cereal, or you can use uncooked quinoa
- ½ cup honey or pure maple syrup
- ½ cup creamy peanut butter (or almond butter)
- ⅓ cup brown sugar, packed
- 1 tsp vanilla extract
- ½ cup mini chocolate chips (or your favorite add-in)
Optional mix-ins: dried cranberries, raisins, sunflower seeds, shredded coconut, or chopped nuts.


Instructions
- Prep the pan: Line an 8×8-inch baking dish with parchment paper, leaving a little extra hanging over the sides for easy removal.
- Make the base: In a medium saucepan over medium heat, combine the peanut butter, honey, and brown sugar. Stir until smooth and just bubbling. Remove from the heat and stir in the vanilla.
- Mix it up: In a large bowl, combine the oats and crispy rice cereal. Pour the warm peanut butter mixture over the top and stir until everything is well coated.
- Add the goodies: Gently fold in the chocolate chips or your chosen mix-ins.
- Press and set: Transfer the mixture into the prepared pan. Use a piece of parchment paper to press it down firmly and evenly.
- Chill: Refrigerate for at least 1 hour, or until it's firm.
- Slice and store: Lift the bars out using the parchment paper, cut into squares or rectangles, and store in an airtight container.


Tips & Trick
- For extra chewy bars, warm your honey and peanut butter mixture a little longer before mixing.
- Want nut-free? Swap peanut butter for sunflower seed butter – perfect for school lunchboxes where peanut allergies are a concern.
- Keep them in the fridge for up to a week, or freeze individually wrapped bars for up to 2 months.
Why You’ll Love These No-Bake Granola Bars
- Quick & Easy – Ready in 10 minutes, no oven required.
- Kid-Friendly – Great for lunchboxes or after-school snacks.
- Customizable – Use whatever mix-ins your family loves.
- Healthier Choice – Made with real ingredients and less sugar than most store-bought granola bars.
These homemade No-Bake Granola Bars are a lifesaver during the school year. Make a batch on Sunday and you’ll have grab-and-go snacks ready all week long. Trust me, the kids (and even the adults) will devour them!
📌 Save this recipe for busy school mornings and snack time!
Check out these other delicious No-Bake Recipes
- Easy Chocolate No-Bake Cookies
- No-Bake Orange Creamsicle Cheesecake
- Award-Winning No-Bake Gingerbread Pie
No-Bake Granola Bars


Make these easy No Bake Granola Bars for the perfect back-to-school snack! They’re chewy, healthy, and kid-approved. Customize with chocolate chips, dried fruit, or nuts. Great for lunchboxes, after-school, or meal prep.
Ingredients
- 2 ½ cups old-fashioned rolled oats
- 1 cup crispy rice cereal or uncooked quinoa
- ½ cup honey or pure maple syrup
- ½ cup creamy peanut butter (or almond butter)
- ⅓ cup brown sugar, packed
- 1 tsp vanilla extract
- ½ cup mini chocolate chips (or your favorite add-in)
- Optional mix-ins: dried cranberries, raisins, sunflower seeds, shredded coconut, or chopped nuts.
Instructions
Prep the pan: Line an 8x8-inch baking dish with parchment paper, leaving a little extra hanging over the sides for easy removal.
Make the base: In a medium saucepan over medium heat, combine the peanut butter, honey, and brown sugar. Stir until smooth and just bubbling. Remove from heat and stir in the vanilla.
Mix it up: In a large bowl, combine the oats and crispy rice cereal. Pour the warm peanut butter mixture over the top and stir until everything is well coated.
Add the goodies: Gently fold in the chocolate chips or your chosen mix-ins.
Press and set: Transfer the mixture into the prepared pan. Use a piece of parchment paper to press it down firmly and evenly.
Chill: Refrigerate for at least 1 hour, or until firm.
Slice and store: Lift the bars out using the parchment paper, cut into squares or rectangles, and store in an airtight container.
Nutrition Information:
Yield:
6Serving Size:
1Amount Per Serving: Calories: 750Total Fat: 29gSaturated Fat: 10gTrans Fat: 0gUnsaturated Fat: 17gCholesterol: 0mgSodium: 627mgCarbohydrates: 114gFiber: 11gSugar: 59gProtein: 17g