

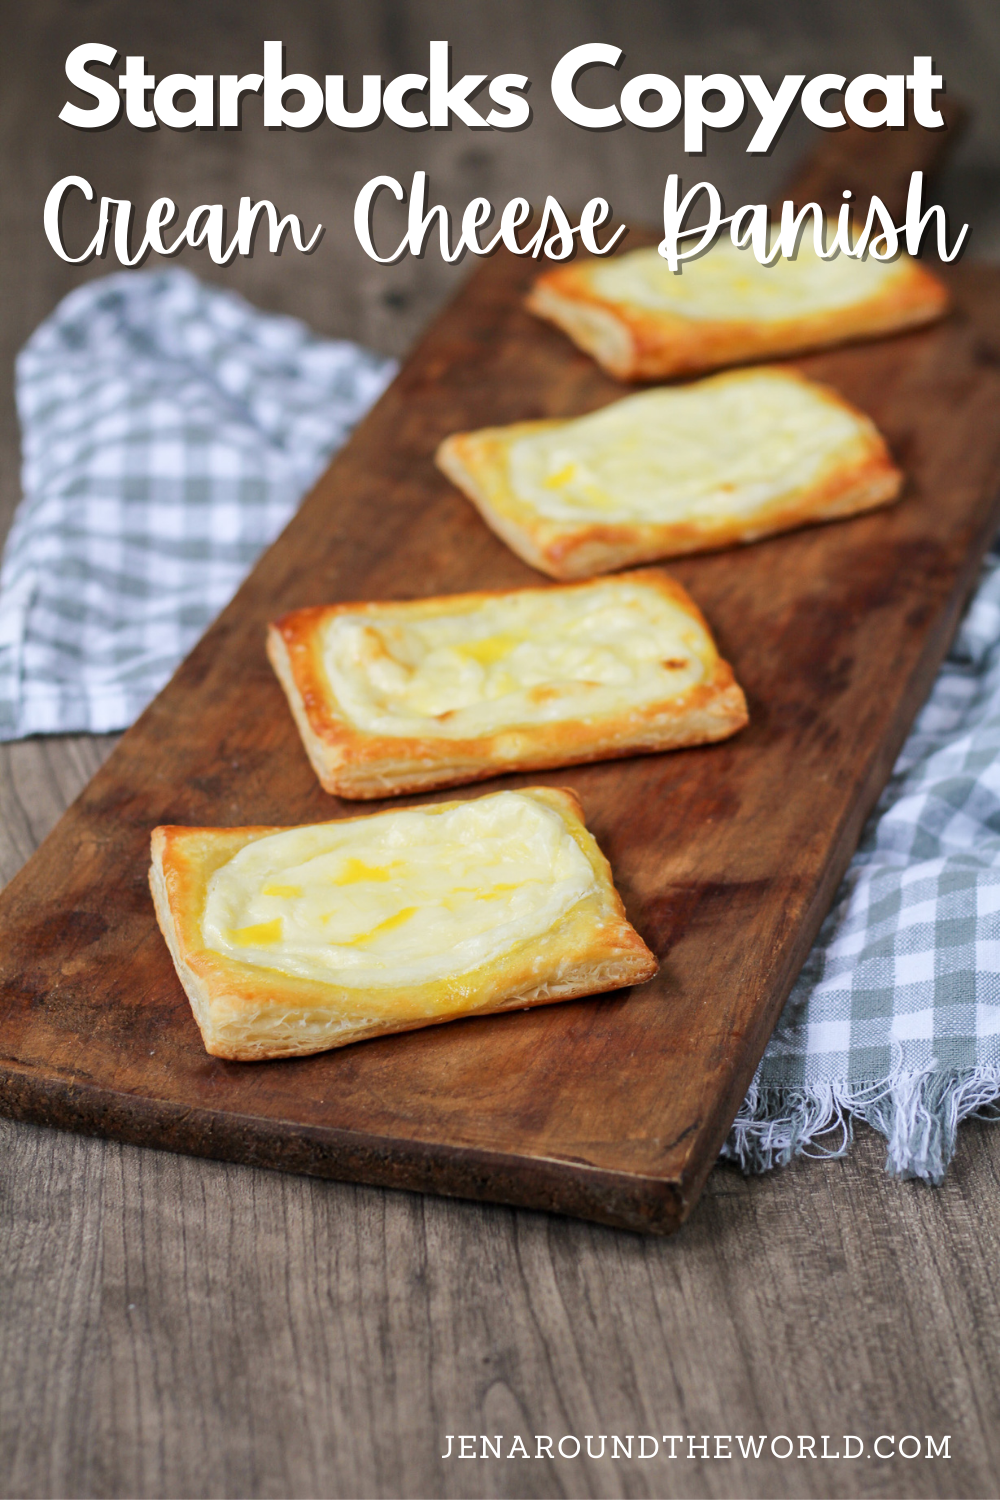
Copycat Starbucks Cream Cheese Danish is simple and easy to make. Be careful though because these are so addictive you won't be able to eat just one! For more restaurant favorites, visit Best Copycat Recipes.
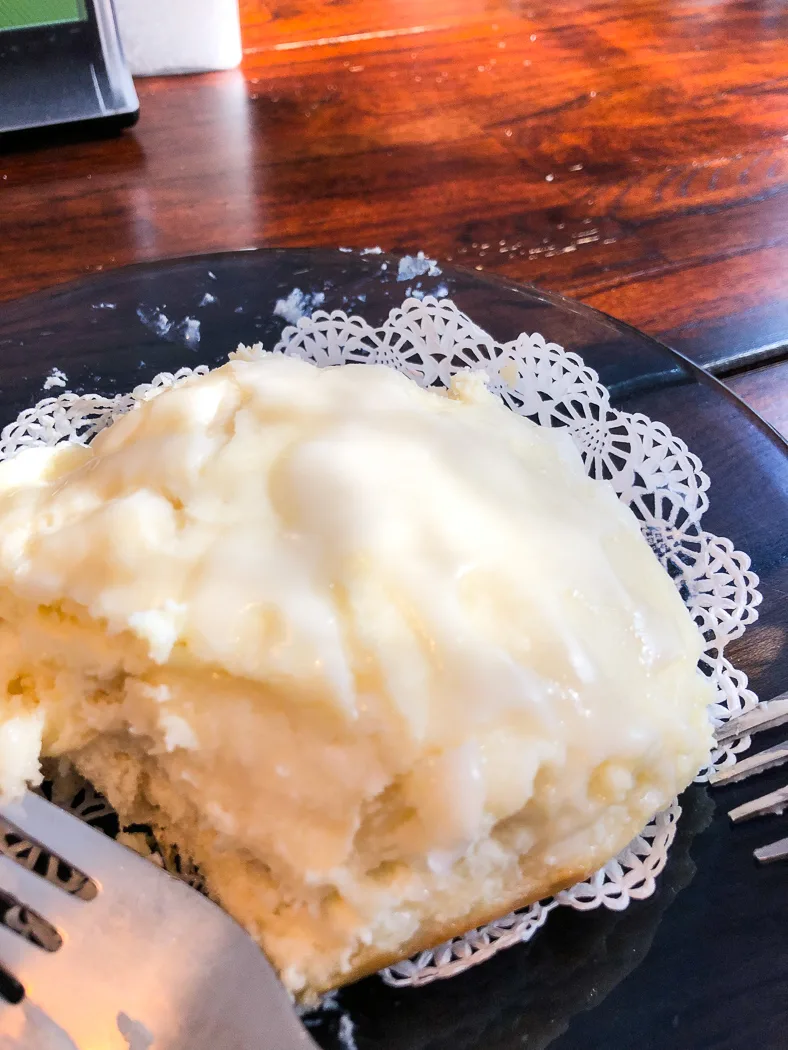
A couple of years ago when our family took a trip to Dauphin Island, we stopped at the Lighthouse bakery to get coffee and doughnuts.

While I was looking through the case trying to decide what I wanted, my eyes fell upon the most delectable cream cheese Danish I had ever seen.
We bought it, and I melted out of my seat with that first bite. It is what cream cheese pastry dreams are made of for sure!

I knew when I came home, I was going to do my best to try and make the same ones.
I still have not perfected this beautiful cream cheese Danish, but I have learned how to make one that is better than any at the local coffee shop or the local Starbucks coffee chain.
How to Make The Perfect Danish Recipe
There are several ways that you can make a Starbucks Cream Cheese Danish. The center is pretty much the same across the board, but the dough that it is on is where the difference lies.


You will find these danishes made on things like —
- Crescent rolls
- Flaky Puff Pastry
- Doughnut Dough
Starbucks Copycat Recipe
I have had these danishes in all 3 forms. Today, I am going to show you how to make these using puff pastry. If you love Starbucks copycat recipes, be sure to check out this recipe for Better Than Starbucks Egg Bites.
Start by thawing the pastry dough until it is flexible. You can make your own homemade puff pastry for a fraction of the price. But honestly, the store bought tastes just as good.
Then, cut each sheet into fours with a pizza cutter or a sharp knife. I use a rolling pin to roll each rectangle out. Use the sharp knife to cut a slit on each side. This will cause the center to sink when the pastries cook so that the creamy center does not overflow on the top.
Fill the centers with the cream that has been infused with spices and vanilla extract. I like to use a hand mixer to beat the cream cheese and other spices together. That way it ensures that it is nice and creamy.
You can leave it like this or you can top it with your favorite fruit jam like strawberry or blueberry or even plum jam before baking. If you are a chocolate lover, try topping them with chocolate chips.
Bake in the oven on parchment paper until the pastry is golden brown. To get that perfect golden look, brush the edges of the pastry with an egg wash made of egg yolk before baking. You can also bake these in an air fryer or a toaster oven.
Top with a delicious cream sauce and enjoy! You could even infuse the cream sauce on top with some lemon juice and lemon zest.

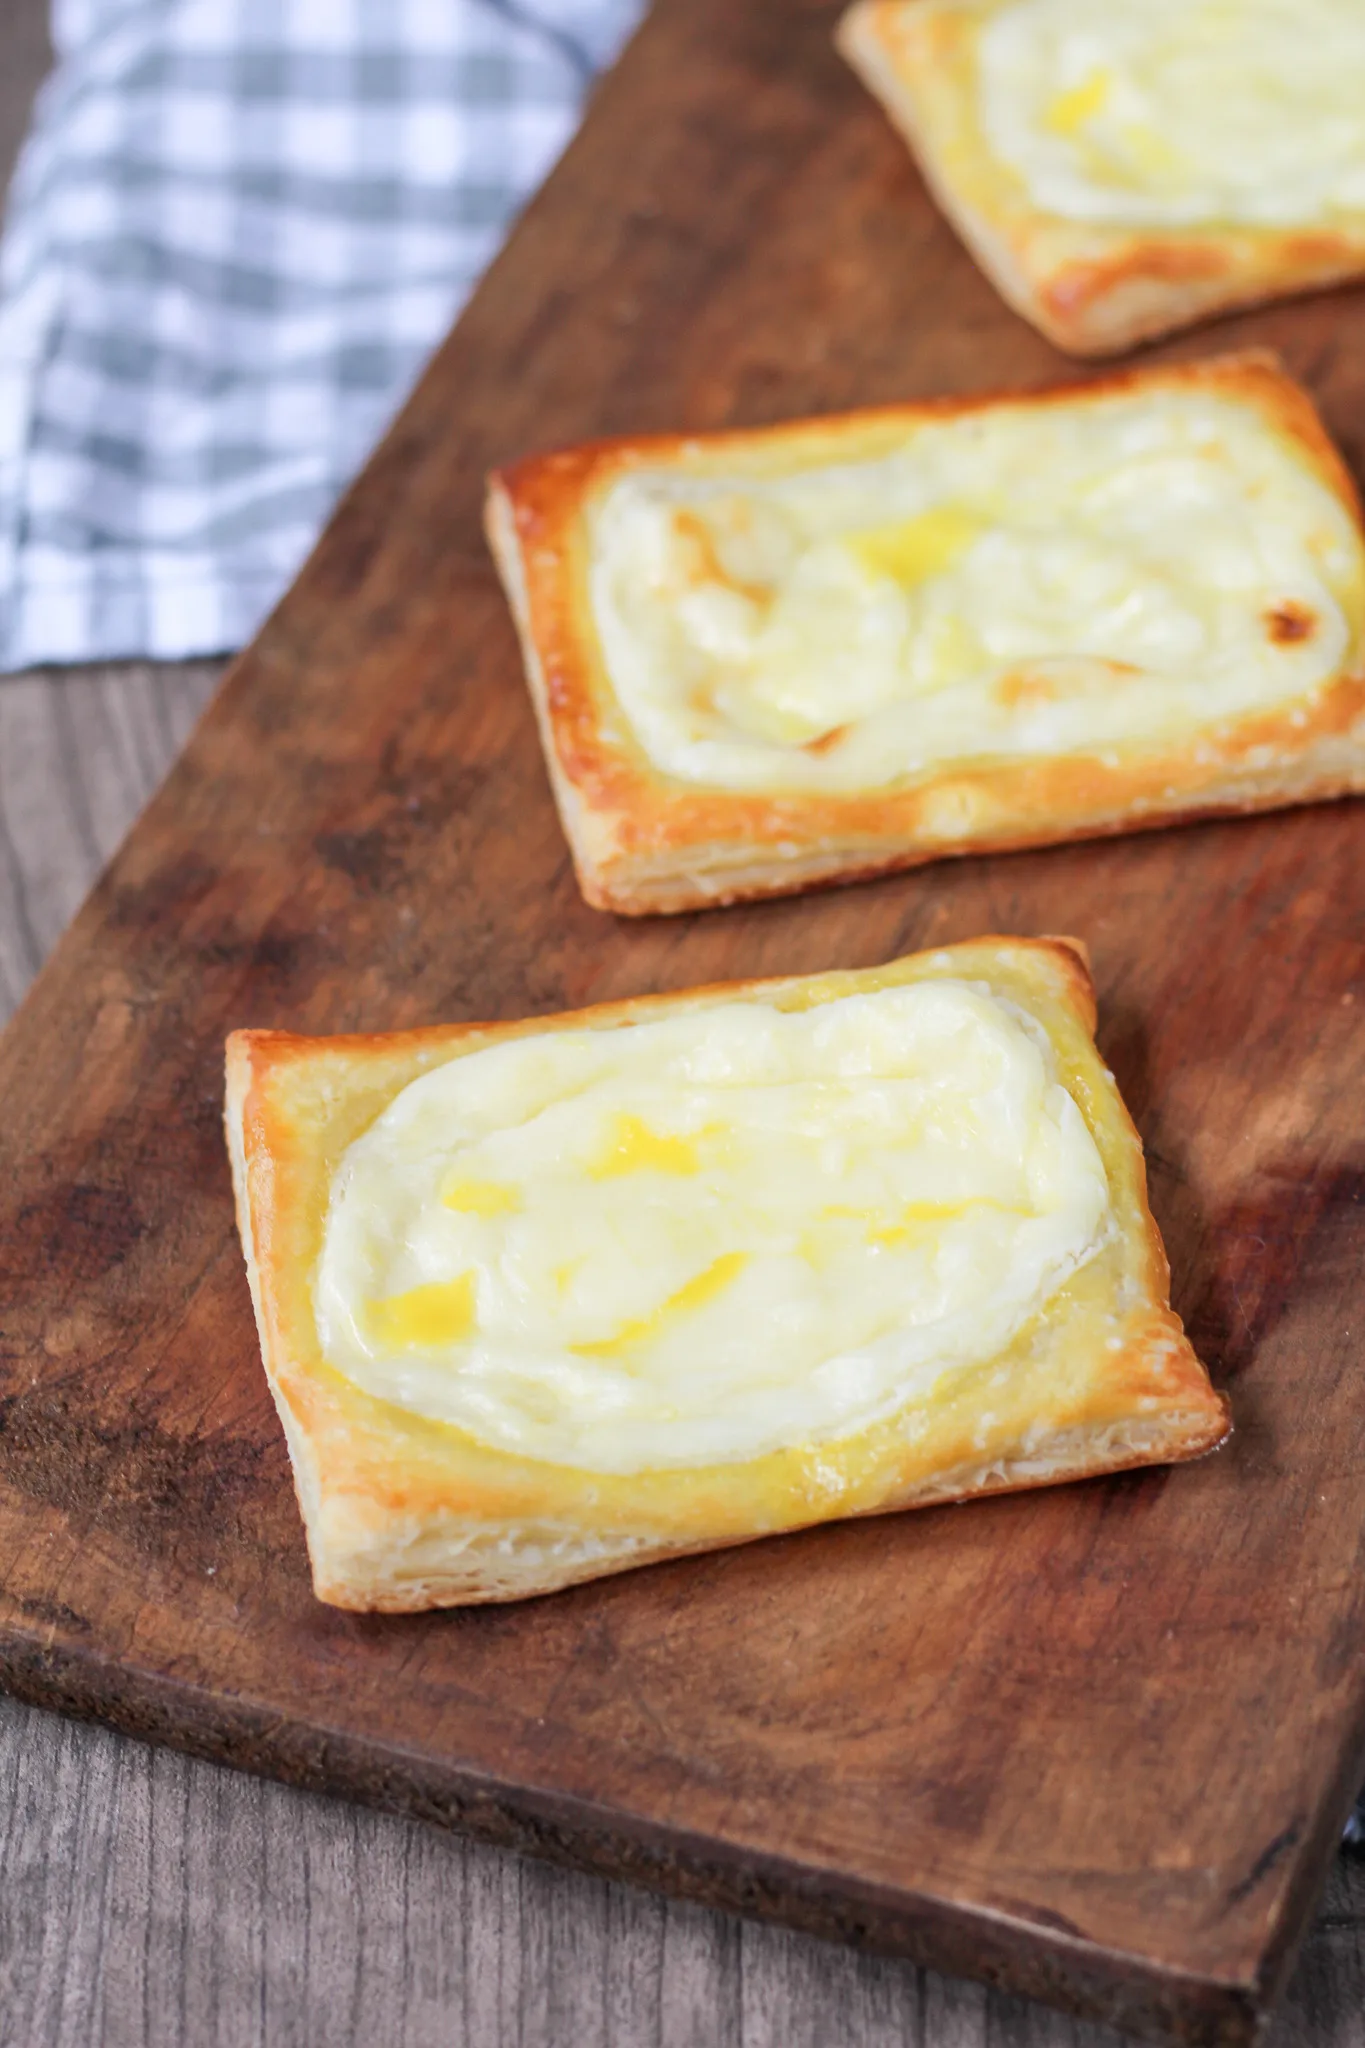
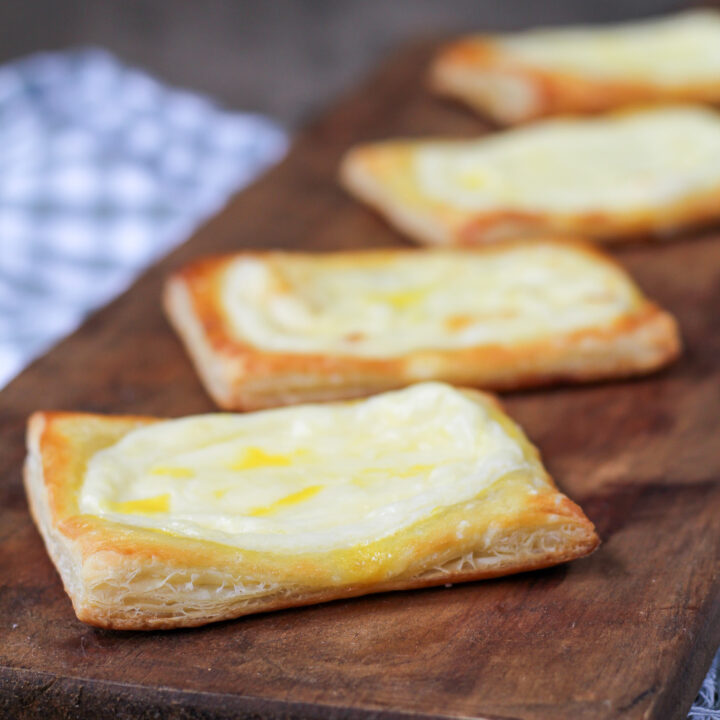
The flaky layers of puff pastry dough and a sweet, cream cheese filling in the center make this Danish a natural to pair with hot coffee or even iced coffee.
I have eaten this for breakfast at room temperature as well as a late-night snack. This recipe is easy to make, too, thanks to frozen store-bought puff pastry sheets that you can find at the grocery store.
How to store leftovers
If you have any leftover danishes, place them in an airtight container, such as a Ziplock bag, and keep them in the fridge. They will stay fresh for 3 days.
Can I freeze cream cheese danishes?
You can! Allow them to cool completely on the cookie sheet or on a cooling rack and then flash freeze them by placing them in the freezer.


Once they have frozen, place them in a Ziplock bag and remove the air. Seal the bag and place back in the freezer.
They will keep for up to 3 months in the freezer. To reheat, thaw in the fridge and warm in the microwave for 30 seconds.
Looking for other Copycat recipes to try? Check these out
- Cheesecake Factory Sweet Corn Tamale Cakes
- 10 Copycat Longhorn Steakhouse Recipes
- O'Charley's Pepper Jack Cheese Wedges
Better Than Starbucks Cream Cheese Danish

These easy cream cheese danishes taste even better than the ones at Starbucks.
Ingredients
- 1 package of frozen puff pastry sheets, thawed
- 1 package (8 oz) of cream cheese, softened
- 1 cup sugar
- 1 teaspoon vanilla extract
- 1 teaspoon lemon juice
- 1 teaspoon lemon zest
For the glaze
- 2 1/2 cups of confectioners sugar
- 2 tablespoons soft butter
- 1/4 cup of milk
- 1 tsp. of vanilla extract
Instructions
- Preheat the oven to 400 and line a cookie sheet with a silicone baking sheet or parchment paper.
- Unfold the puff pastry and slice it into small rectangles. Cut along the folds and then in half to create 9 rectangles.
- Take a knife and score a smaller rectangle inside each big rectangle. This will allow the cream cheese to sink and not overflow on the Danish.
- In another bowl, whip together the cream cheese, sugar, vanilla extract, lemon juice, and zest.
- Spoon two tablespoons into the center and place in the oven for 20 minutes.
- Allow to cook until the edges of the pastry are golden brown.
- Mix the glaze ingredients and then top each danish with the cream glaze.
- Allow to cool and enjoy!
Nutrition Information:
Yield:
9Serving Size:
1Amount Per Serving: Calories: 263Total Fat: 5gSaturated Fat: 3gTrans Fat: 0gUnsaturated Fat: 2gCholesterol: 11mgSodium: 43mgCarbohydrates: 55gFiber: 0gSugar: 53gProtein: 1g
Radha
Monday 13th of December 2021
Yum and irresistible!I am going to make it now!
Inger@Art of Natural Living
Wednesday 8th of December 2021
These are so pretty. Love the shape--I'm going to have to try folding in my corners!
Hezzi-D
Monday 6th of December 2021
These seem much easier than I've pictured in my head! Definitely trying them!
Karen @karenskitchenstories
Sunday 5th of December 2021
So much easier than making laminated dough! They sound delicious.
Kathy
Sunday 2nd of May 2021
My filling turned out runny and didn't set up while cooking or after. It also ran all over the baking sheet. I turned the sides up as well. Should i have added an egg yolk to the filling mixture?
Jennifer Sikora
Thursday 20th of May 2021
I am so sorry. I will make these again and make sure that everything turned out okay to see if I have the recipe stated correctly.