
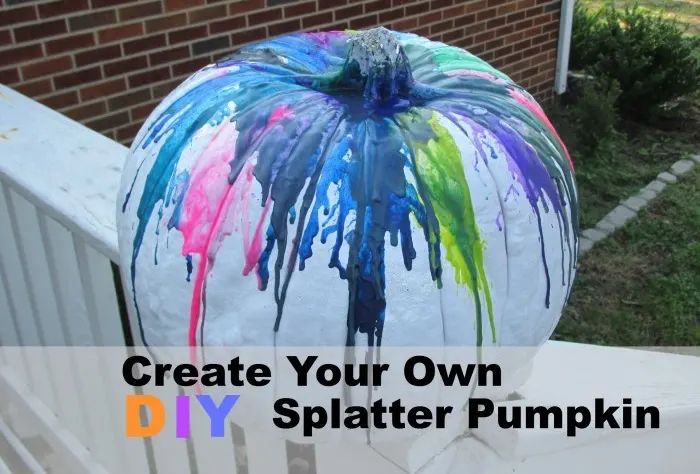
Want to do something new and fun with your pumpkin? Create a DIY Splatter pumpkin with just a few supplies you have at home.

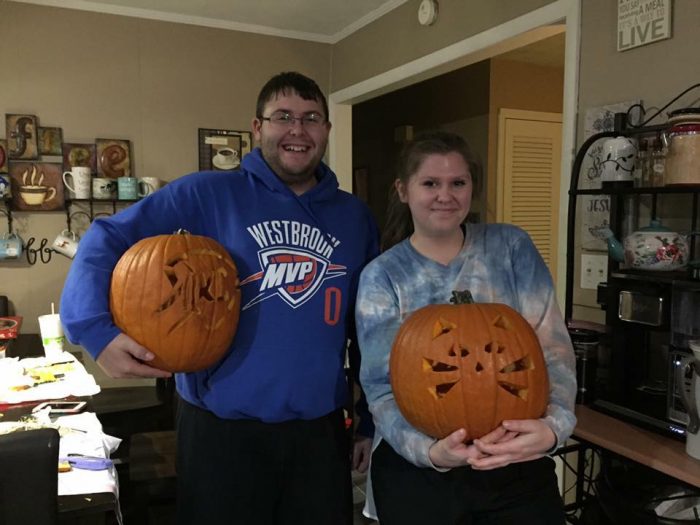
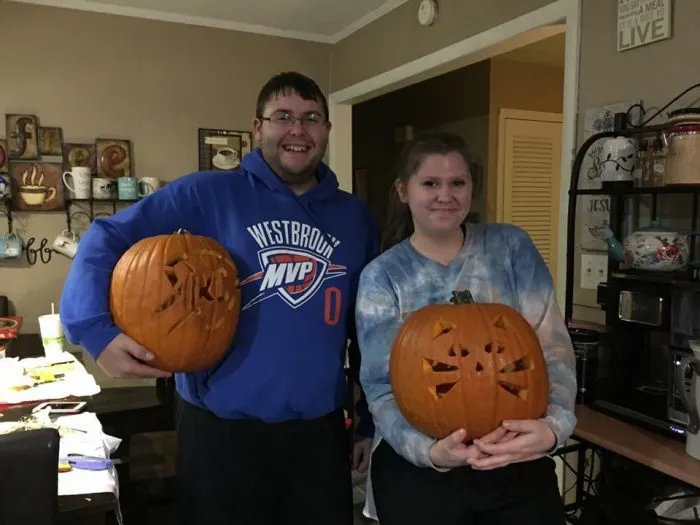
Ever since Kayla and Robert were little, they have been super creative when it comes to Halloween and their pumpkins. When they were really young, around 10-11 years old, we created this fun DIY Splatter Pumpkin.
Over the years, they have gotten more and more competitive with their pumpkins, and, every year we have shared those designs on Facebook and here, on the blog.
Of course, we always make sure to save the seeds for making Roasted Pumpkin Seeds.
But this year, I decided to take it back to the beginning, to show you how we got started with a very simple and easy splatter pumpkin.
How to Create a DIY Splatter Pumpkin

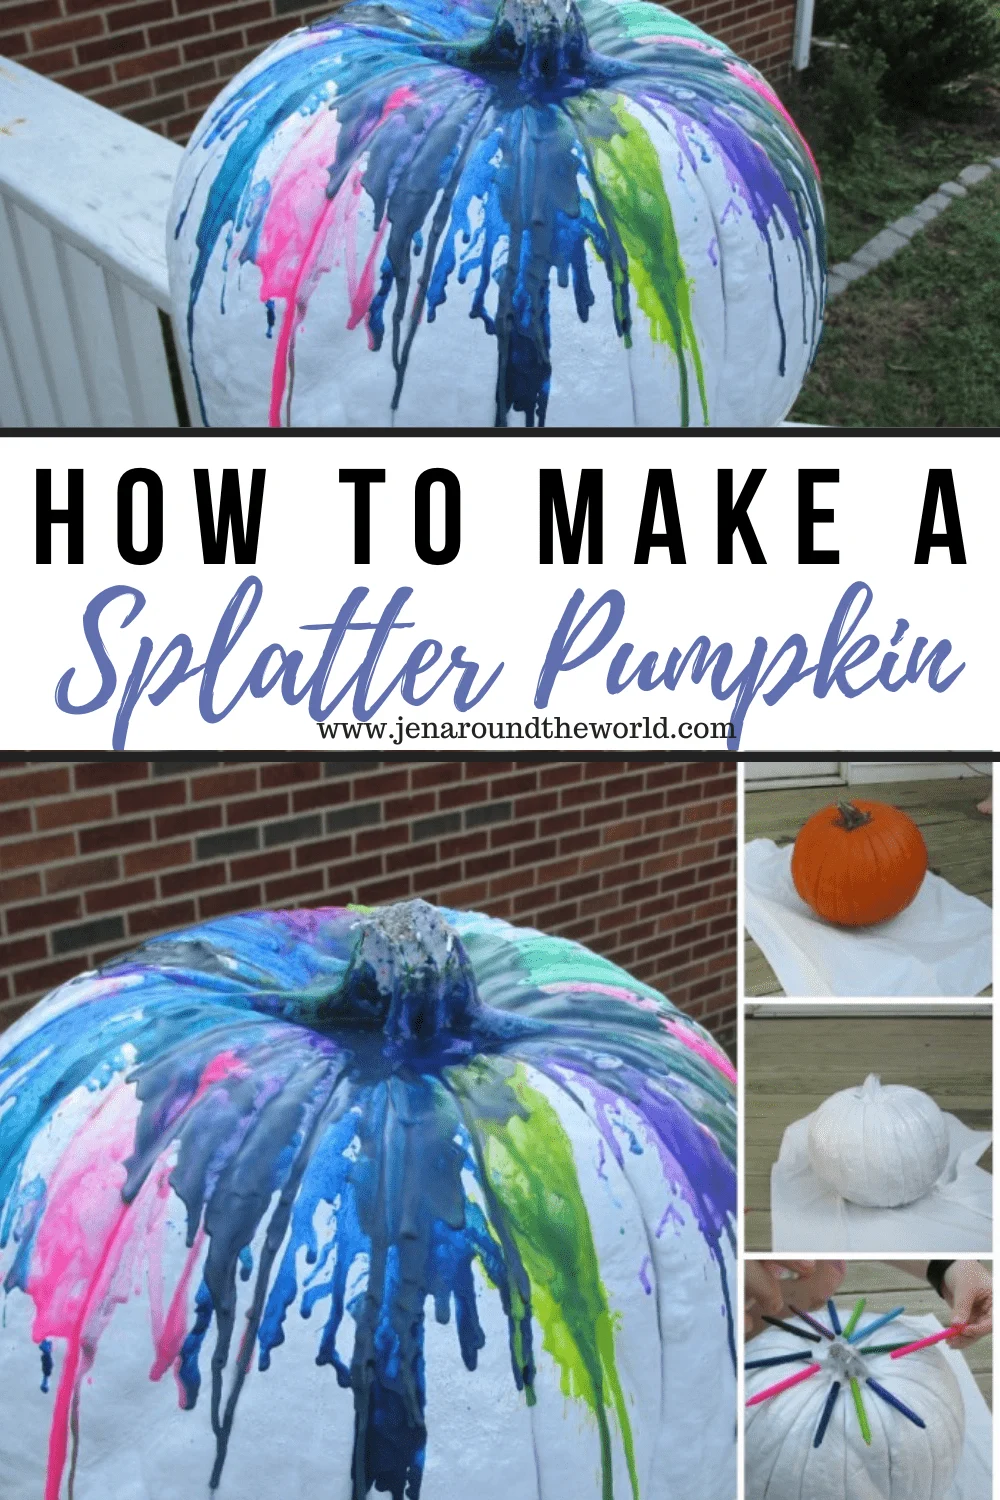
Creating the pumpkin was really easy. The hardest thing was gluing the crayons to the top. We had a great time putting this together and it will look very festive on your front porch.
The kids will have so much fun making this pumpkin!
Get a pumpkin
You can use any size pumpkin you want. We had a fairly large one already so that is what we used. You can find one this size at the grocery store for about $4-$5.
Paint Your Pumpkin
To paint the pumpkin, just use a can of white spray paint. If you get the fast drying kind, your pumpkin will be dry to the touch in about 30 minutes.
Make sure to put a paper bag underneath so that you do not get paint on any outside surfaces.
Pick out your crayon colors
Pick crayons out that you want to use and remove the wrapper from the crayon.

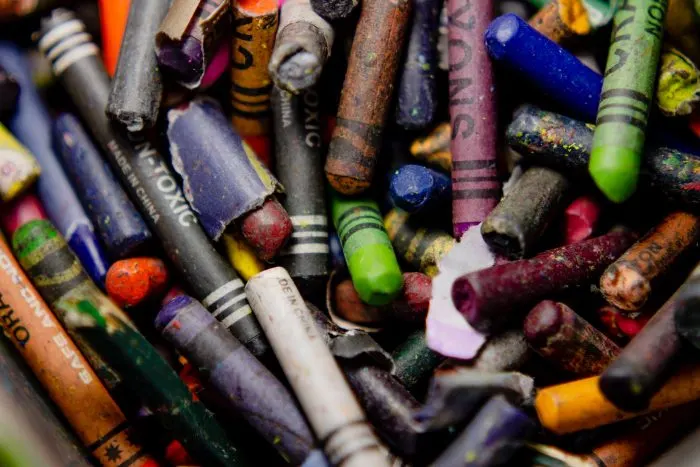
This is a good time to use up all those broken crayons you have laying around at home. Of course, if you want, you can totally buy a brand new box of crayons for less than $1.
Glue the crayons to the top of the pumpkin
This is an important step. The crayons have to be glued to the top of the pumpkin so that when you start to melt them, the crayon drips down.
You can glue them to the top with hot glue. Just make sure most of the crayon gets glued to the pumpkin.
Now, Let's Melt Your Crayons
Take a hairdryer and place it on high and begin to melt the crayons. It takes less than a minute to start melting.
Be sure to have plenty of newspaper or coverage around as the crayons melt and splatter. Also –When it starts to melt, the part of the crayon that is not glued will fall off.
You can just pick it up and stick it back on top and melt it down the front of your pumpkin to make it have a really neat drip effect.
Place on your front porch for all to enjoy
Once you are done, sit your pumpkin out front for everyone to enjoy!

From start to finish, this fun craft idea should take you about an hour to complete. Your kids will love being messy and now, you can have a festive pumpkin for the porch!
Looking for other fun Fall Projects to Make? Here are a few!
Do you have a cool project that you have finished for the fall? I would love to hear about them!
Scarlet
Monday 13th of October 2014
This looks like good messy fun! And you could choose spooky colors too!
Jess @HungryHarps
Friday 27th of September 2013
This is awesome! My kids would get a kick out of picking colors for their pumpkins - definitely trying it this year. Thanks for sharing. :)
Jennifer Sikora
Sunday 29th of September 2013
So glad you liked it. My daughter LOVES finding ideas like this.