
There is nothing quite like the taste of homemade plum jam spread over a warm biscuit or a slice of buttered toast. This beautiful, jewel-toned jam has the perfect balance of sweetness and tartness, making it a delicious way to preserve fresh plums and enjoy them long after plum season has ended.
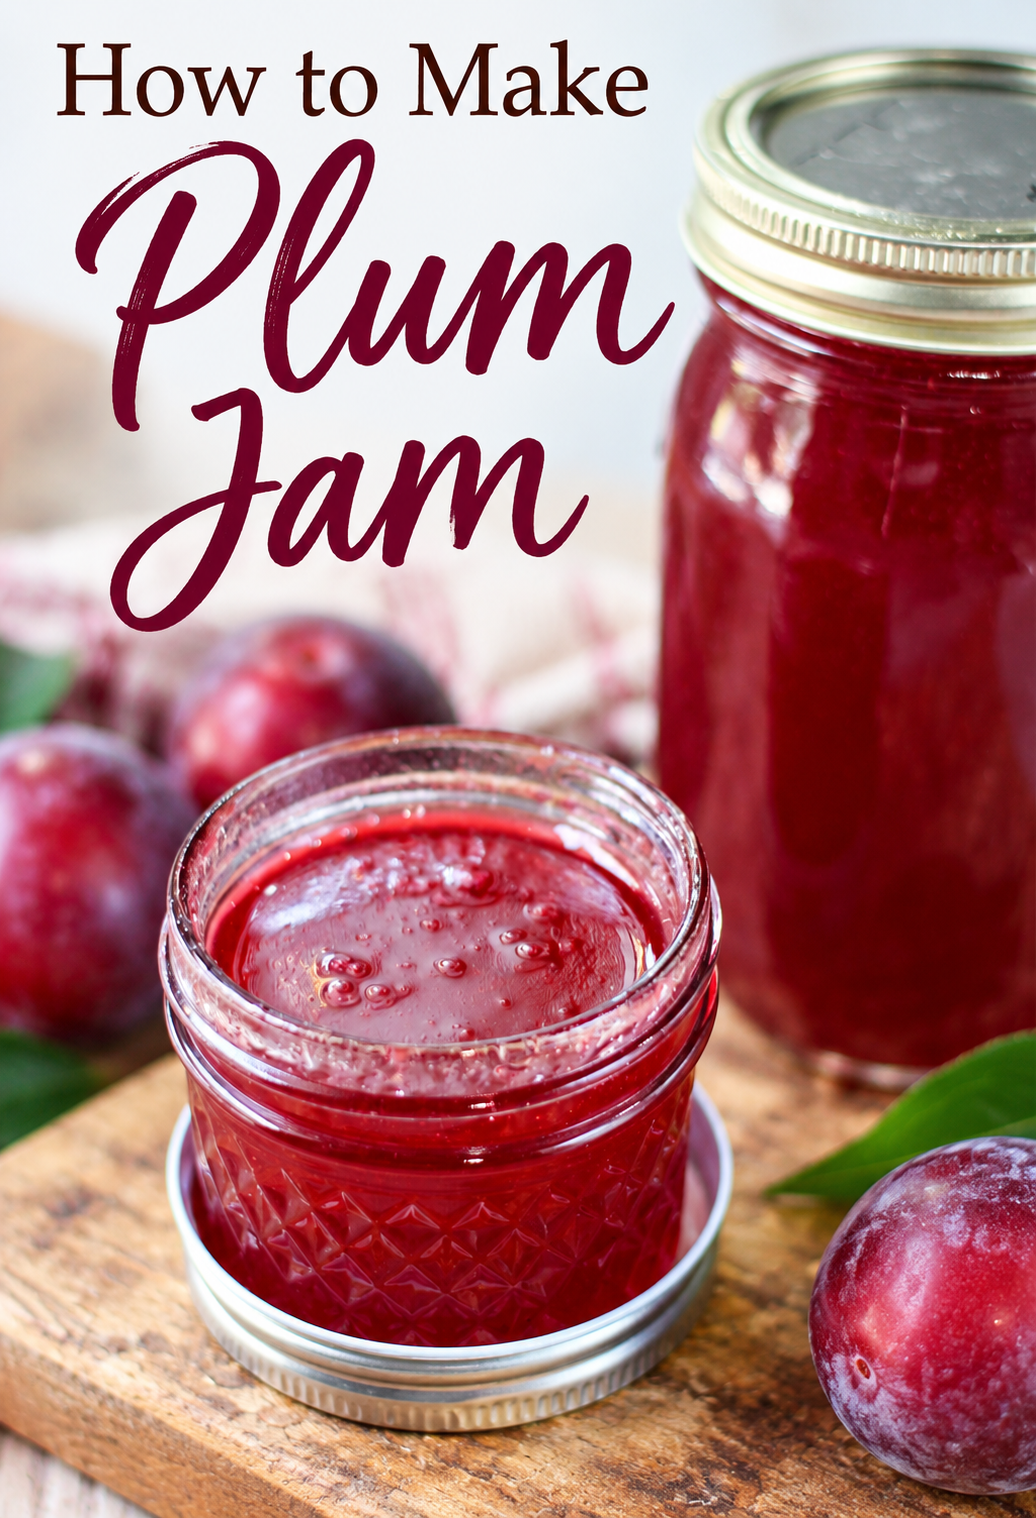
If you have an abundance of fresh plums from your backyard tree or picked up a basket at the farmers market, making homemade plum jam is one of the easiest ways to put them to good use.
The best part? You don't need any fancy ingredients or complicated techniques to make this delicious fruit jam. With just a few simple ingredients and a little patience, you can create a batch of homemade plum jam that tastes so much better than anything you can buy at the grocery store.
Whether you are new to making homemade jam or have been preserving fruit for years, this easy homemade plum jam recipe is a wonderful addition to your collection of homemade jams and jellies.
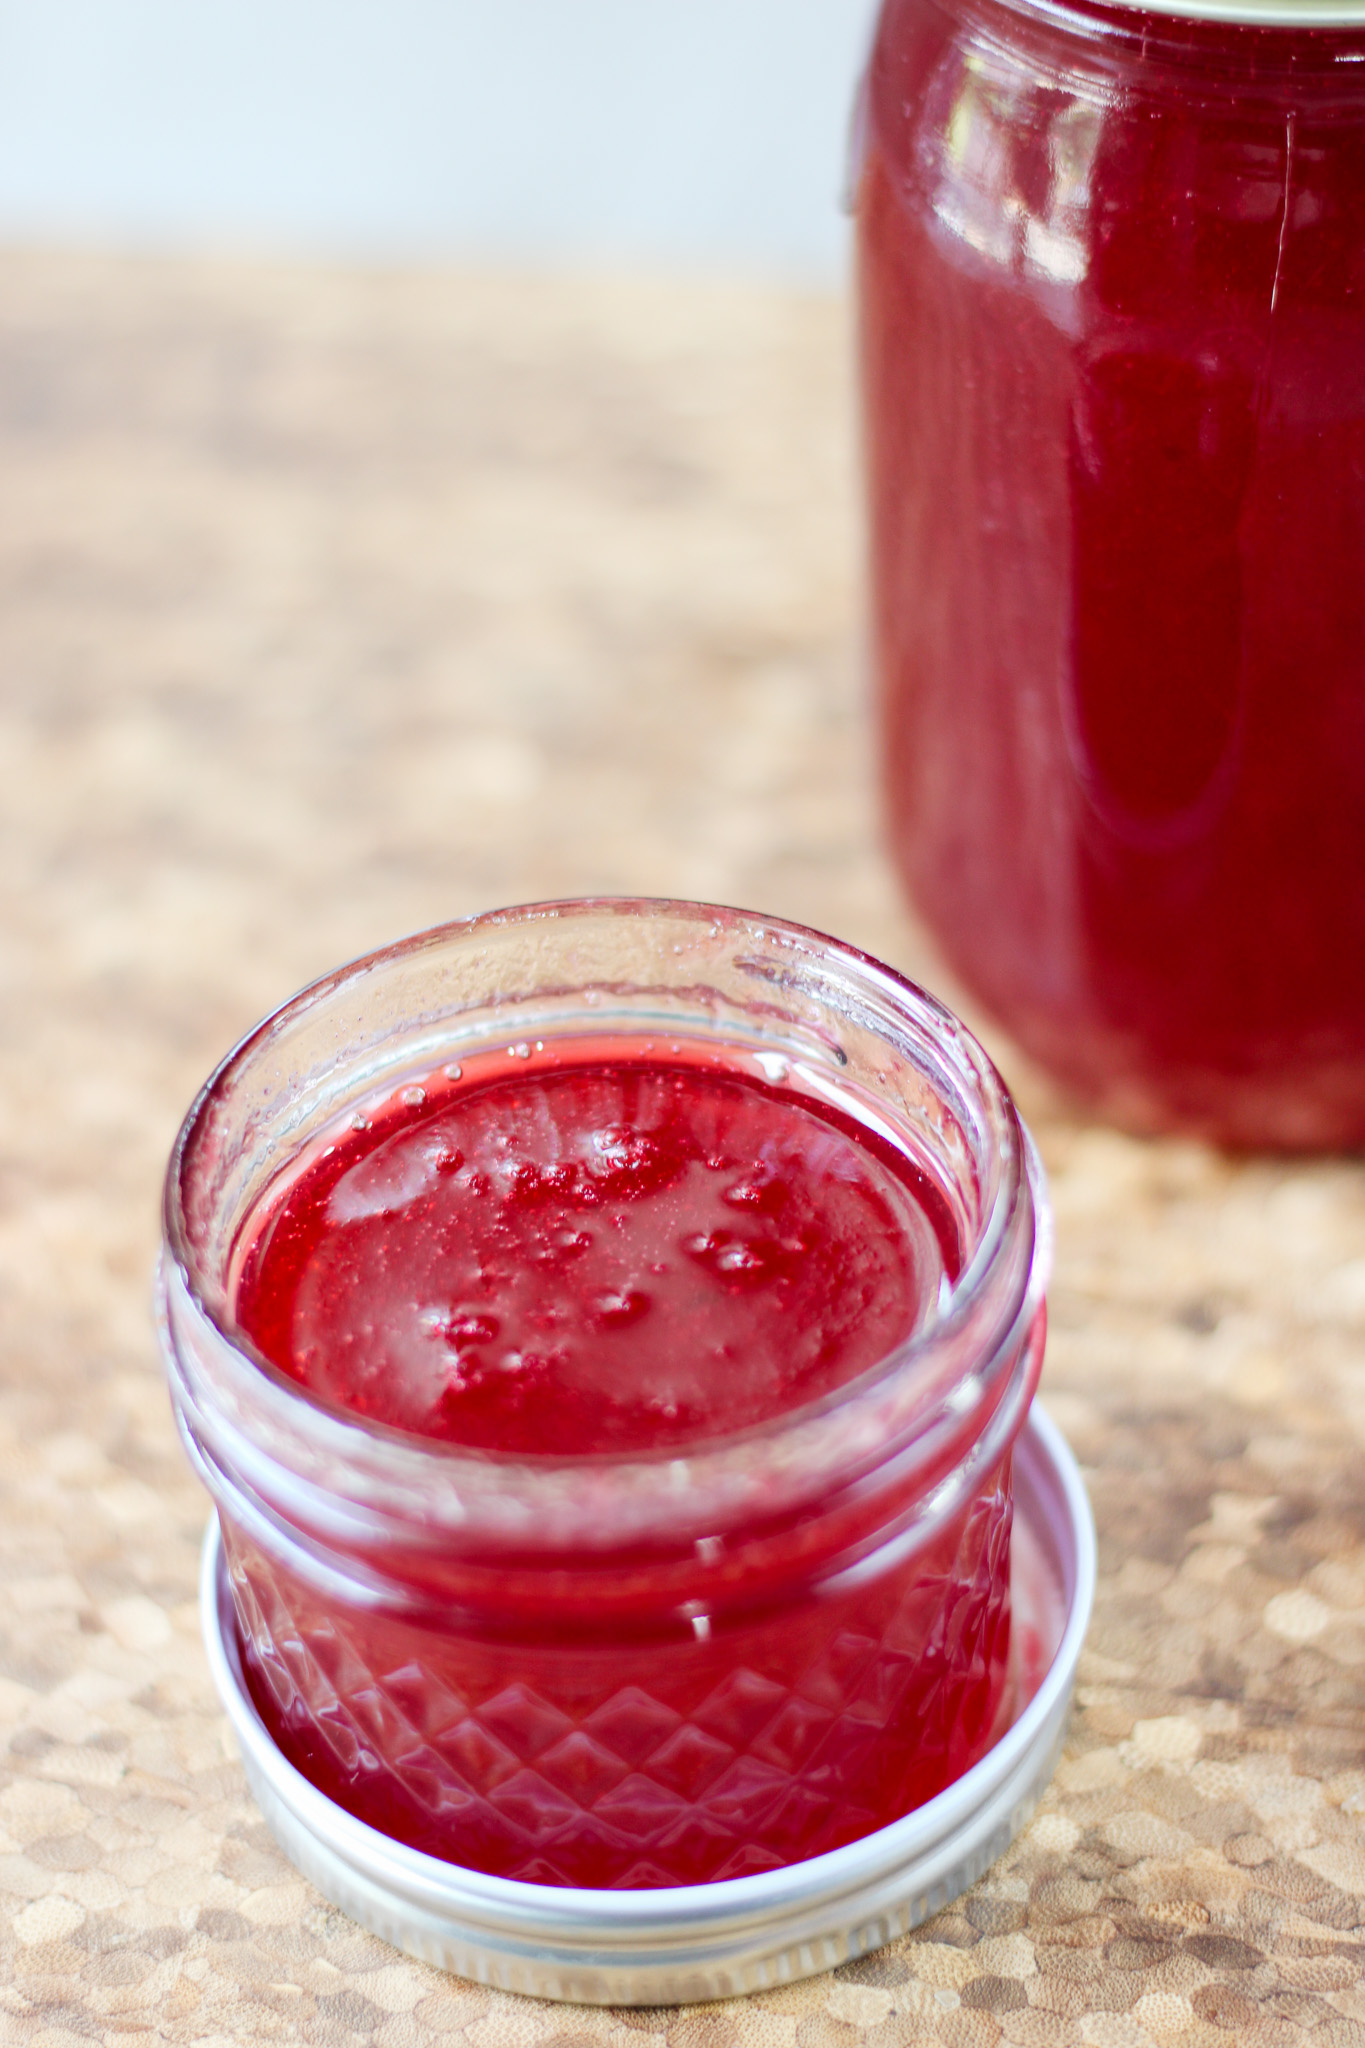
What Is the Difference Between Plum Jam and Plum Jelly?
Before we get started, let's talk about the difference between jam and jelly.
Plum jam is made using crushed or chopped fruit, so the finished product contains pieces of fruit and has a thicker, more textured consistency.
Plum jelly, on the other hand, is made using strained plum juice. The fruit pulp and skins are removed, leaving behind a smooth, clear jelly with a beautiful color and delicate plum flavor.
Both are delicious, but I especially love plum jelly because of its smooth texture. It spreads beautifully over homemade biscuits, toast, and even warm dinner rolls.
Why You Will Love This Homemade Plum Jam Recipe
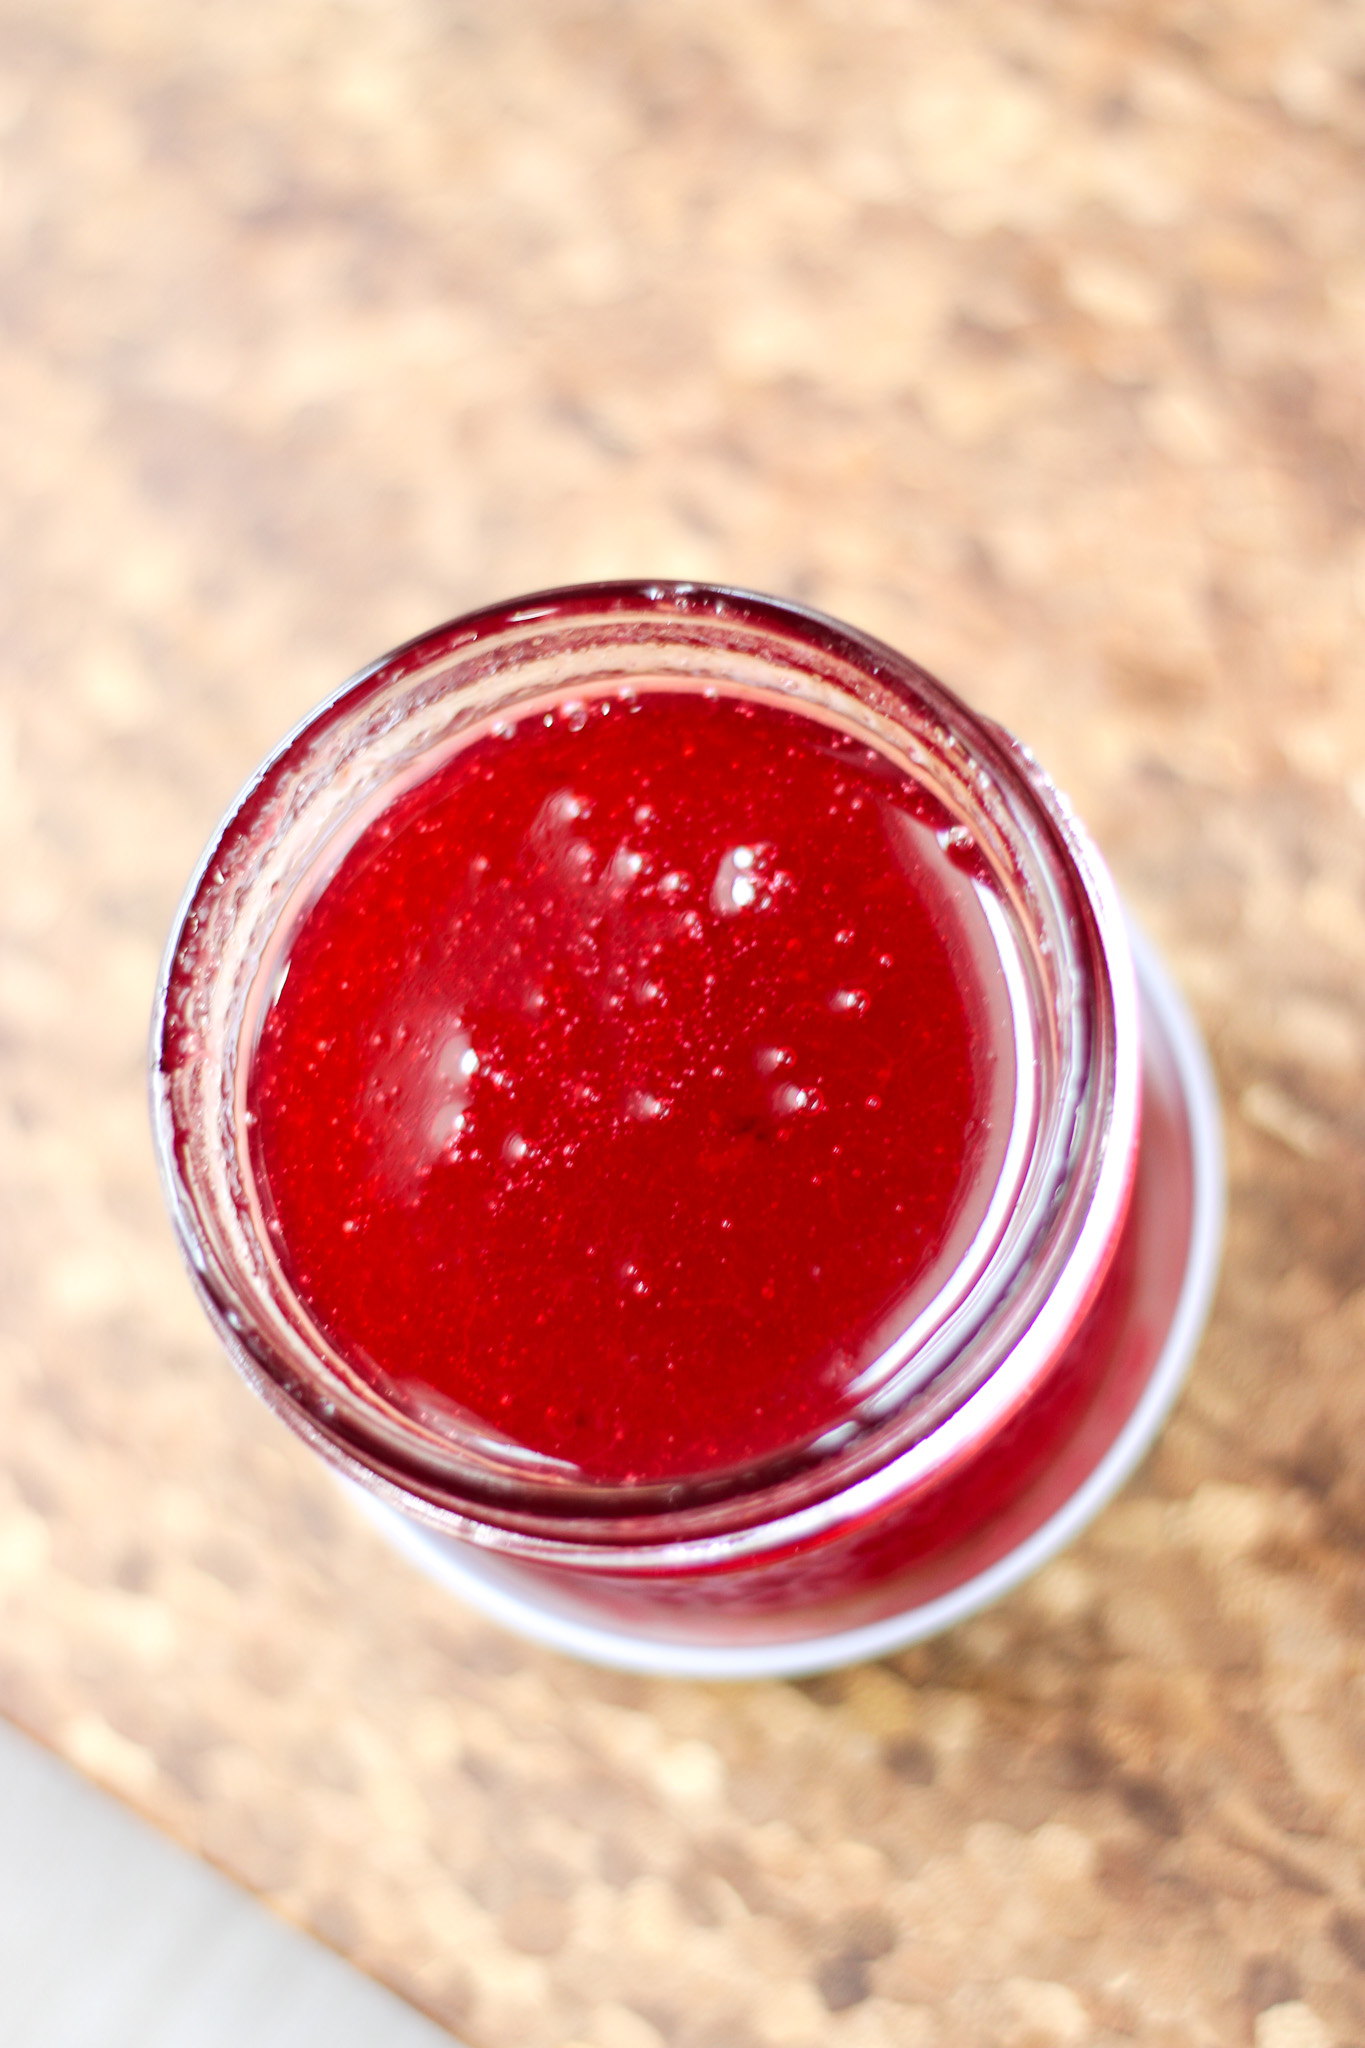
There are so many reasons to make your own plum jelly at home.
- Simple ingredients: You only need fresh plums, water, sugar, lemon juice, and powdered fruit pectin.
- Great for preserving seasonal fruit: Turn an abundance of ripe plums into something you can enjoy throughout the year.
- Beautiful homemade gifts: A jar of homemade plum jelly makes a thoughtful gift for friends, neighbors, and family.
- Versatile: Enjoy it on breakfast foods, use it in desserts, or add it to savory glazes.
- No need to peel the plums: The skins help give the jelly its beautiful color and are removed when you strain the juice.
If you have never made homemade plum jam before, this is a great recipe to try!
Ingredients for Homemade Plum Jam
You only need a handful of ingredients to make this easy homemade plum jam recipe.
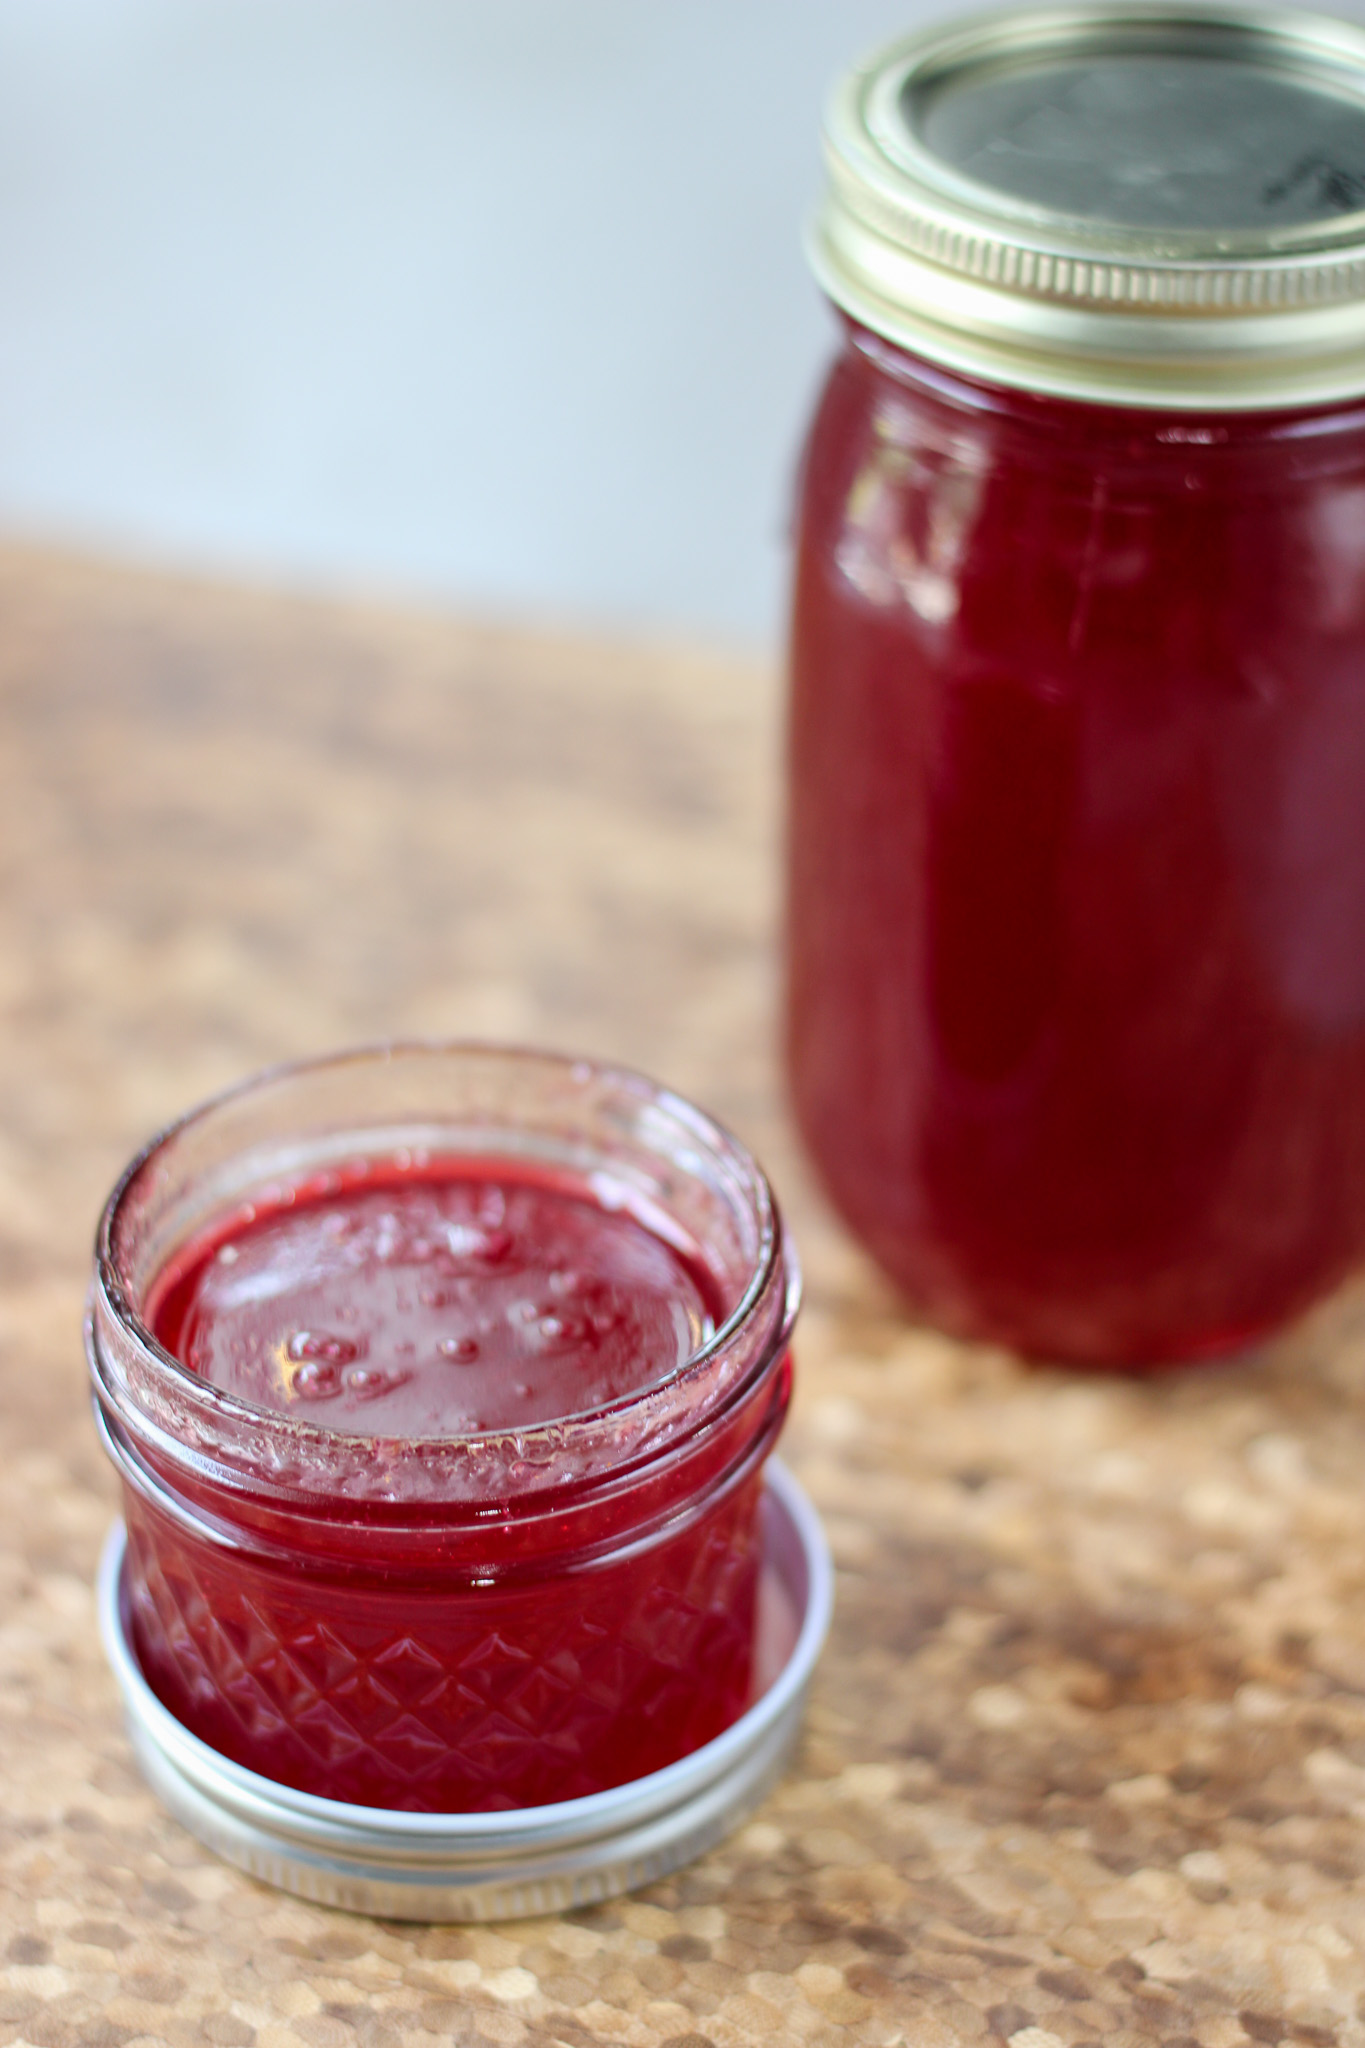
- Fresh plums: You will need approximately 4 pounds of fresh, ripe plums. Red, purple, or black plums all work well. The variety you choose will affect the flavor and color of your finished jelly.
- Granulated sugar: Sugar provides sweetness and helps the jelly set properly. Use the amount specified for your particular pectin recipe rather than reducing it.
- Lemon juice: Bottled lemon juice adds acidity and balances the sweetness of the plums. Its standardized acidity makes it preferable for a tested canning recipe.
- Powdered fruit pectin: Pectin helps the plum juice turn into a spreadable jam. Different brands and types of pectin require different amounts of sugar and cooking times.
How to Make Homemade Plum Jam
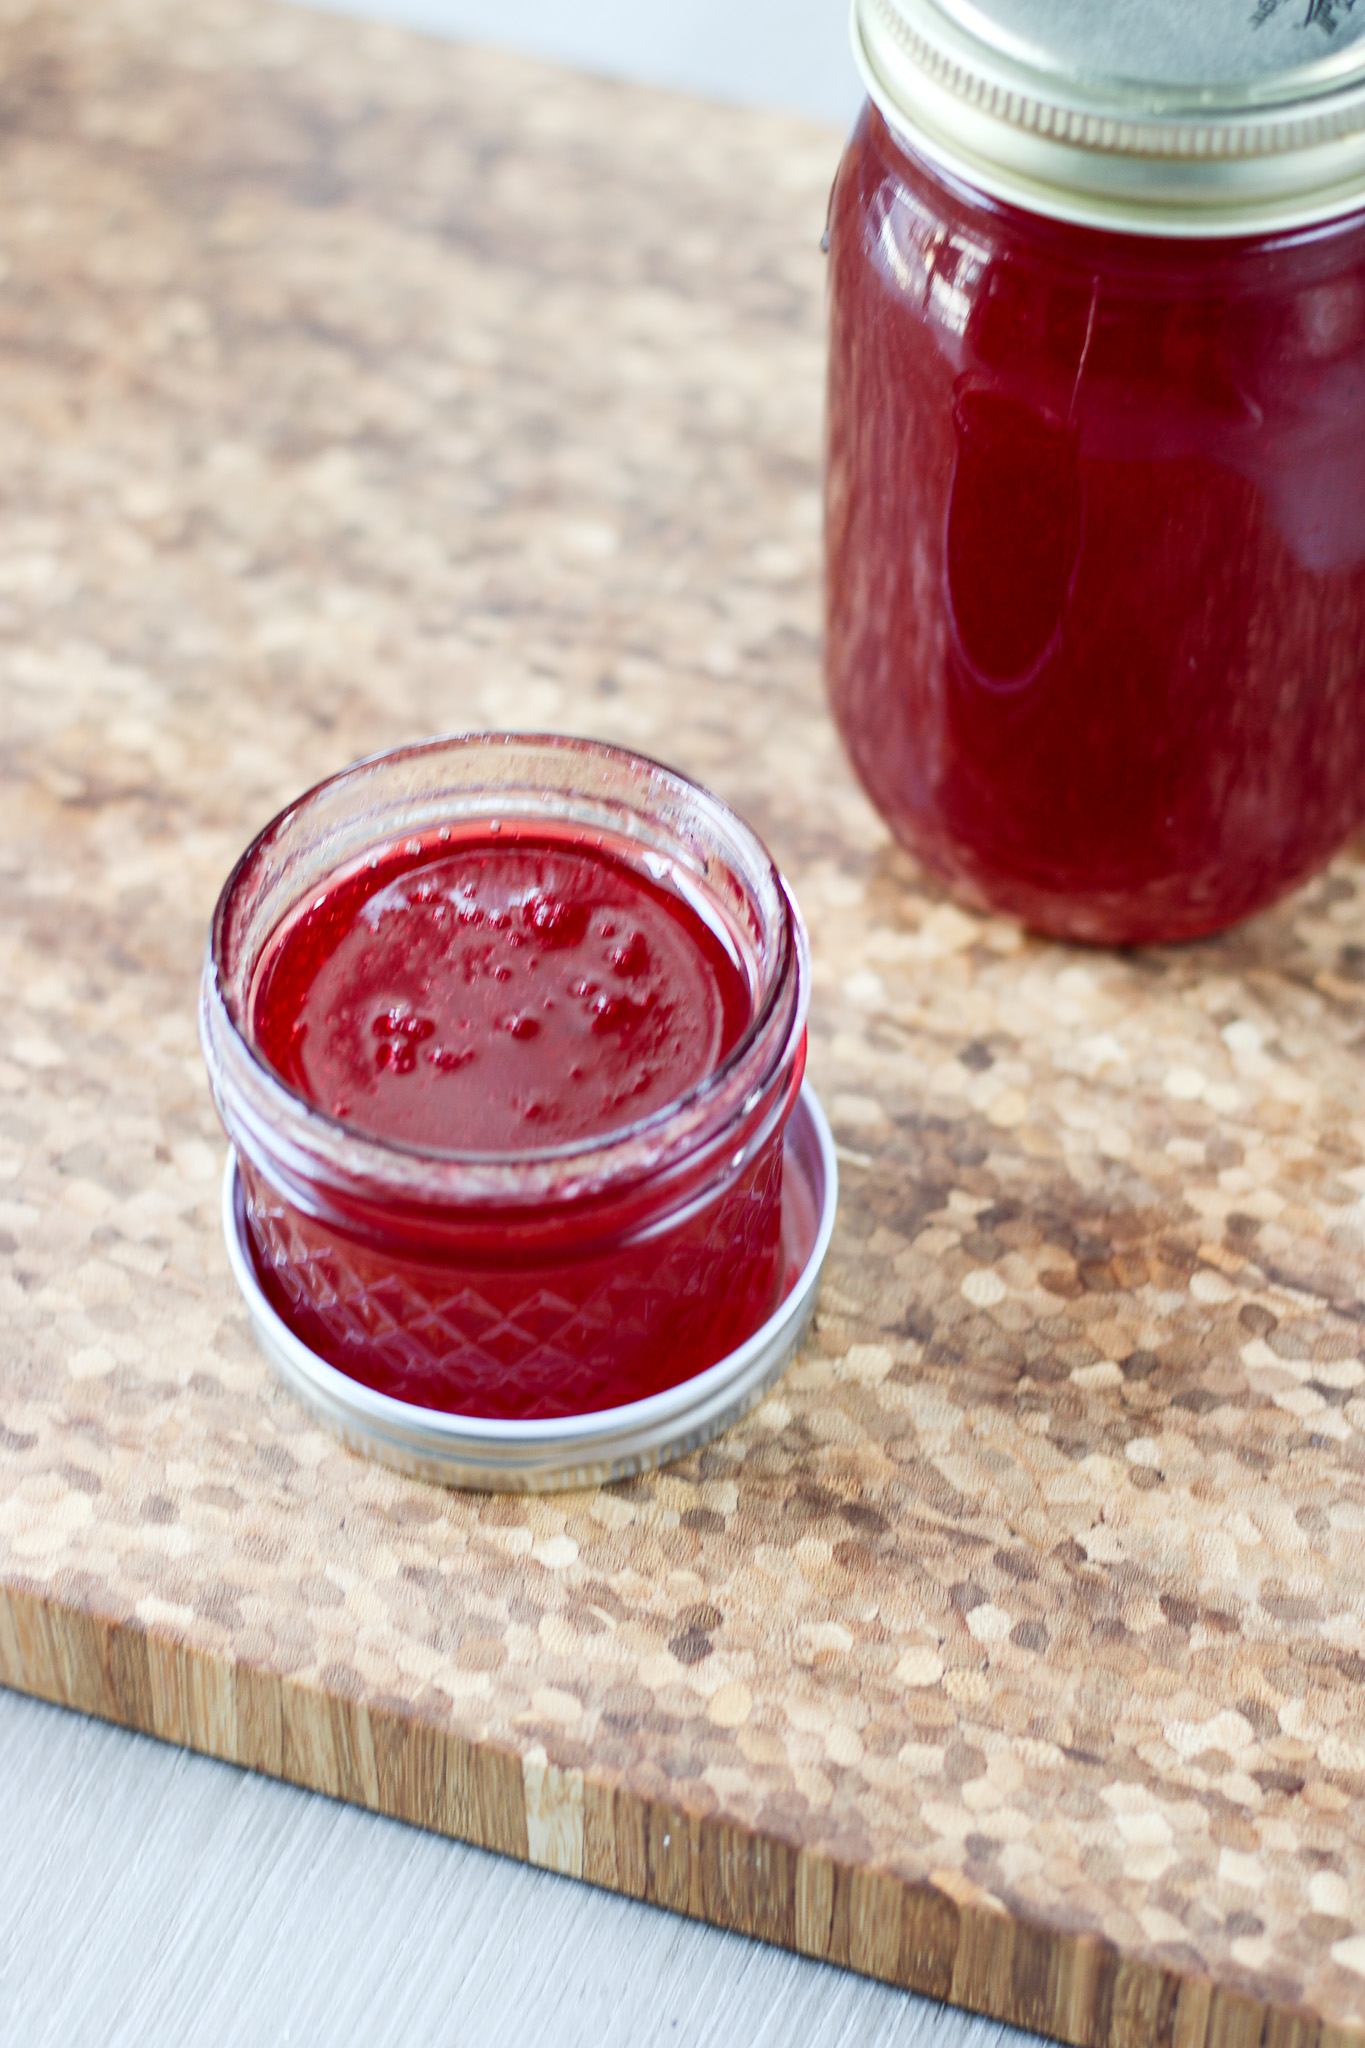
Step 1: Prepare the Plums
Start by washing your fresh plums thoroughly.
Peel the plums, slice them in half, and remove the pits.
Chop the plums into smaller pieces and place them in a large, heavy-bottomed saucepan.
Don't worry about making the pieces perfectly uniform. They're going to soften and break down as the jam cooks.
Step 2: Cook the Plums
Place the saucepan over medium heat and begin cooking the plums.
As the fruit heats, it will start releasing its natural juices.
Stir frequently to keep the fruit from sticking to the bottom of the pan.
As the plums soften, use a potato masher to break them down.
How much you mash them is entirely up to you.
If you like a chunky homemade jam, leave some small pieces of plum intact. If you prefer a smoother jam, continue mashing until the fruit has broken down significantly.
That's one of the things I love about making jam instead of jelly — it doesn't have to be perfectly smooth!
Step 3: Add the Pectin
Once the plums have softened, measure the fruit according to your chosen pectin recipe.
Add your lemon juice and powdered pectin as directed.
Stir everything together and bring the mixture to a full rolling boil over high heat.
A full rolling boil means the mixture continues boiling even while you're stirring it.
Step 4: Add the Sugar
Add the measured sugar according to your pectin instructions and stir well.
Return the mixture to a full rolling boil.
Continue boiling for the amount of time specified by your pectin recipe, stirring constantly.
Be sure to use a large pot because homemade jam can foam considerably as it boils.
Step 5: Check the Consistency
Your plum jam will still look fairly loose while it's hot.
That's completely normal!
The jam will continue to thicken considerably as it cools.
You can place a small plate in the freezer before you begin making the jam. When you think your jam is ready, spoon a small amount onto the cold plate and let it sit for a few seconds.
Run your finger through the center.
If the jam wrinkles slightly and doesn't immediately run back together, you're getting close to the consistency you want.
When using commercial pectin, however, follow the manufacturer's cooking time rather than continuing to cook the jam for an extended period just because it looks thin.
Step 6: Fill Your Jars
Remove the finished plum jam from the heat and skim off any foam from the top if necessary.
Carefully ladle the hot jam into clean jars.
If you're making refrigerator jam, allow it to cool and then store it in the refrigerator.
If you want your plum jam to be shelf stable, use proper canning jars and follow a tested plum jam canning recipe for headspace, processing time, jar size, and any necessary altitude adjustments.
Simply putting hot jam into jars and allowing the lids to seal is not the same as properly processing jam for shelf storage.
Let the Plum Jam Set
One important thing to remember when making homemade jam is that it doesn't necessarily reach its final consistency immediately.
Give your plum jam time to cool completely.
Jam made with commercial pectin can sometimes take 24 to 48 hours to reach its final set.
So don't panic if you look at your jars shortly after making them and think your jam seems a little thin!
Do You Have to Peel Plums for Jam?
No, you don't necessarily have to peel plums before making plum jam.
Many plum jam recipes leave the skins on because they soften as the fruit cooks and can add beautiful color to the finished jam.
However, I peeled mine.
Removing the skins gives the jam a smoother texture while still allowing you to use all that delicious plum flesh.
If you don't mind pieces of plum skin in your jam, you can look for a tested recipe specifically designed to use unpeeled plums.
How Chunky Should Plum Jam Be?
That's one of the nice things about homemade jam — it doesn't have to be perfectly smooth.
My plum jam has some texture because I used the whole peeled fruit.
You can mash the plums really well for a smoother spread or leave some small pieces intact for a chunkier, more rustic jam.
Just remember that jam and jelly are different.
If your finished plum spread contains fruit pulp or small pieces of plum, you've made jam, not jelly — and that's a good thing!
What If My Plum Jam Is Too Runny?
First, give it time.
Hot jam is much thinner than cooled jam, and it may take a day or two to reach its final consistency.
If it is still extremely runny after it has completely cooled, don't throw it away!
You can use softer plum jam as:
- Pancake or waffle syrup
- Ice cream topping
- Yogurt topping
- Oatmeal topping
- Cheesecake sauce
- Cake filling
- A glaze for pork or chicken
If you used commercial pectin and the jam fails to set, check the pectin manufacturer's instructions for remaking a soft or unset jam.
How to Use Homemade Plum Jam
Once you have a few jars of homemade plum jam in the kitchen, you'll find all kinds of excuses to use it.
Of course, my favorite is keeping things simple.
Slather a warm homemade biscuit with butter and then add a spoonful of plum jam. So good!
You can also spread it on toast, bagels, English muffins, sourdough bread, pancakes, and waffles.
Try swirling it into oatmeal or yogurt, spooning it over vanilla ice cream, or using it as a filling for thumbprint cookies.
Plum jam also works surprisingly well in savory dishes.
Mix a spoonful with Dijon mustard, garlic, and a splash of vinegar for a sweet and tangy glaze for pork chops or chicken.
It's also delicious served alongside Brie, goat cheese, crackers, and nuts on a charcuterie board.
How to Store Homemade Plum Jam
How you store your jam depends on how it was prepared.
Refrigerator plum jam: Keep unprocessed jam refrigerated in a covered container and use it within the storage period recommended by your pectin recipe.
Freezer plum jam: If you've used a freezer-jam recipe, store it in freezer-safe containers according to that recipe's directions.
Home-canned plum jam: Jam prepared using a tested canning recipe and properly processed in a boiling-water canner can be stored unopened in a cool, dark location. For best quality, plan to use home-canned jam within about a year.
Once you open a jar, keep it refrigerated.
Frequently Asked Questions
Is plum jam supposed to have fruit pieces?
Yes! Unlike jelly, jam is made using the fruit itself. Depending on how much you mash your plums, your finished jam can range from fairly smooth to slightly chunky.
Why isn't my plum jam clear?
It isn't supposed to be!
Clear fruit spreads are typically jellies because they're made from strained fruit juice. Jam contains the actual fruit, which gives it a more opaque appearance and thicker texture.
Can I use overripe plums for jam?
Very ripe plums are great for flavor, but avoid using fruit that is moldy, fermented, or spoiled.
If you're canning the jam, use good-quality fruit and follow a tested preservation recipe.
Can I make plum jam without pectin?
You can make plum jam without commercial pectin, but you'll want to use a recipe specifically developed for that method.
Plums naturally contain pectin, but the amount varies depending on the variety and ripeness of the fruit.
A no-pectin jam generally relies on the correct combination of fruit, sugar, acidity, and cooking temperature to reach the gel stage.
Easy Homemade Plum Jam
Making homemade plum jam is such a simple way to preserve those delicious fresh plums when they're in season.
And don't worry if your jam isn't perfectly smooth.
Mine is made with the whole peeled fruit, so it has that gorgeous, rustic homemade texture that lets you know you're eating real plum jam and not a perfectly clear jelly.
Spread it over a warm biscuit, add it to your morning toast, or tuck a jar into a homemade gift basket.
It's a delicious way to turn an abundance of fresh plums into something you can enjoy one spoonful at a time.
Love making jams and jellies? Check out these recipes
Homemade Plum Jam
Sweet, fruity homemade plum jam made with fresh peeled plums. This easy jam has a beautiful ruby-red color and a slightly rustic texture that's perfect for spreading on biscuits, toast, and homemade bread.
Ingredients
- 2 pounds of Fresh ripe plums, peeled, pitted, and chopped
- 1 ½ cups of Granulated sugar
- 2 tablespoons of Bottled lemon juice
- ¼ teaspoon salt
- 1 box of Powdered fruit pectin
Instructions
- Wash the plums thoroughly. Peel the fruit, remove the pits, and roughly chop the plum flesh.
- Place the chopped plums in a large, heavy-bottomed saucepan. Cook over medium heat, stirring frequently, until the fruit softens and begins releasing its juices.
- Use a potato masher to mash the plums to your desired consistency. Leave a few small pieces of fruit if you like a more rustic jam.
- Measure the prepared fruit according to your pectin recipe. Add the bottled lemon juice and powdered pectin in the amounts called for.
- Bring the mixture to a full rolling boil over high heat, stirring constantly.
- Add the measured granulated sugar and salt all at once and stir until combined.
- Return the jam to a full rolling boil. Boil for the amount of time specified by your pectin recipe, stirring constantly.
- Remove the pot from the heat. Skim off any foam from the surface, if desired.
- Ladle the hot plum jam into clean jars.
- For refrigerator jam, let the jars cool and refrigerate. For shelf-stable jam, fill and process the jars using the headspace, processing time, and altitude adjustments specified by a tested plum jam canning recipe.
- Let the jam cool completely. The jam will continue to thicken as it cools and may take 24–48 hours to reach its final set.
Notes
Use the exact fruit, sugar, lemon juice, and pectin quantities specified by your brand of pectin or another tested plum jam recipe, especially if you're water-bath canning the finished jam.
Your plum jam does not need to be perfectly smooth. Using the whole peeled fruit gives it a delicious homemade texture.
For a smoother jam, mash the plums more thoroughly as they cook.
Don't judge the consistency while the jam is hot—it will be much thinner than the finished, cooled jam.
If using commercial pectin, don't reduce the sugar unless you're using a pectin specifically formulated for low- or no-sugar recipes.
Refrigerate any jars that aren't processed for shelf storage or that fail to seal after processing.
Nutrition Information:
Yield:
6Serving Size:
1Amount Per Serving: Calories: 346Total Fat: 0gSaturated Fat: 0gUnsaturated Fat: 0gSodium: 109mgCarbohydrates: 87gFiber: 3gSugar: 77gProtein: 1g