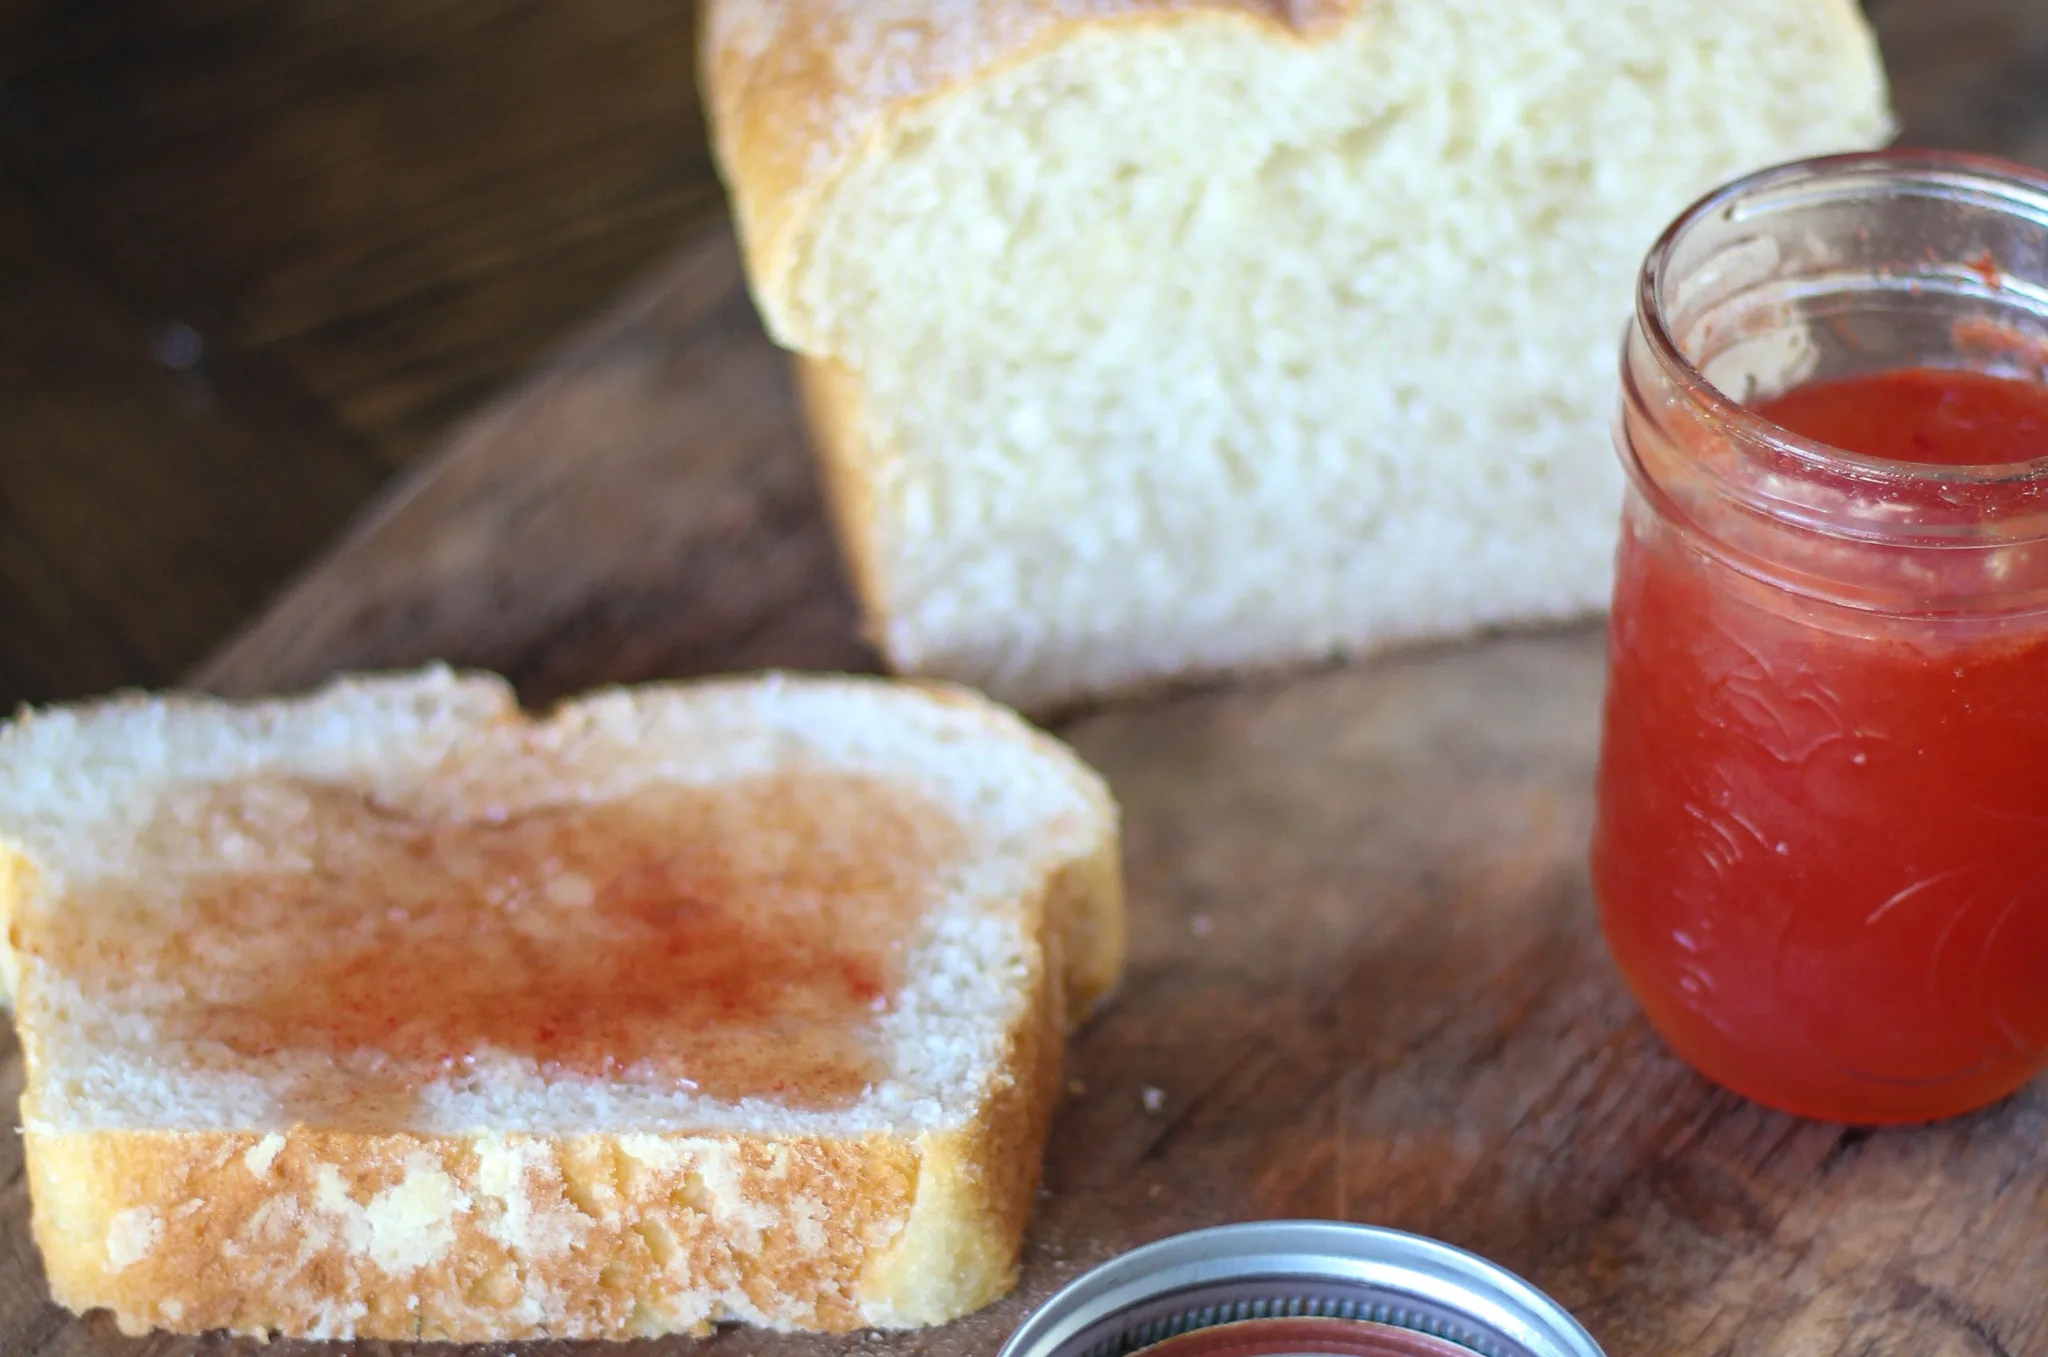
Watermelon jelly sounds weird and ridiculous right? Let me tell you that this jelly has become a hit among my family and friends.
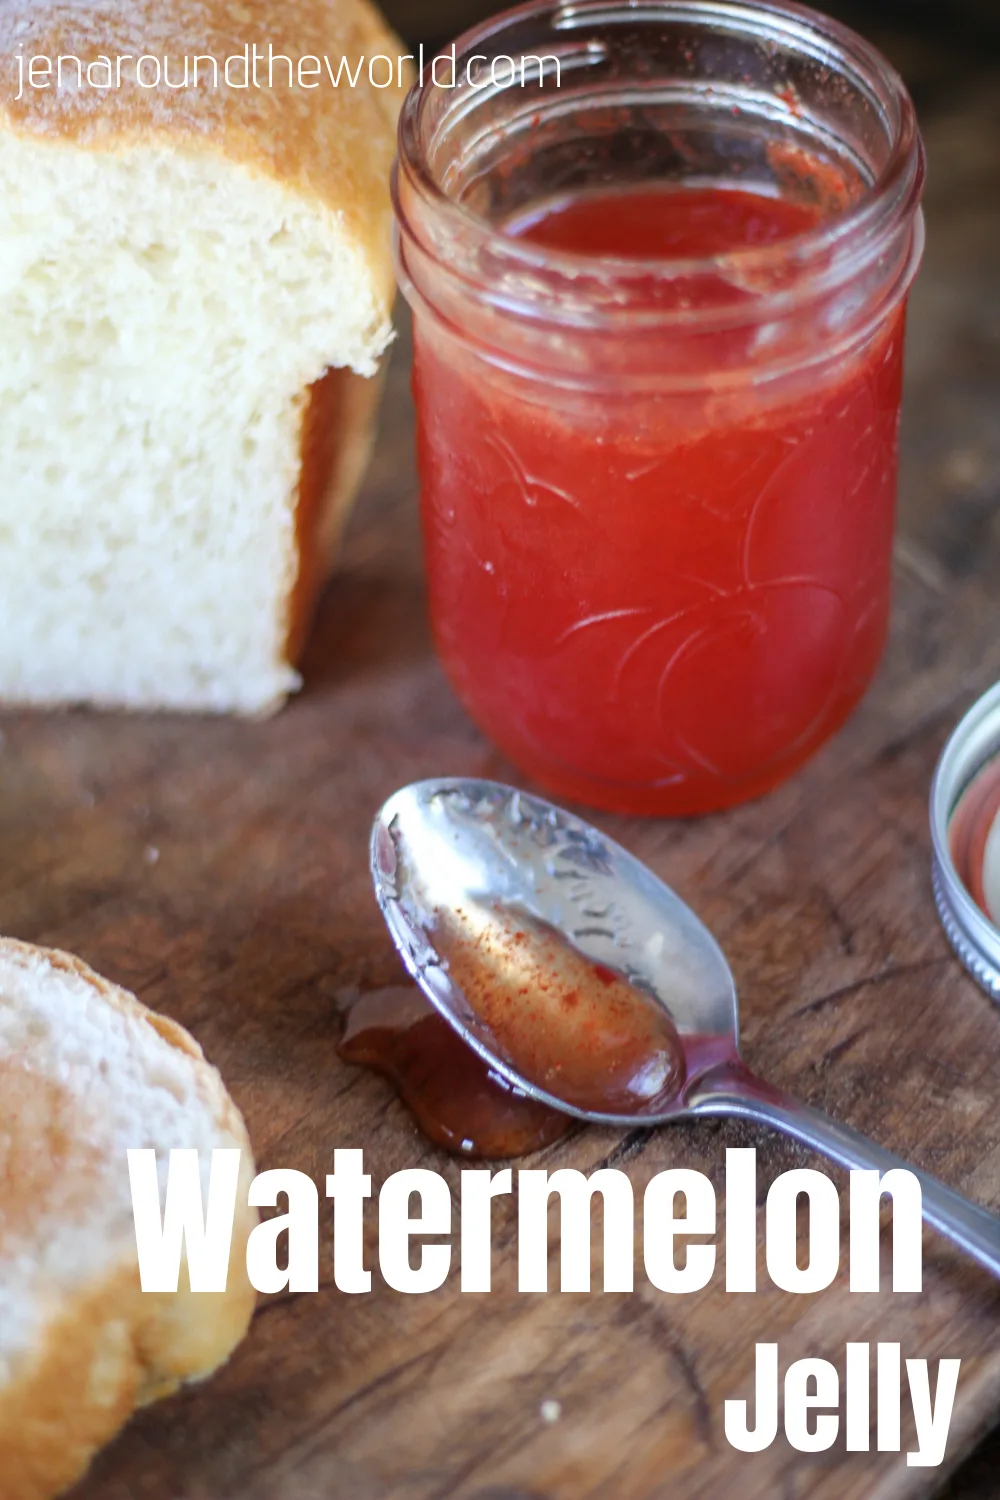
If you are looking for a new flavor jelly to try, then you might like this watermelon jelly.
This jelly recipe has a nice light melon flavor and will be perfect for those summer breakfast mornings.
Even if this is your first time canning something, you will find this watermelon jelly recipe easy to make.
How to Make Watermelon Jelly
To begin, the first thing you are going to do is to cut up your watermelon. Whenever I buy a huge watermelon, I like to slice the watermelon in half, and then slice all the rind off.
It makes chunking it up a lot easier.
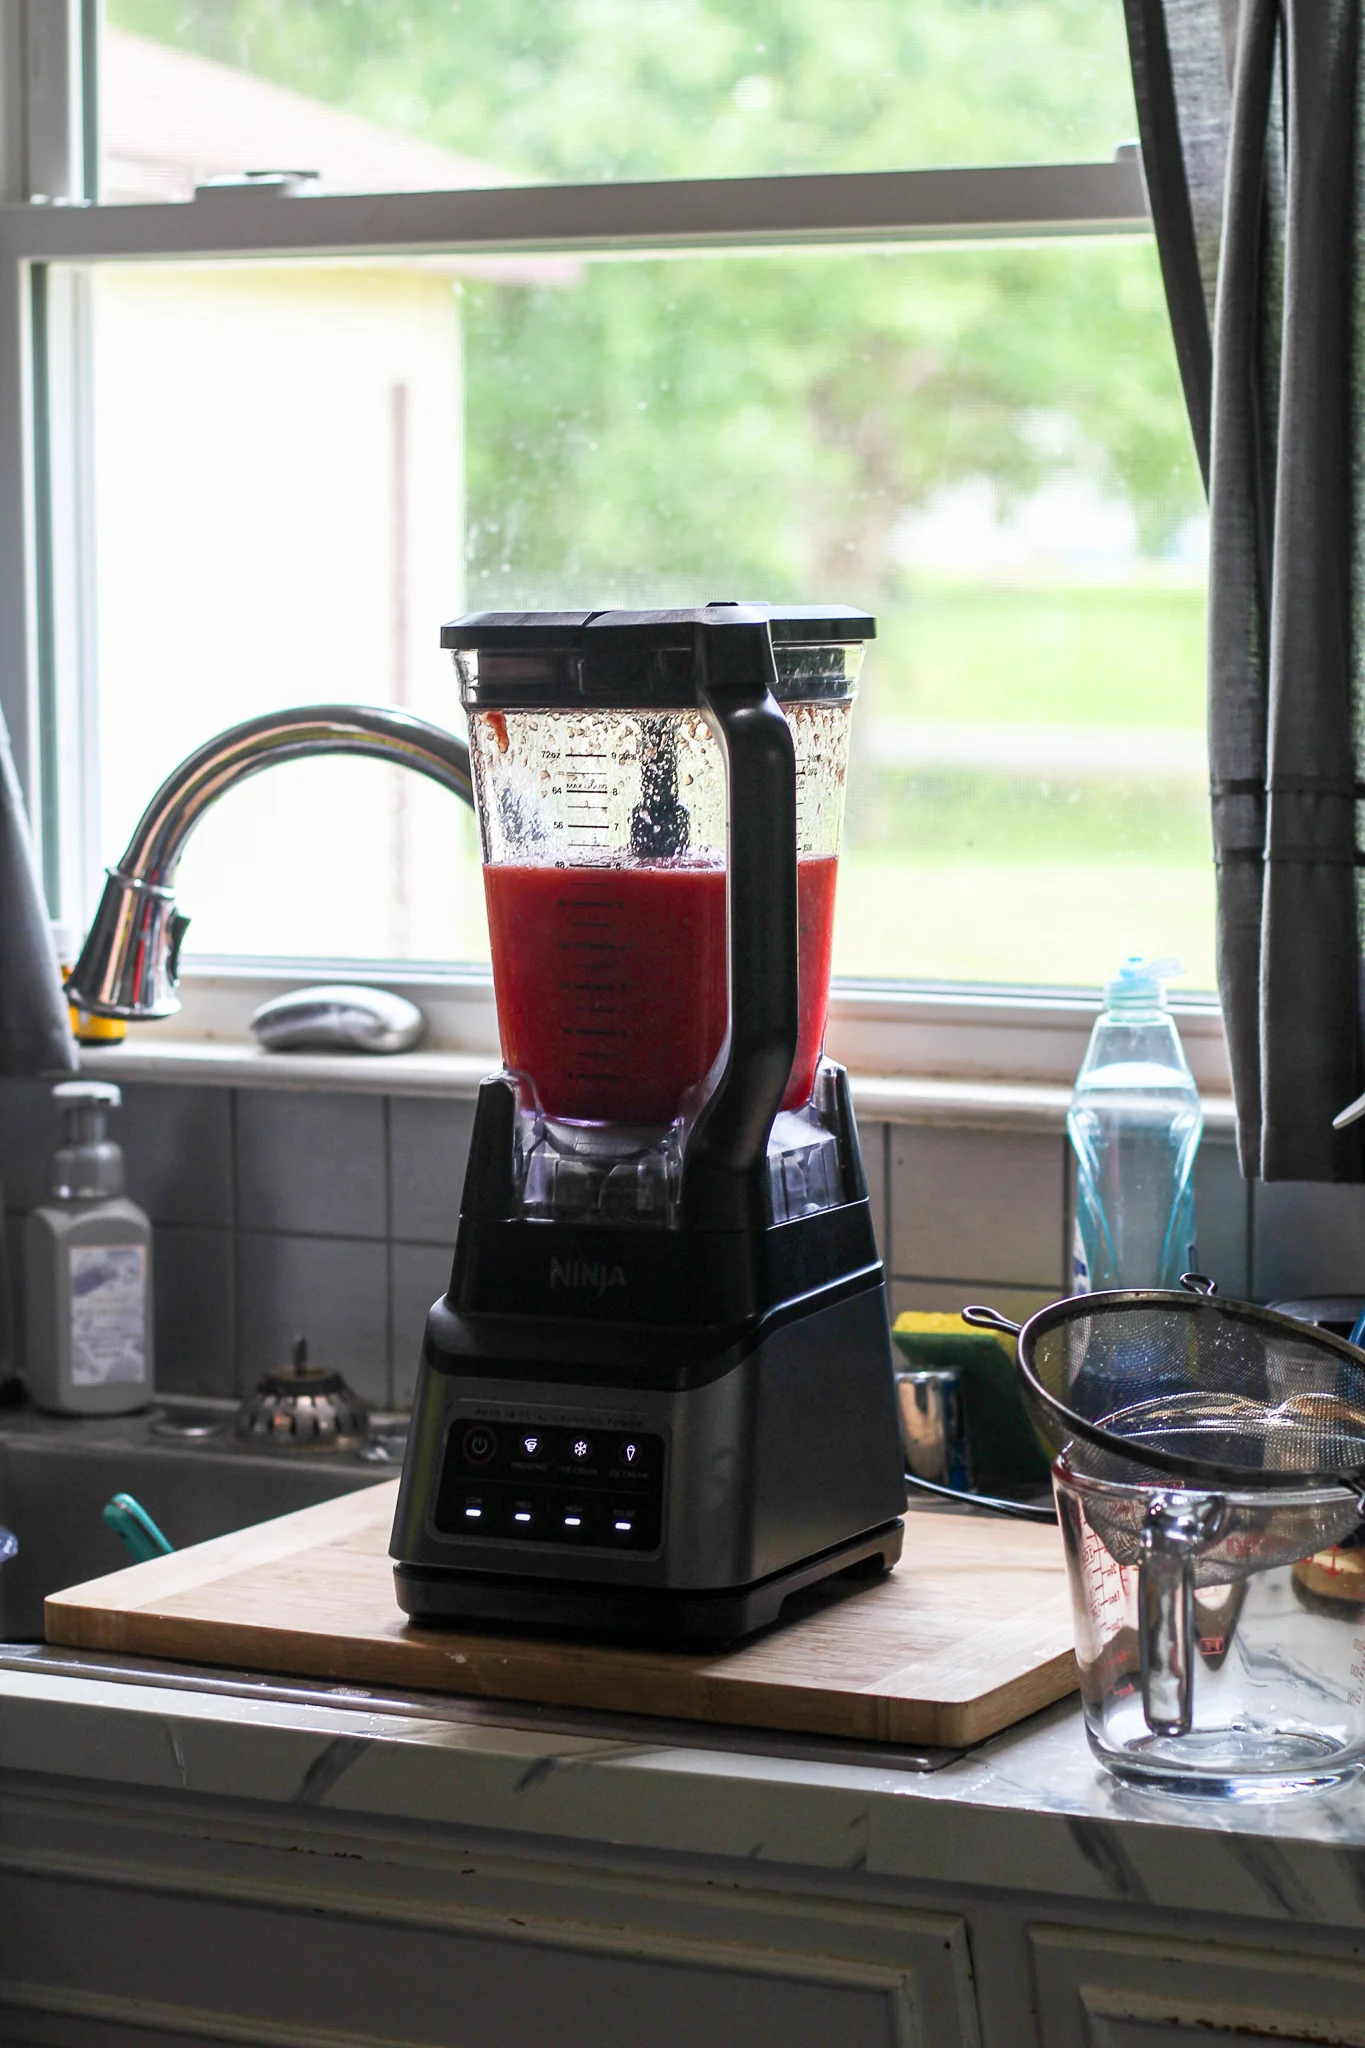
Now, fill your blender, food processor, commercial juicer, or whatever you are going to use with enough watermelon to get 4 cups of juice from it.
You might have to do that in batches. Once I get done pulsing it up, I make sure to strain it so that no pulp remains. All we are looking for here is the juice.
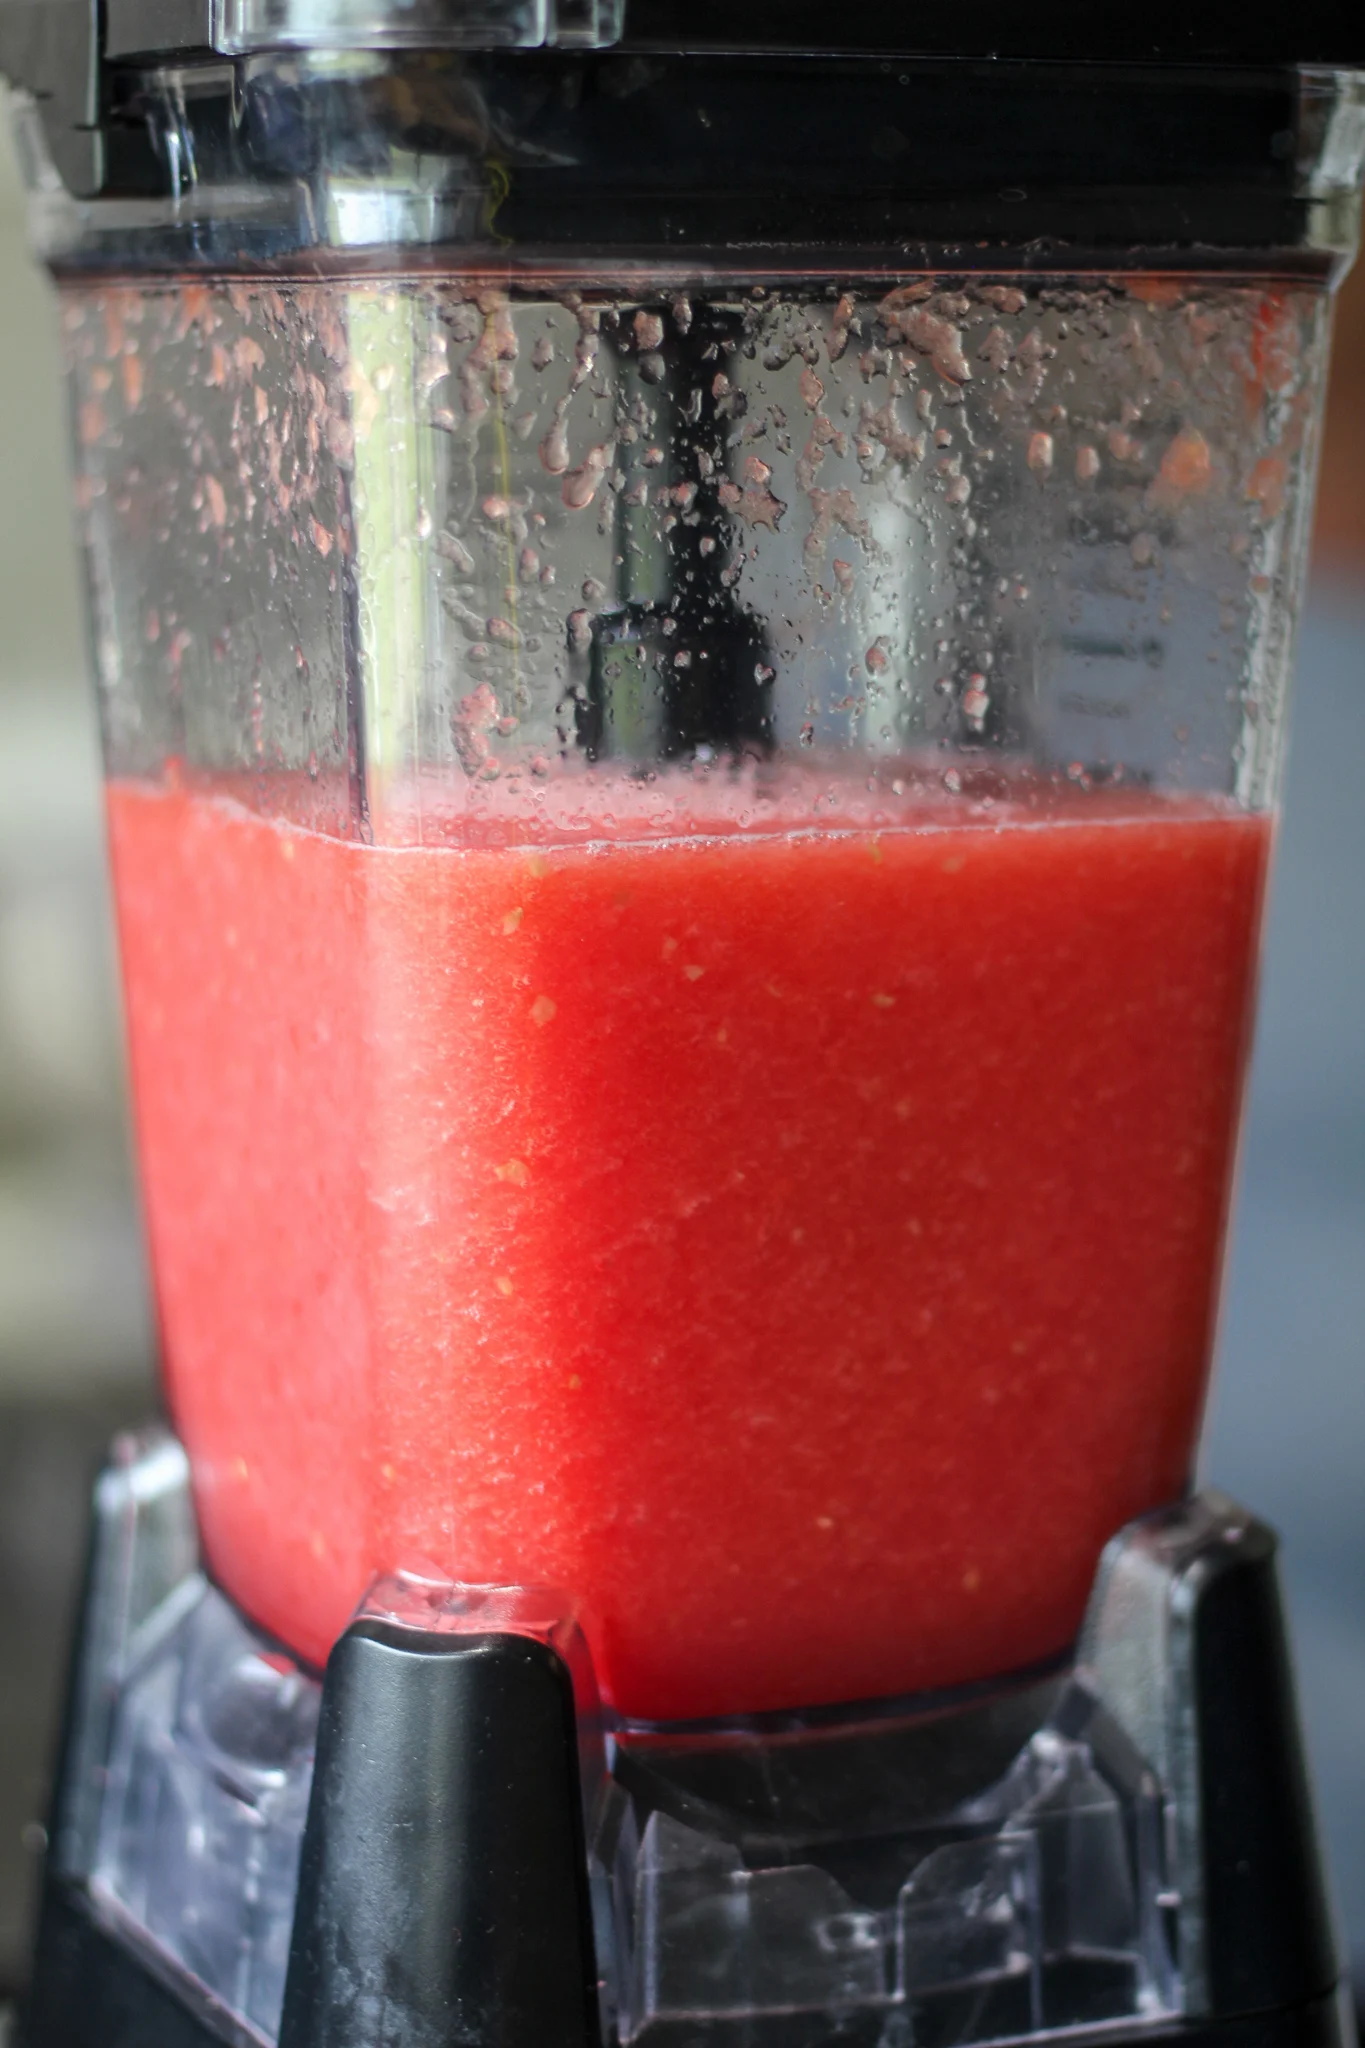
I have the Ninja Blender/Food Processor and it works like a charm pureeing all the watermelon.
Once you get it all pureed, place a strainer over a large measuring cup that is at least 4 cups and strain the juice from the pulp.
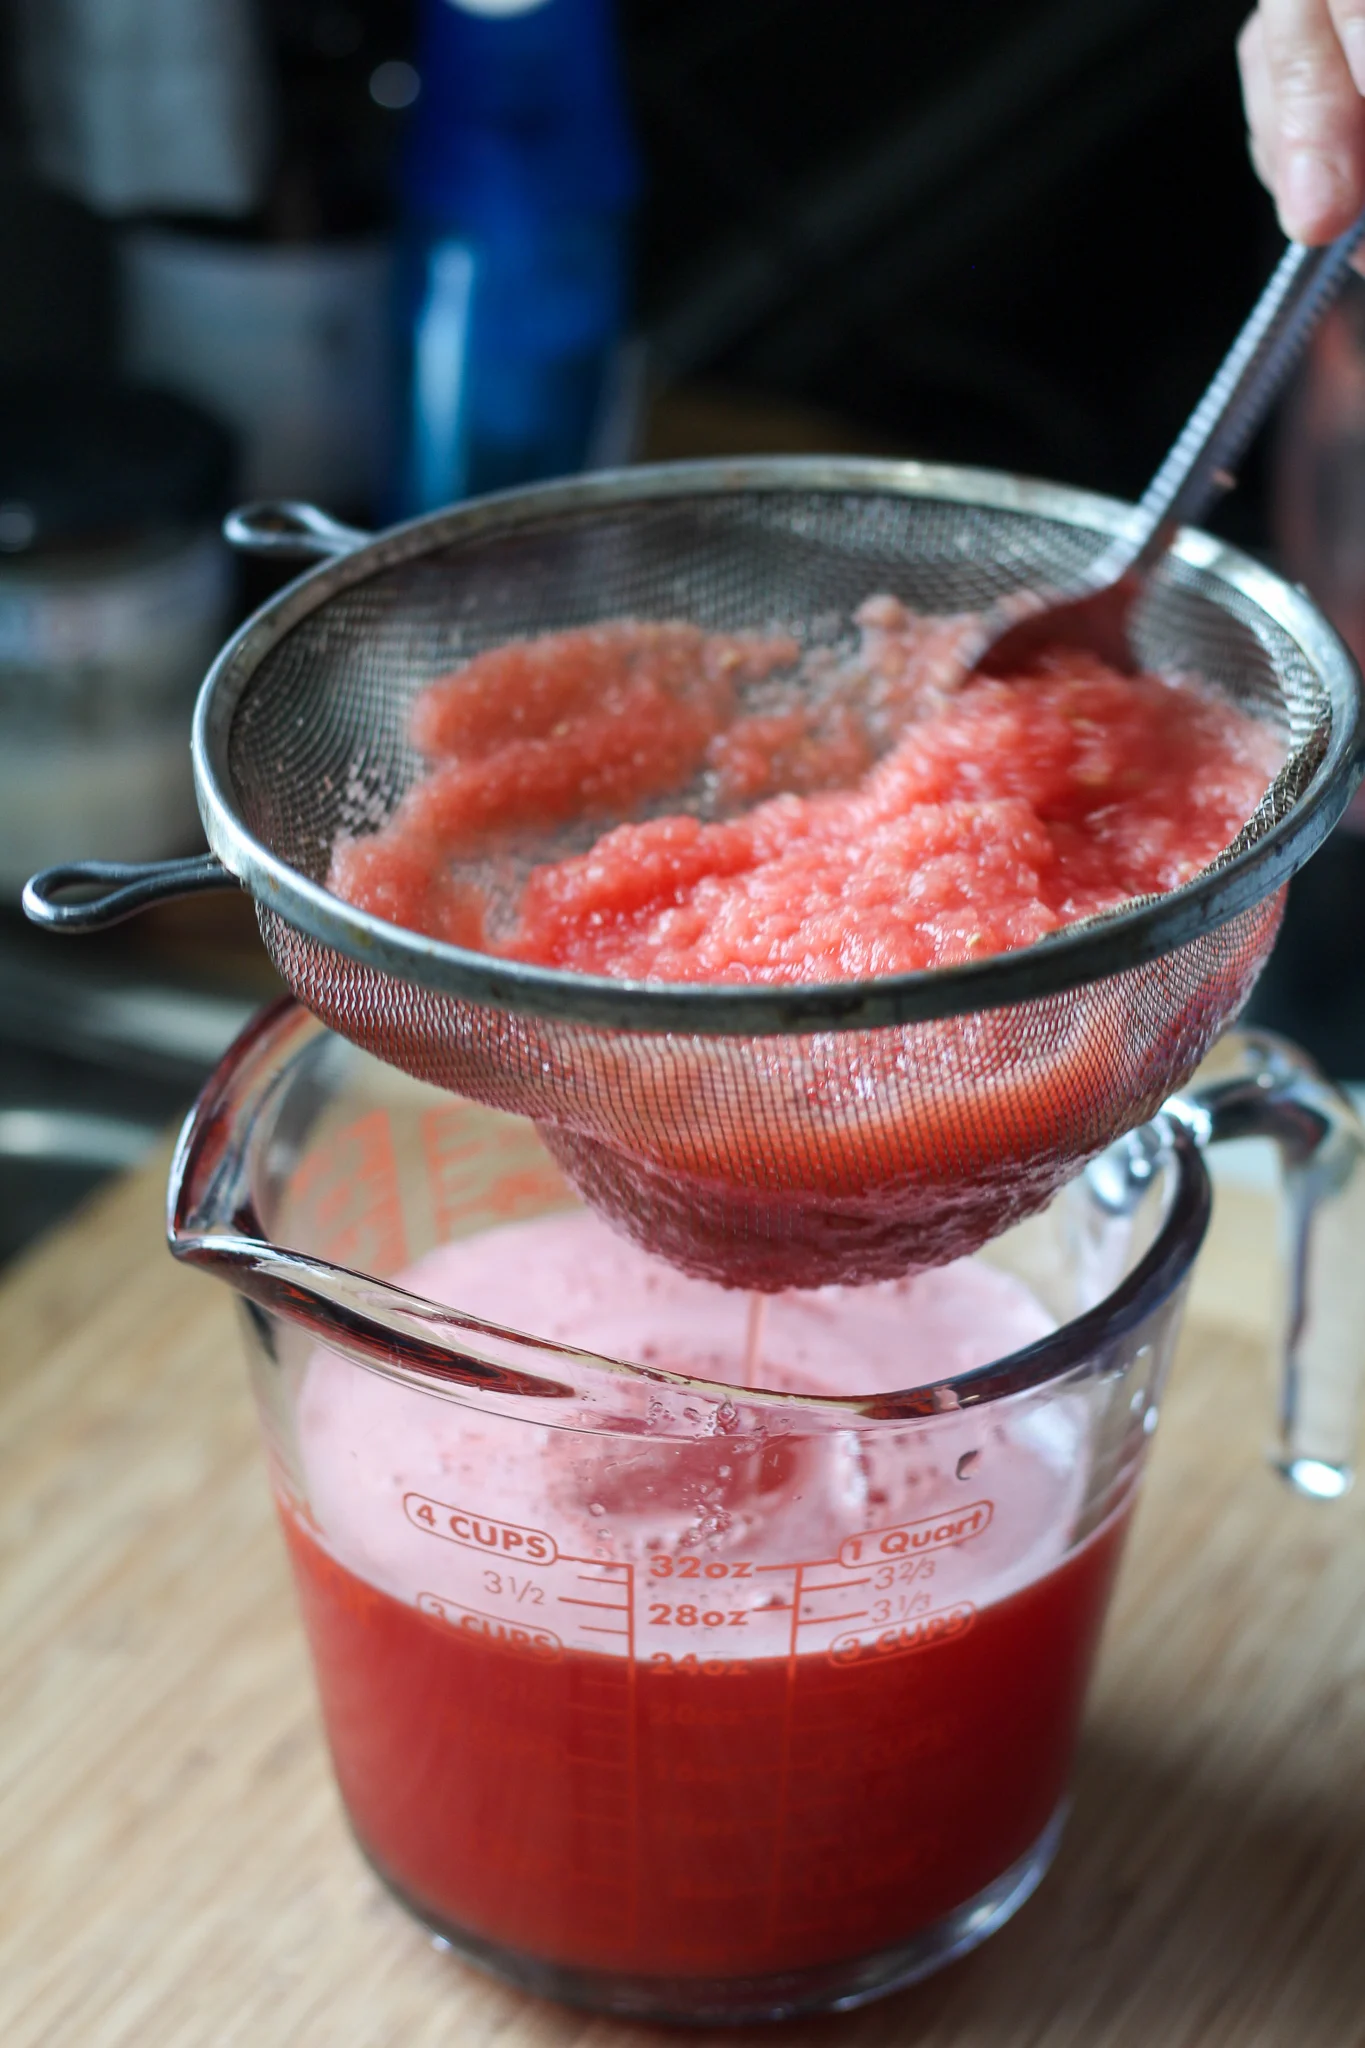
Make sure to get all the pulp out. You might need to strain it a couple of times. Once you get all the pulp out, pour the watermelon juice into a large saucepot.
Watermelon is primarily made of water, and it needs to be boiled down more than other jellies. I’ve found that you need to boil for 20-25 minutes to form a proper jelly out of watermelon juice. Once the juice comes to a boil, stirring frequently to reduce boiling.
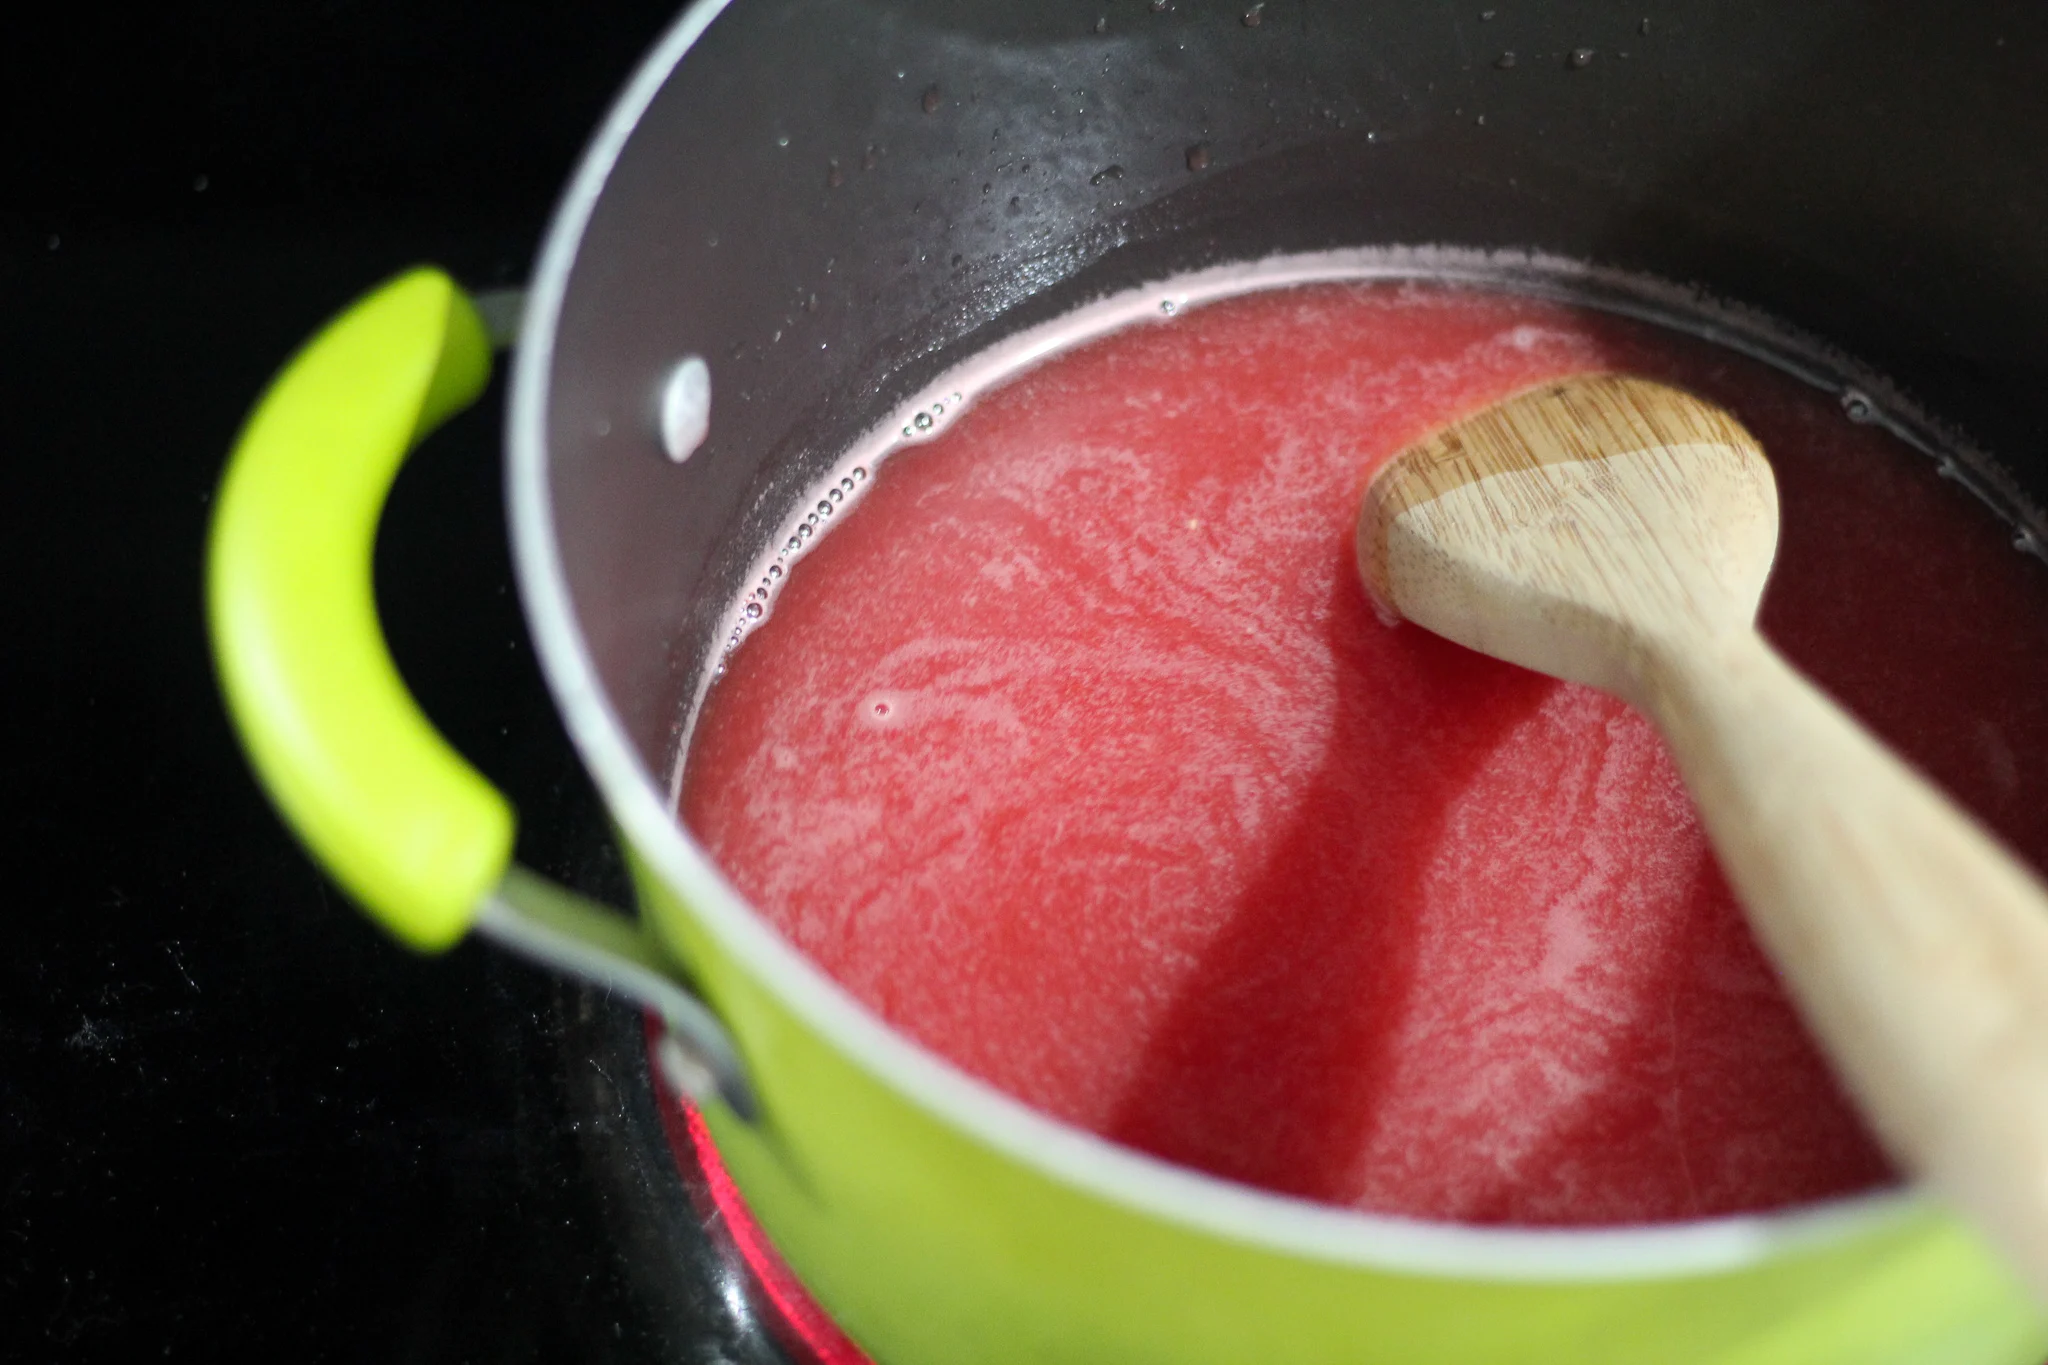
Once you have it boiled down, add the sugar, pectin, and lemon juice to the sauce pot with the juice.
Bring the mixture to a rolling boil and let it boil for 1-2 minutes. Once boiled, you can take it off of the heat and prepare to fill the jars with the jelly.
Here's a tip — be sure to wash and sterilize the jars before you ladle your watermelon jelly into the jars. Wash them with hot soapy water. Then clean them well and dry them with paper towels.
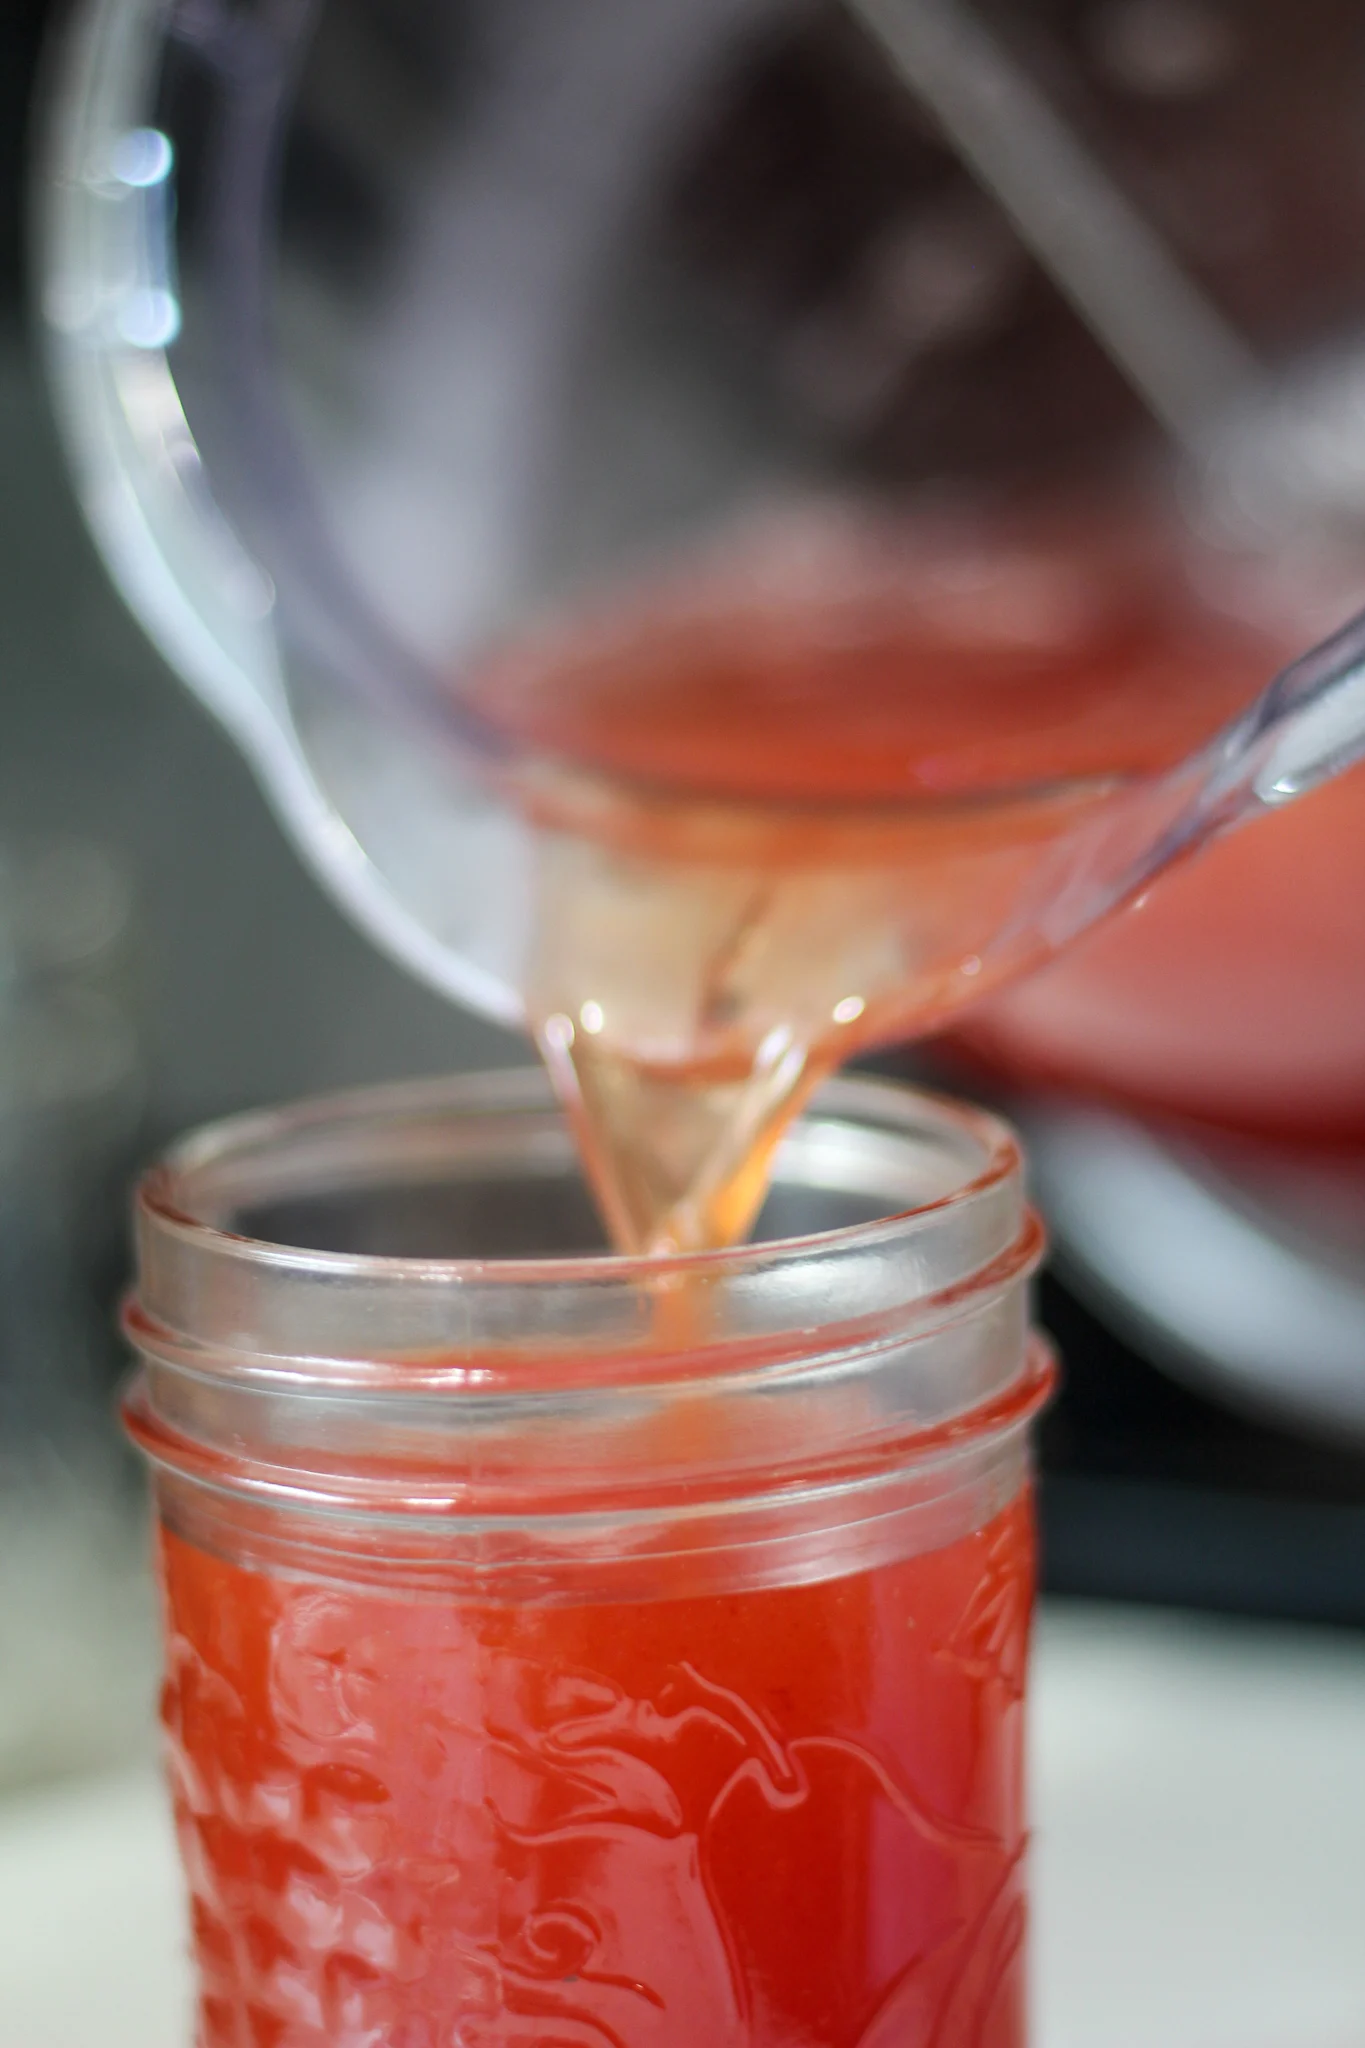
Fill the jars, leaving 1/2 inch space. Wipe off the rims of the jars and place on the lids and rims.
Time for a Water Bath!
Now, take a large soup pot or canning pot and fill it with water and place a rack in the bottom. For me, I don't have a canner pot, so I use my large spaghetti pot and my Instant Pot rack. Then, I place the jars in the water and let them water bathe for about 10-15 minutes over medium high heat.
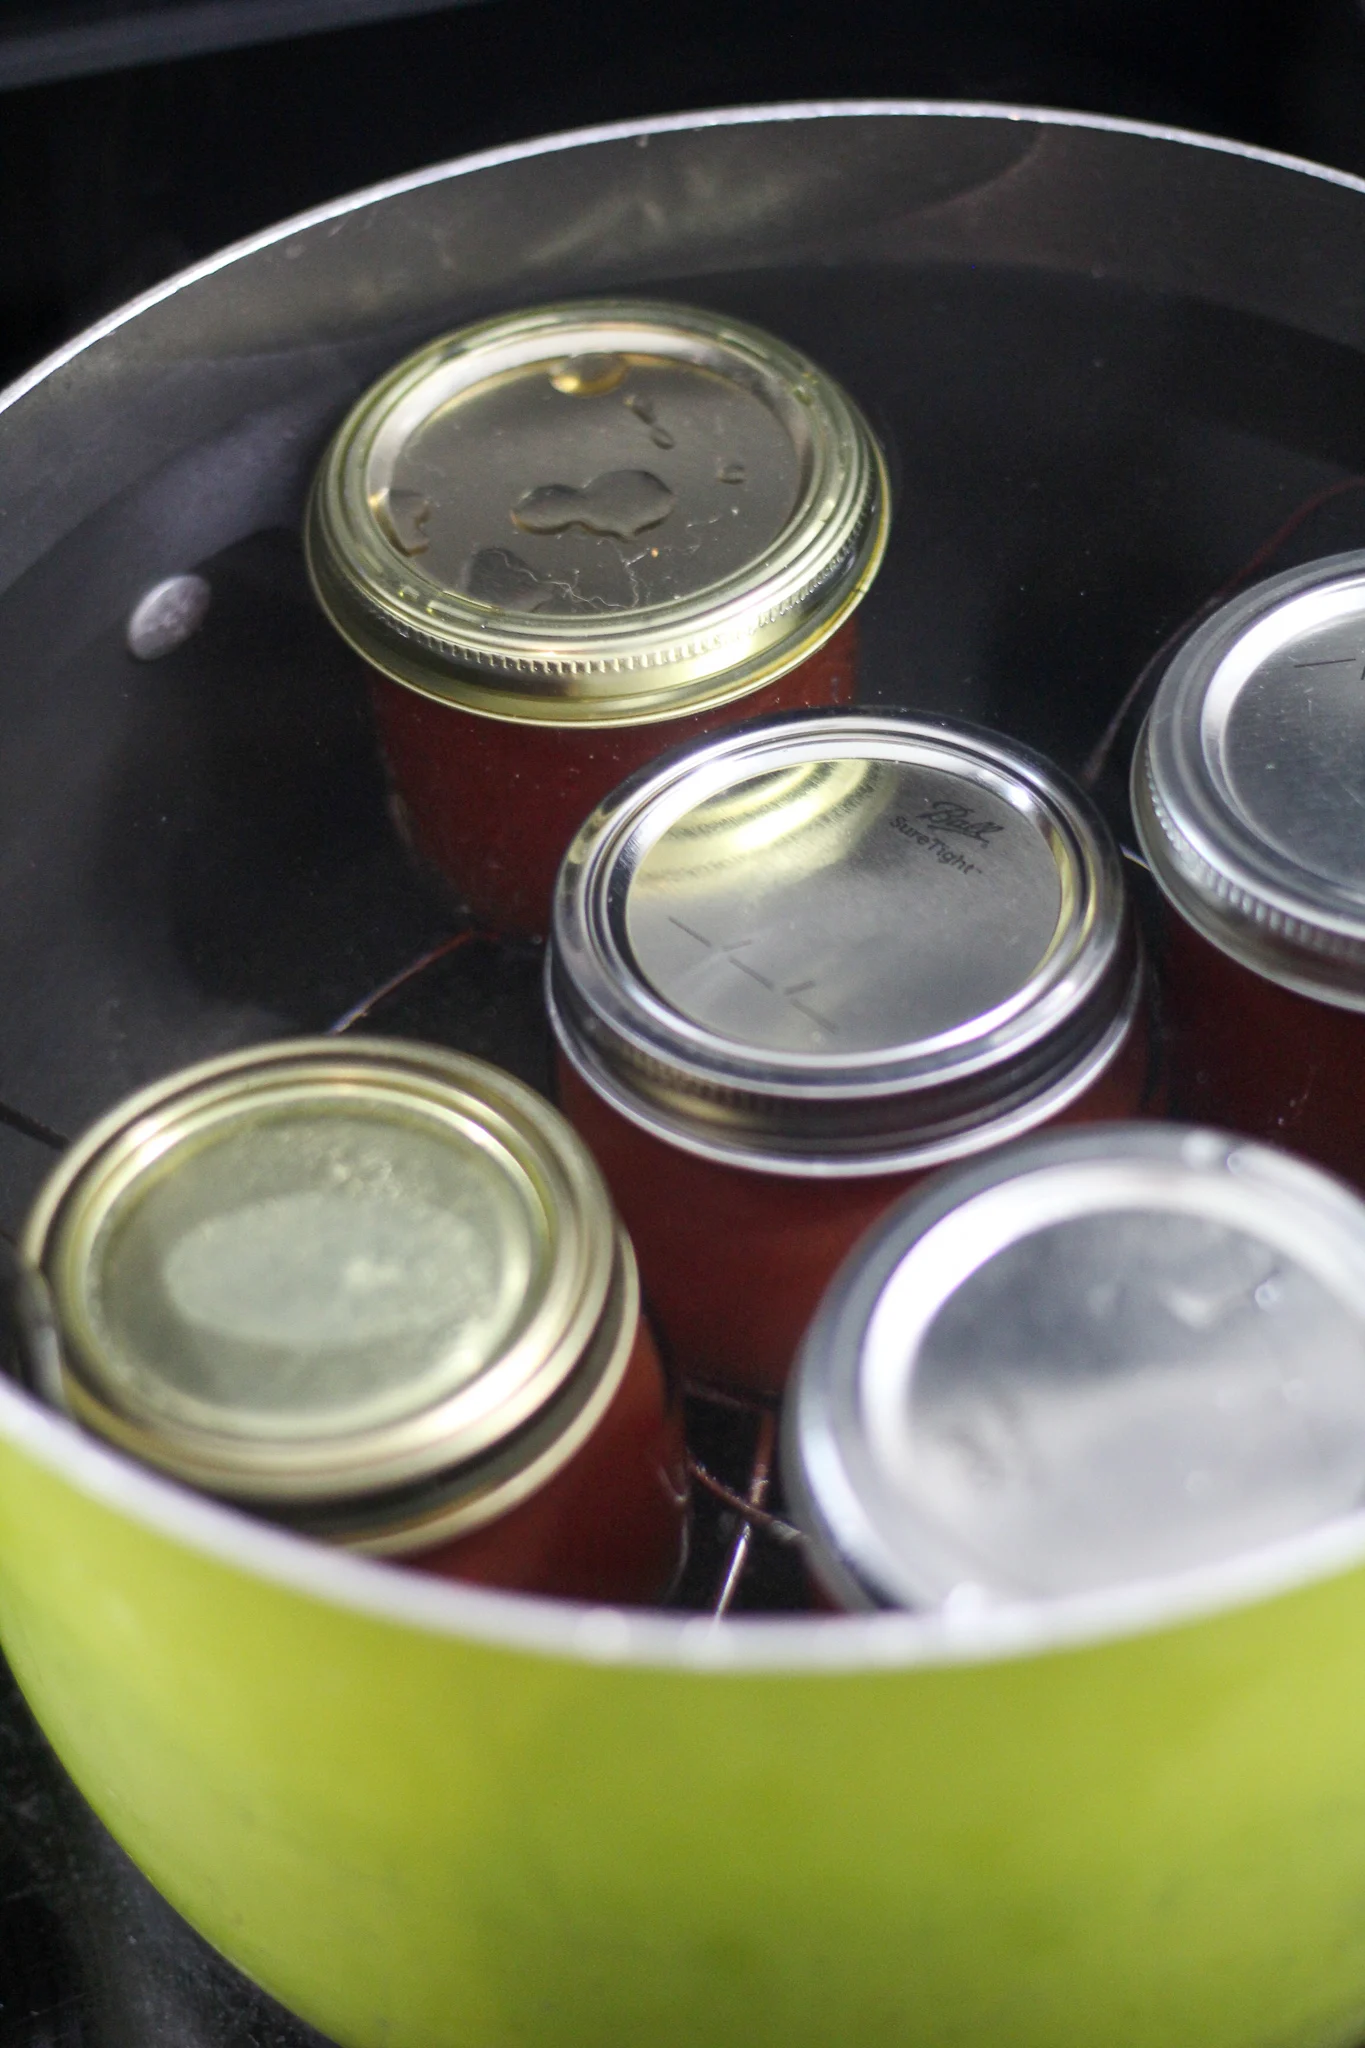
This ensures that the seals will seal properly and you can store it in the fridge longer.
Once they come out of the water bath, place a tea towel on the counter and let the jellies set up. They should stay on the counter until you hear the lids pop and seal themselves. Once they do, then you can give to family and friends or place in the fridge until ready to use.
You will absolutely love the taste and flavor of watermelon jelly!
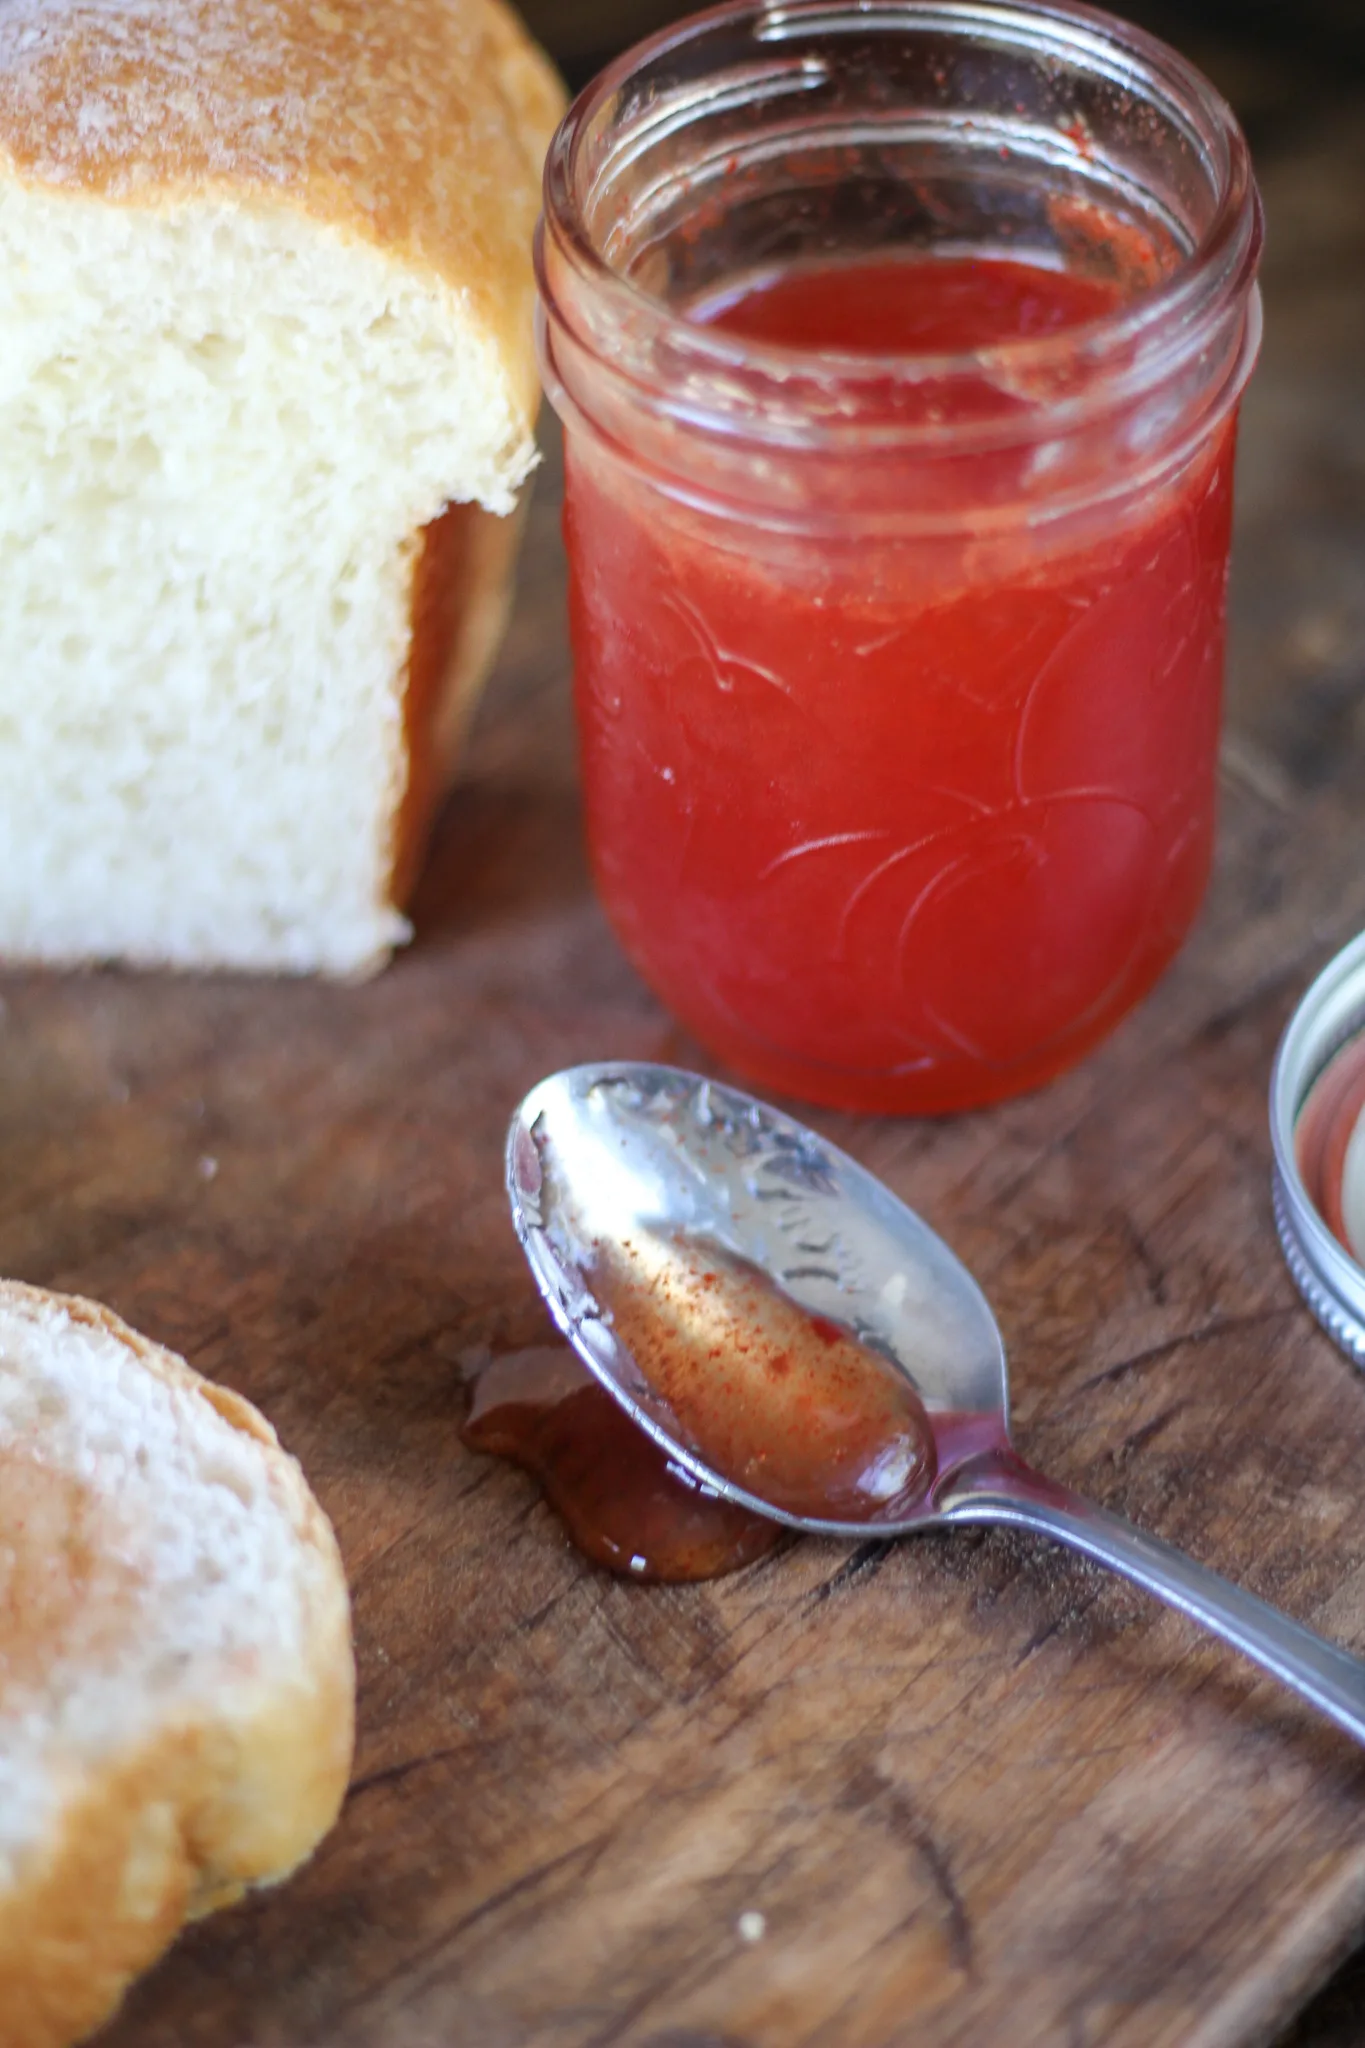
Check out My Other Jelly Recipes
- Green Pepper Jelly
- Red Pepper Jelly
- 20 Minute Pumpkin Butter
- Orange Jelly
- Pear Vanilla Jam
- Freezer Strawberry Jam
- Peach Jam
- Bacon Jam
- Crockpot Blueberry Butter
- Blackberry Jam
Watermelon Jelly
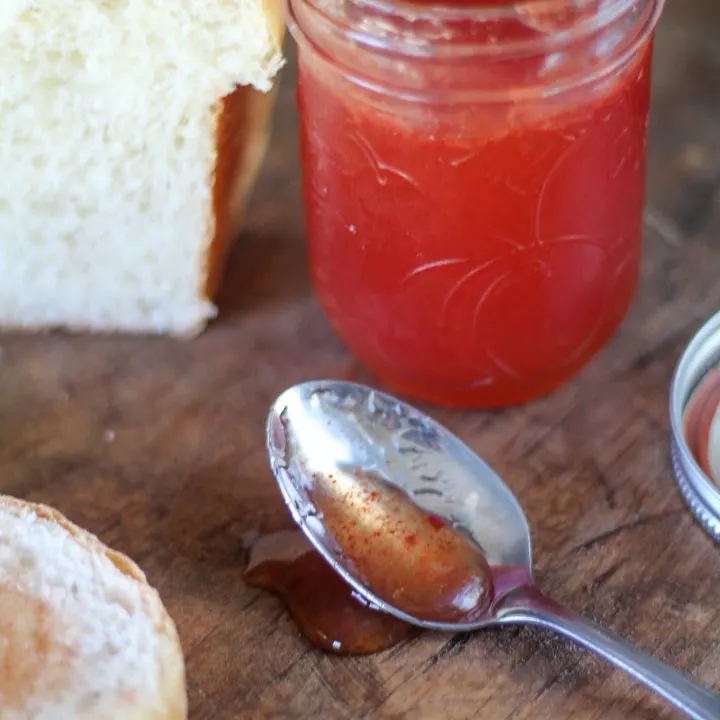
This watermelon jelly is sweet and delicious and perfect on toast! Great summer jelly recipe to make.
Ingredients
- 4 Cups Watermelon Juice
- 4 Cups Sugar
- 7 tablespoons of low sugar pectin
- 1/4 Cup Lemon Juice
Instructions
- Blend your watermelon chunks until they are completely pureed.
- Strain the mixture using a 4 cup measuring cup and a strainer.
- Put the juice into a pot and turn on medium/high heat to boil.
Allow the watermelon juice to boil, stirring frequently. Since watermelon contains so much water, cook for about 25 minutes to cook it down some. Be sure to stir frequently. - Next, mix the pectin with one cup of sugar.
- Stir in the pectin and sugar mixture. Then, slowly add the rest of the sugar, stirring well after each cup.
- Add the lemon juice.
- Let the liquid come back to a rolling boil and boil for 1-2 minutes while stirring continuously.
- Remove from heat and ladle into jars. You will typically get 7 to 8 half-pint jars with one recipe. Let the jars sit for 15 minutes and then place the lids on.
- Finally, water bath can for 5 minutes. Remove from the canner and place on a dry towel on the counters. Let cool for 12 hours before disturbing.
Nutrition Information:
Yield:
15Serving Size:
1Amount Per Serving: Calories: 261Total Fat: 0gSaturated Fat: 0gTrans Fat: 0gUnsaturated Fat: 0gCholesterol: 0mgSodium: 18mgCarbohydrates: 68gFiber: 1gSugar: 64gProtein: 0g
Tim
Friday 28th of June 2024
Is the finished product shelf stable after lids have sealed using the water bath treatment? Instructions are unclear.
Jennifer Sikora
Sunday 30th of June 2024
Yes. That is why you water bath can it. Once the lids seal, it is shelf stable.
Tara
Thursday 14th of July 2022
Which brand of low sugar pectin did you use, please? Thanks!
Jennifer Sikora
Wednesday 20th of July 2022
I use Certo whenever I have to use pectin.