

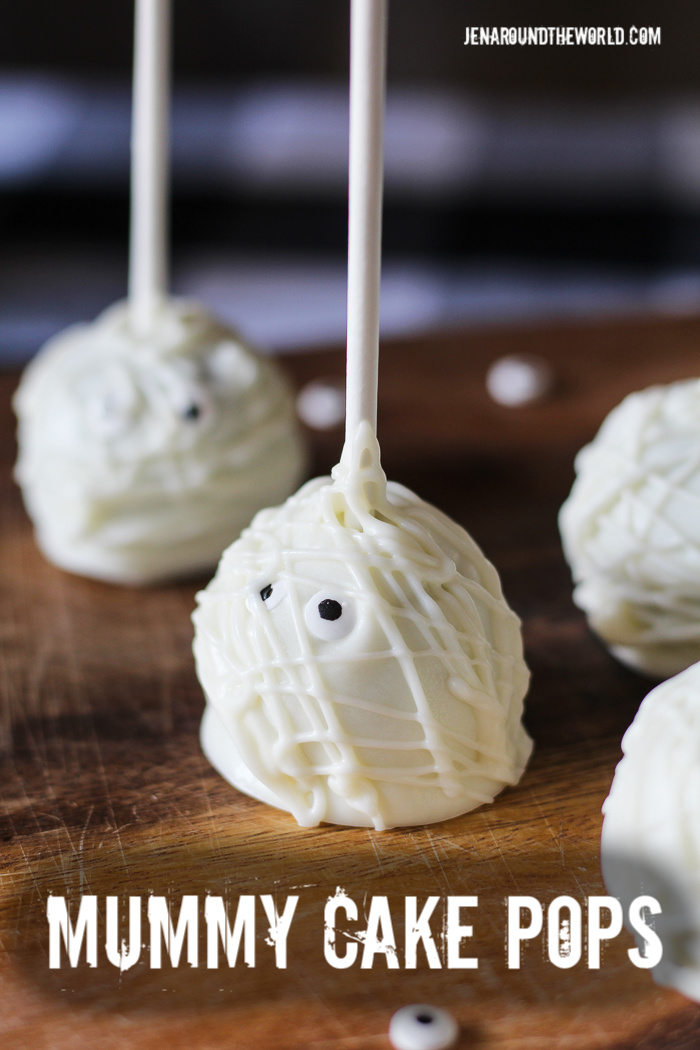
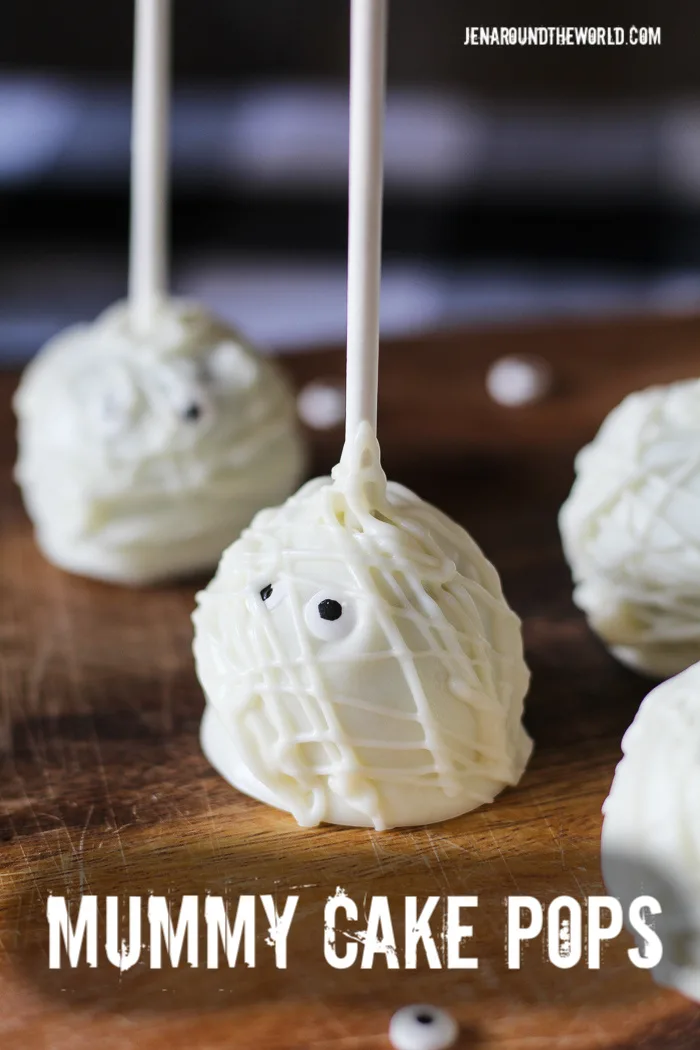
One of my favorite recipes to make is cake pops, and these Mummy Cake Pops were an absolute blast to create. We have perfected making them and, since then, have decorated them for every holiday– including Halloween! For more fun spooky inspiration, check out The Best Halloween Recipes.
These mummy cake pops will be the talk of the town this year at any party you throw. The best part? They hold up well in the fridge so you can make them days ahead of time and let them sit until you need them. If you love making mummy food, be sure to check out these Mummy Rice Krispie Treats.
How to make Mummy Cake Pops
To make any kind of cake pops, you will need to start with your basic ingredients —
- box of cake mix
- can of vanilla frosting
Make a 9×13 cake according to the directions on the back of the package. Once it is done baking, let it cool for a bit, and then crumble it up into a large mixing bowl.
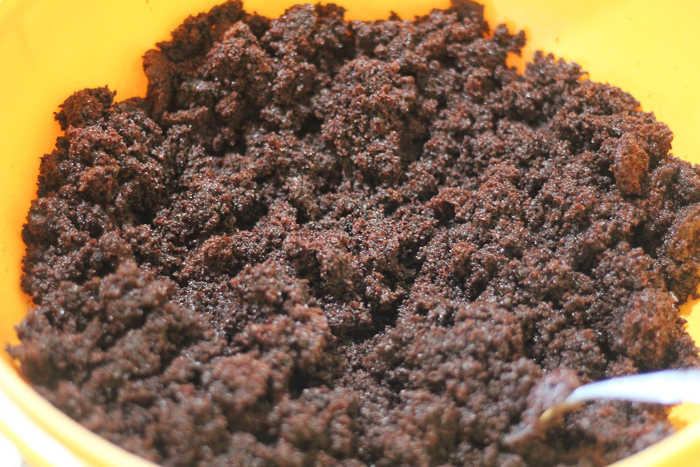

Now, take the can of frosting and scoop out 3/4 of the can right into your crumbled cake. Mix well, combining all the frosting with the cake. When you are done, you should have a super moist cake.
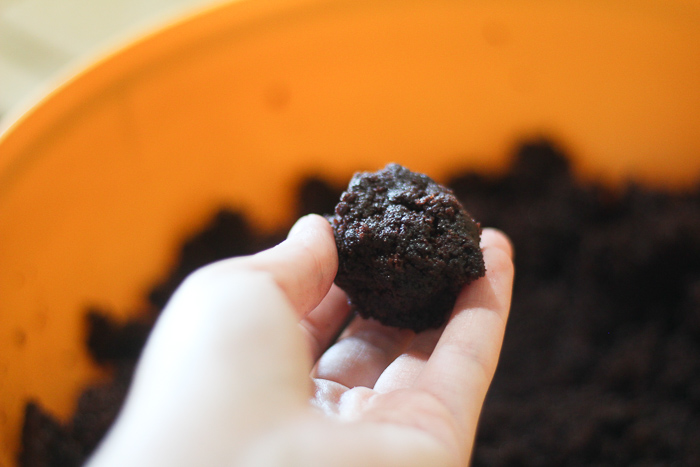

Using a cookie scoop, scoop out the cake mix. I use the cookie scoop because it gives me the perfect size for cake pops, and it makes all the balls uniform.
Then, roll them in your hands until they are the perfect smooth consistency.
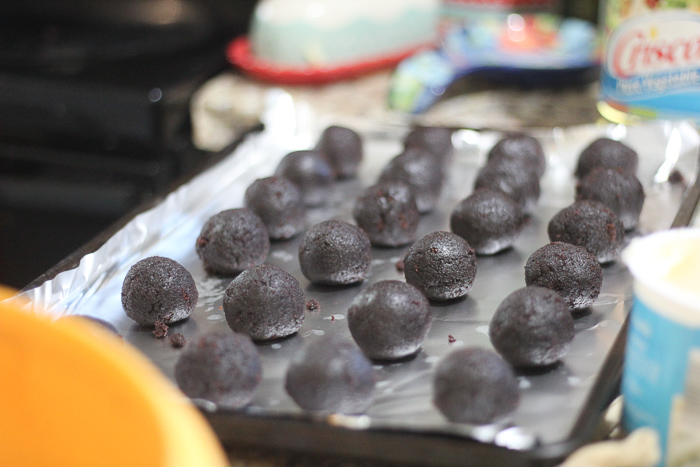

Place them on a foil-lined or parchment-lined cookie sheet. Place them in the fridge or the freezer to firm up.
Time to Decorate Your Mummy Cake Pops
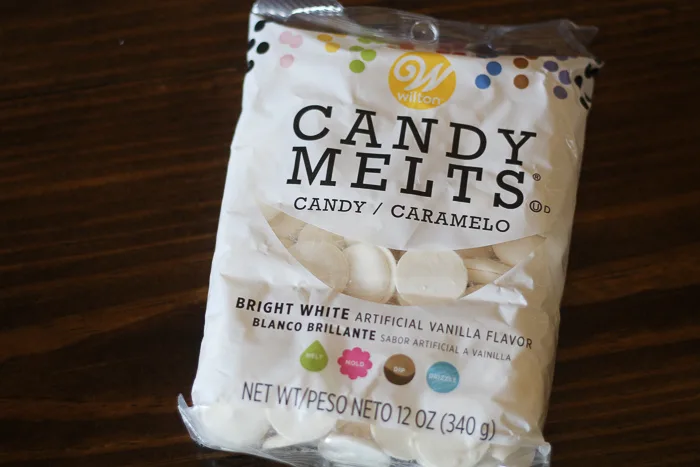
While the cake pops are firming up, grab your decoration ingredients. For me, I always turn to Wilton because they have THE BEST products for decorating.
You will need the following ingredients to make these mummy cake pops.
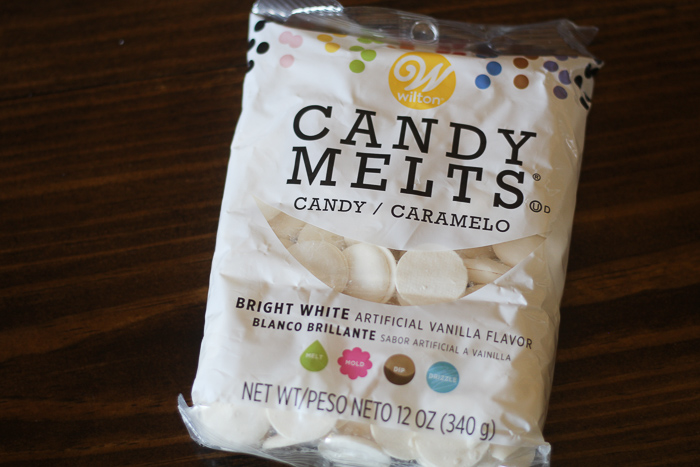

Start by melting your wafers in the microwave. I find that a lot of times the wafers can be thick when you melt them, but not to worry. Just add a little oil, like vegetable or canola, to the melted wafers to thin them out. You don't want it too thin, you want it to the point where when you dip your cake pop, it rolls around easily in the melted wafers.
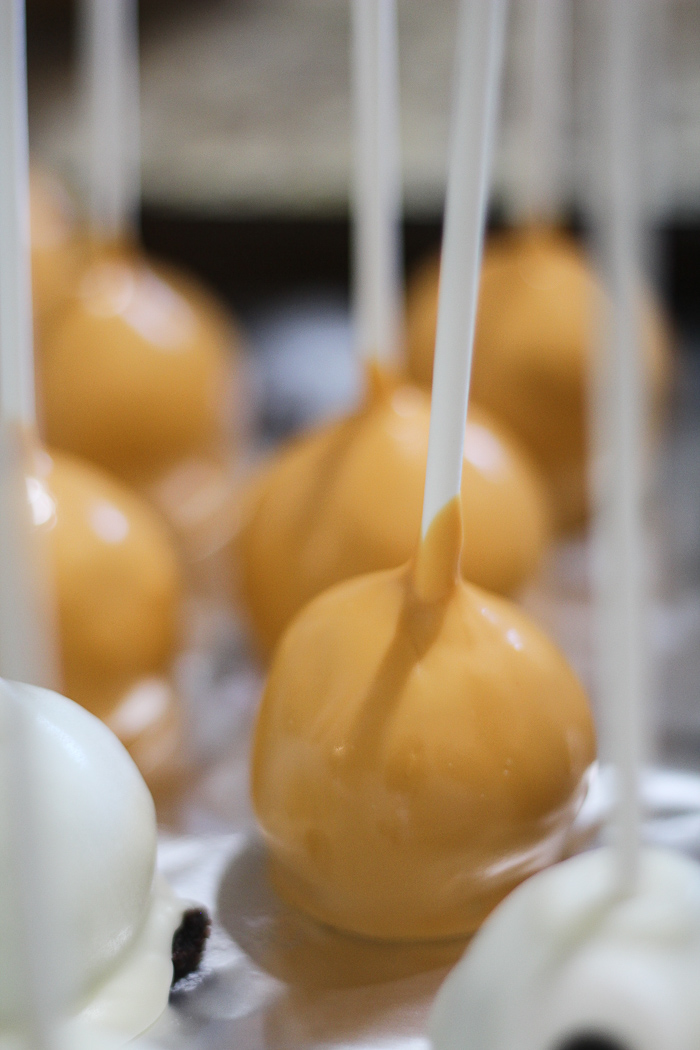
Here is some orange that I did for another set of cake pops I made.

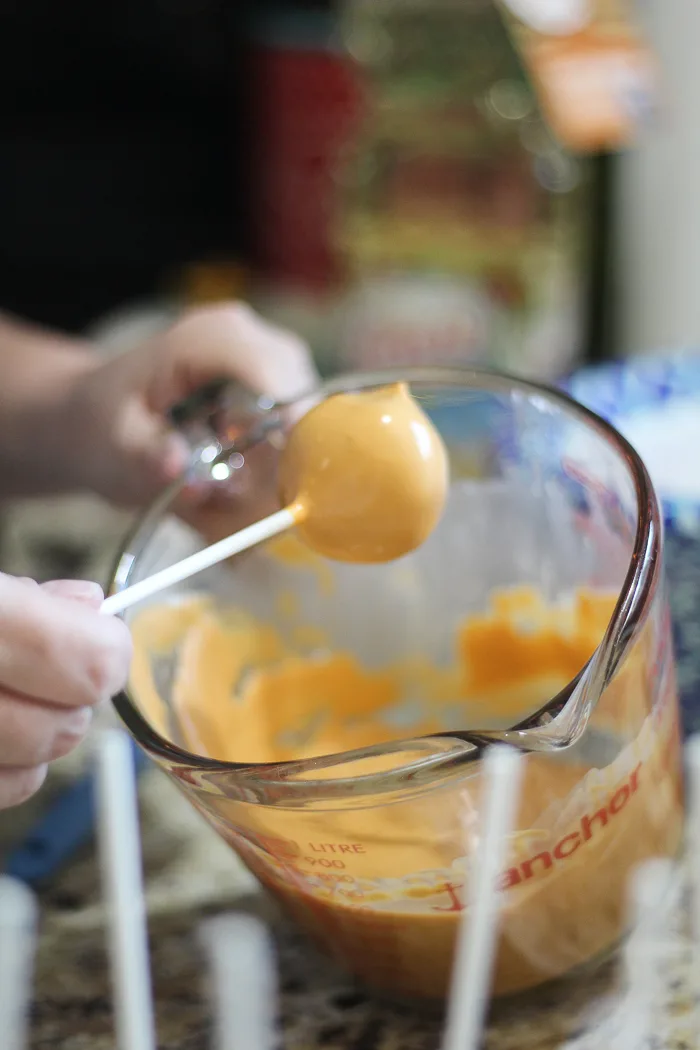
(More on those cake pops later. You will LOVE what we did!)
Once you get your wafers melted, take your sticks and one at a time, dip them in the melted wafers and then stick them in your pops.
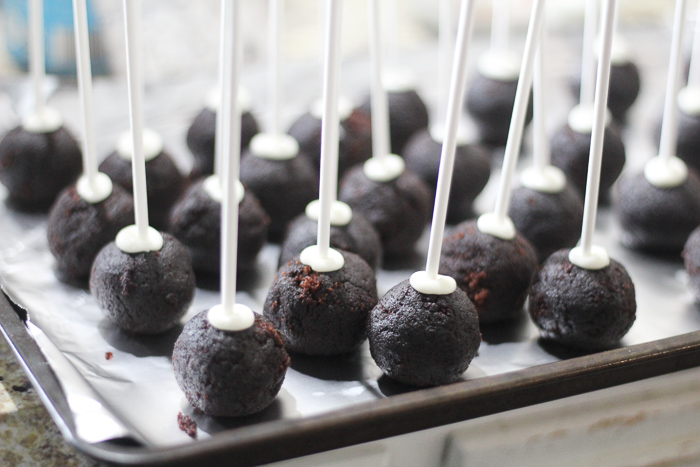
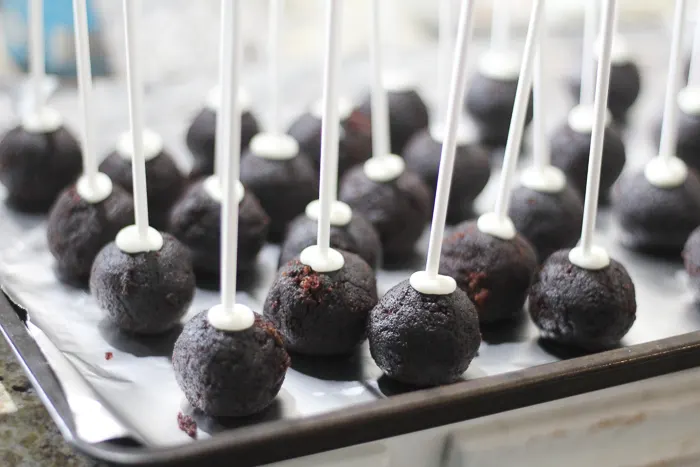
The reason you do this is so that the wafers harden around your stick and hold them in the cake pop so that it won't fall off the stick.
Decorating the Cake Pops
Now, put that in the fridge for about 10 minutes to let everything firm up. You might need to reheat your wafers in the microwave again to remelt them.
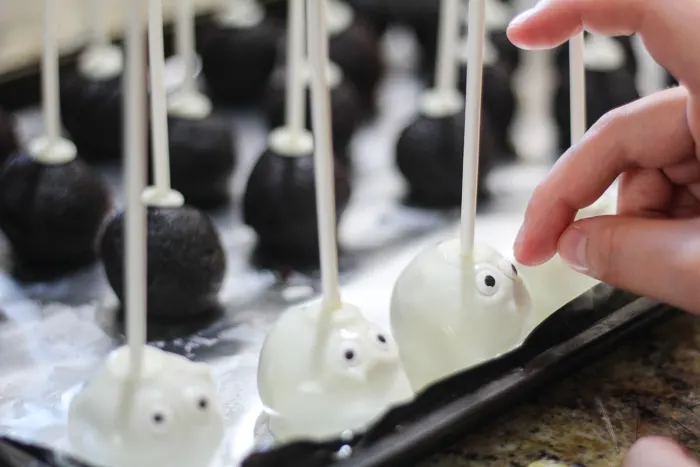
Once you do, it's time to dip the whole thing. You are going to submerge your whole pop in the melted wafers, making sure to cover the end where the stick is. This will hold it in place even better.
Now, set them right onto your lined baking sheet.

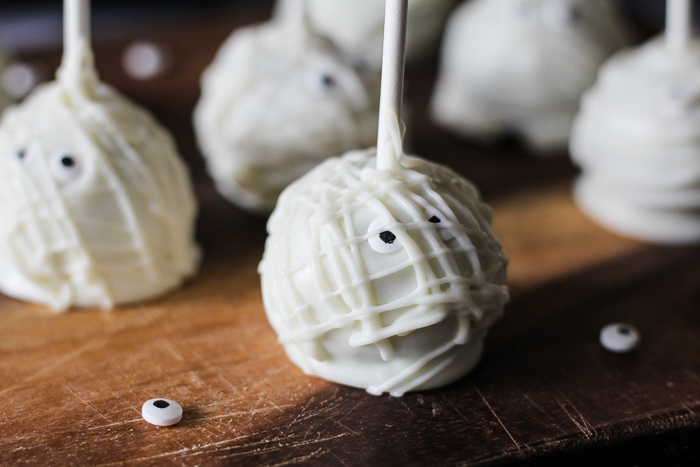
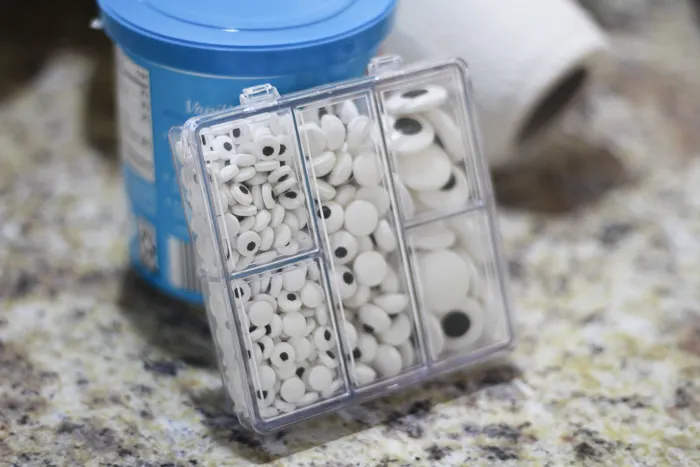
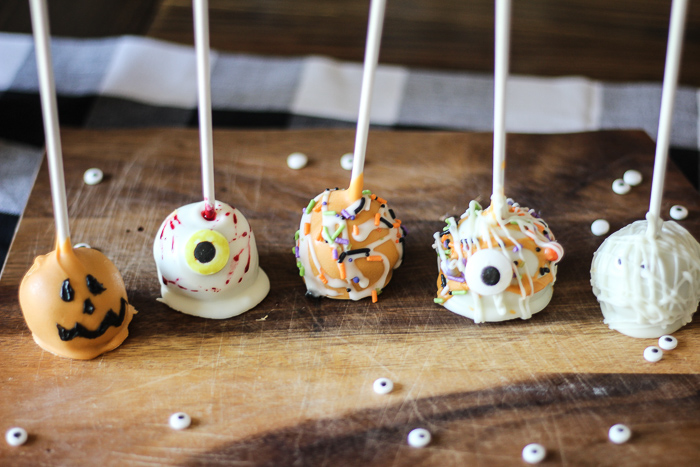
While the cake pops are drying, you can put on your candy eyeballs. Since we made several types of cake pops, we used all kinds of eyes, but for the mummy, we used smaller eyes.

Once you get all the eyes on, pop them back in the fridge to let that firm up. While that is firming up, grab a pastry bag and put the remaining melted wafers in it. The easiest way we have found to do this is by setting the pastry bag in a cup and scooping it in that way.
Snip off the top end of the tip with some scissors so that you can drizzle on your mummy wrapping.

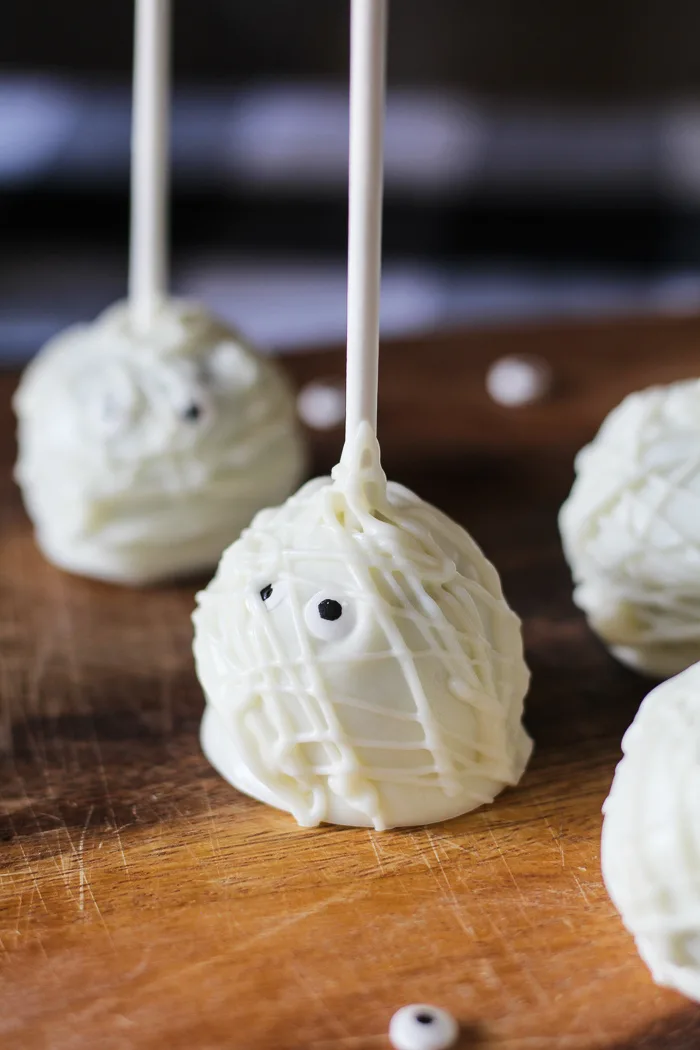
You can do it all kinds of ways, but we had fun drizzling it all over the place!
Of course, you can do like we did and make all kinds of fun cake pops — which I will be sharing with you next week. Here's a sneak peek at those.

If you love making mummy food, be sure to check out how I make these fun Mummy Pizzas, creative Mummy Dogs, and my favorite — Mummy Jalapeno Poppers!
Other Delicious Cake Ball Recipes
Mummy Cake Pops
These mummy cake pops are the perfect sweet scary treat for your little ones.
Ingredients
- 1 box of cake mix of your choice
- 1 can of vanilla frosting
- 3 12-ounce bags white chocolate candy wafers
- Vegetable shortening
- Candy Eyeballs, for the eyes
- 30–40 skinny lollipop sticks
Instructions
- Bake cake according to package directions. Bake as a 9x13 cake. Let cool.
- Using your hands, crumble the cake into a large mixing bowl.
- Now, mix in 3/4 of the can of the frosting
- Mix until a dense but still crumbly dough forms that you can mold into balls with your hands. Be careful to avoid adding too much, so the mixture does not get too soft and moist.
- Refrigerate the mixture for 30 minutes, until chilled.
- Use a cookie scoop to scoop out about 2 tablespoons of the cake mixture and roll into a tight, uniform ball with your hands.
- Place the balls on a baking sheet lined with parchment paper. Refrigerate for about 20 minutes.
- When ready to dip in chocolate, remove the chilled balls from the refrigerator and let sit at room temperature for about 5 minutes.
- For the sticks -- Melt the chocolate candy wafers according to package instructions. If it looks too thick for dipping, mix in vegetable shortening 1 teaspoon at a time to thin it.
- Let cool slightly, stirring occasionally, for 5 minutes.
- Dip a lollipop stick in the melted chocolate, and insert in the cake ball, pushing halfway to stop at the center. Place back in the refrigerator for five minutes.
- Dip the cake ball in the chocolate until completely covered. Gently tap the stick against the edge of the bowl to remove excess melted chocolate.
- Stick the eyeballs on and then place the pops back in the fridge to firm up.
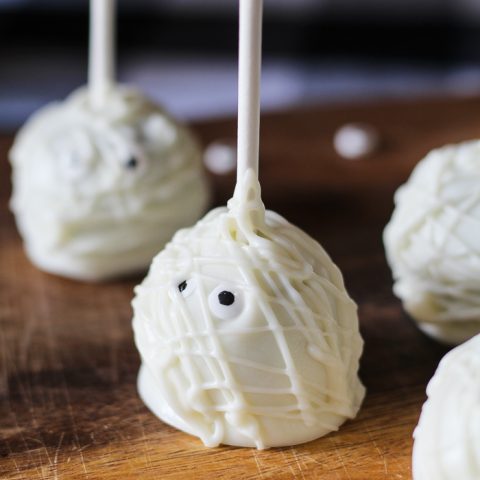
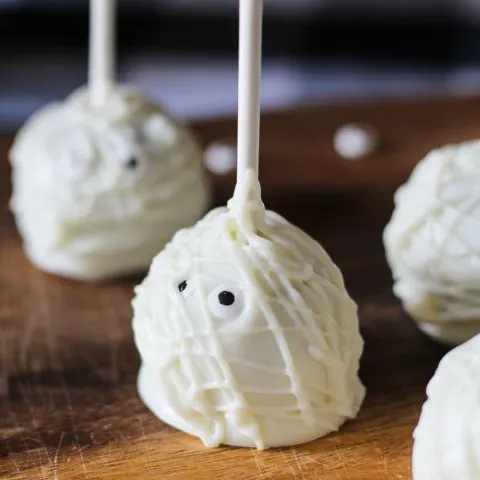
- Now -- let's make the mummy wrapping --
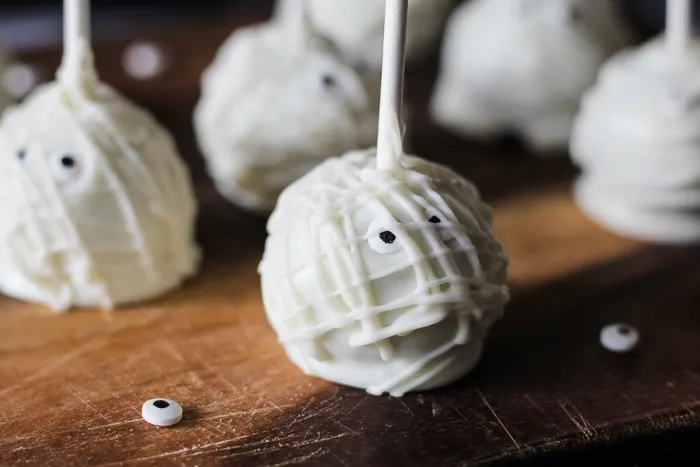
- Place the remaining melted chocolate wafers in a pastry bag. Snip the end off and use this to drizzle on the mummy wrap.
- Holding the cake pop in one hand, move the pastry bag back and forth to drizzle chocolate onto the pop while you slowly turn it around, to form scattered, irregular lines across the surface.
- Allow the cake pops to set completely at room temperature before serving, for about 15 minutes. Or, once the pops have set, you can store them in the refrigerator until ready to serve for up to one week.
Nutrition Information:
Yield:
30Serving Size:
1Amount Per Serving: Calories: 142Total Fat: 5.8gSaturated Fat: 4.4gTrans Fat: 0gUnsaturated Fat: .3gCholesterol: 27.2mgSodium: 136.3mgCarbohydrates: 20.7gFiber: .8gSugar: 13.3gProtein: 2g
Christie
Saturday 16th of November 2019
I had so much fun with those eyes! And these cake pops are a delicious way to use them.
Jaida ~ Sweet Beginnings
Wednesday 23rd of October 2019
Perfect treat for a Halloween party! Everyone loves a good cake pop, and these are adorable!
Cheese Curd In Paradise
Monday 21st of October 2019
I love these! That white chocolate s perfect for that mummy drizzle on the cake pops
Krystel | Frugal Living
Thursday 10th of October 2019
Ugh can't believe they are brownie inside. So good
Claudia Krusch
Wednesday 9th of October 2019
I love the way they look! Such a great addition to our Halloween party!