

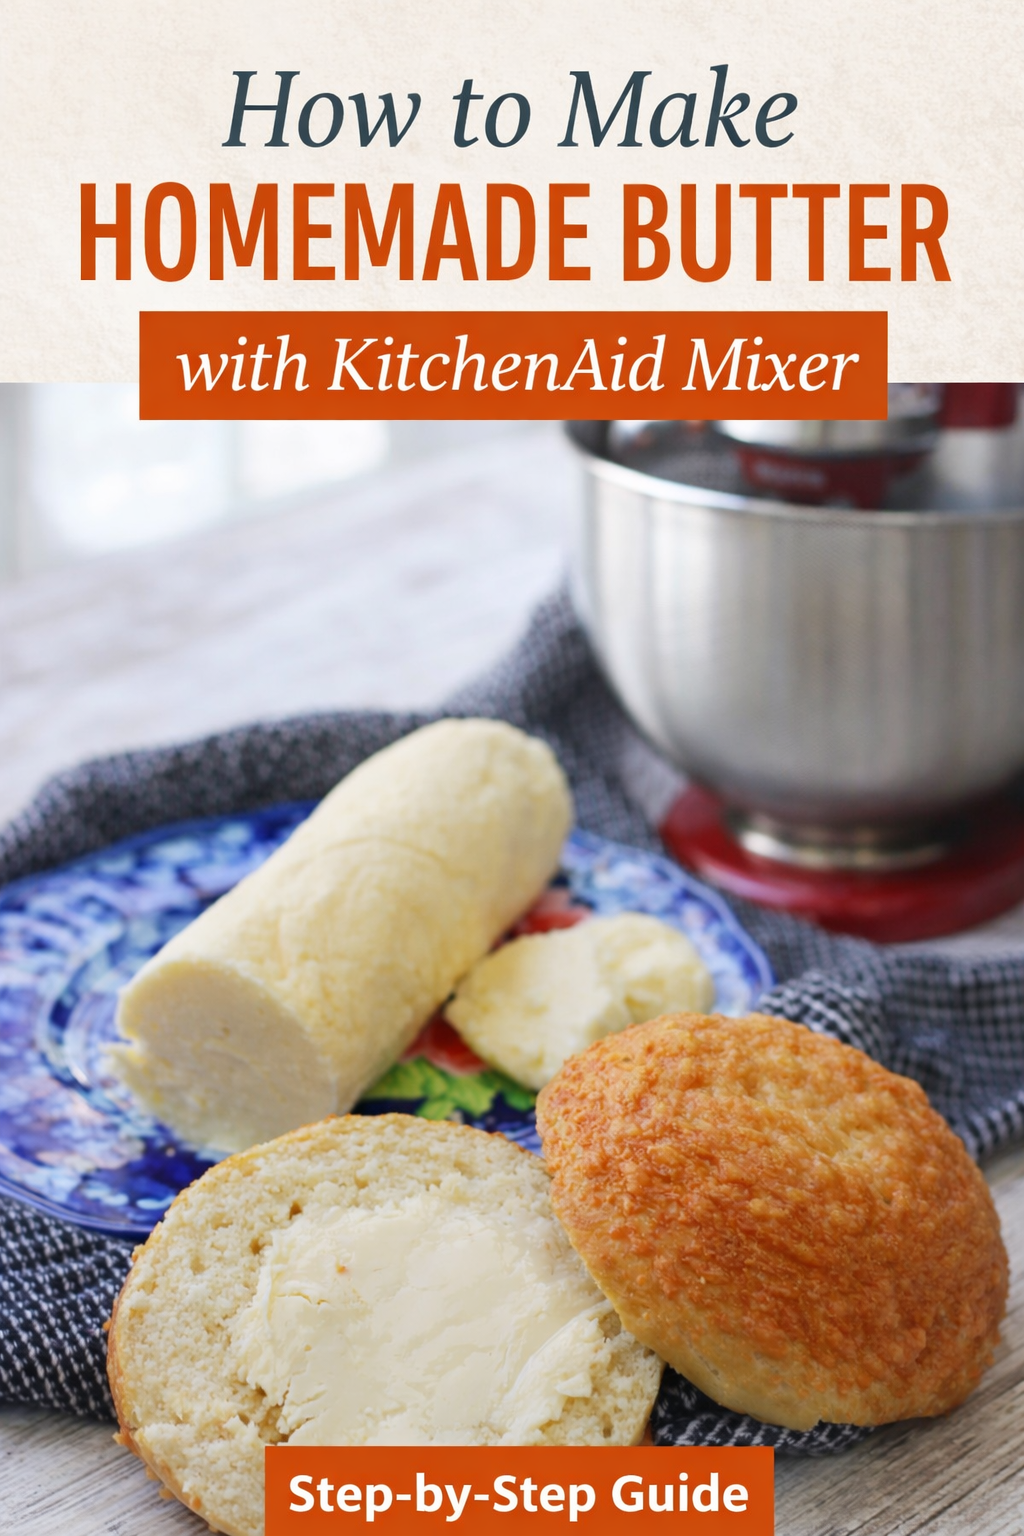
Want to know how to make homemade butter with KitchenAid Mixer? Keep reading to learn all about this super-easy process.
When my husband and kids gave me a KitchenAid Mixer for Christmas almost 10 years ago, I promised myself that I would find every excuse in the book to use it.
Since then, I have made numerous recipes with the different attachments I currently have, such as my pasta noodles with the noodle extruder attachment.
My recent adventure with it, though? Simple and easy — making homemade butter.
How to Make Homemade Butter with a KitchenAid Mixer
We ran out of butter the other day, and I was simply too lazy to go to the store. I have been trying very hard to eat from my pantry and kitchen until I clean it out, so I had to look in the fridge and found some heavy cream.
How to Make Homemade Butter
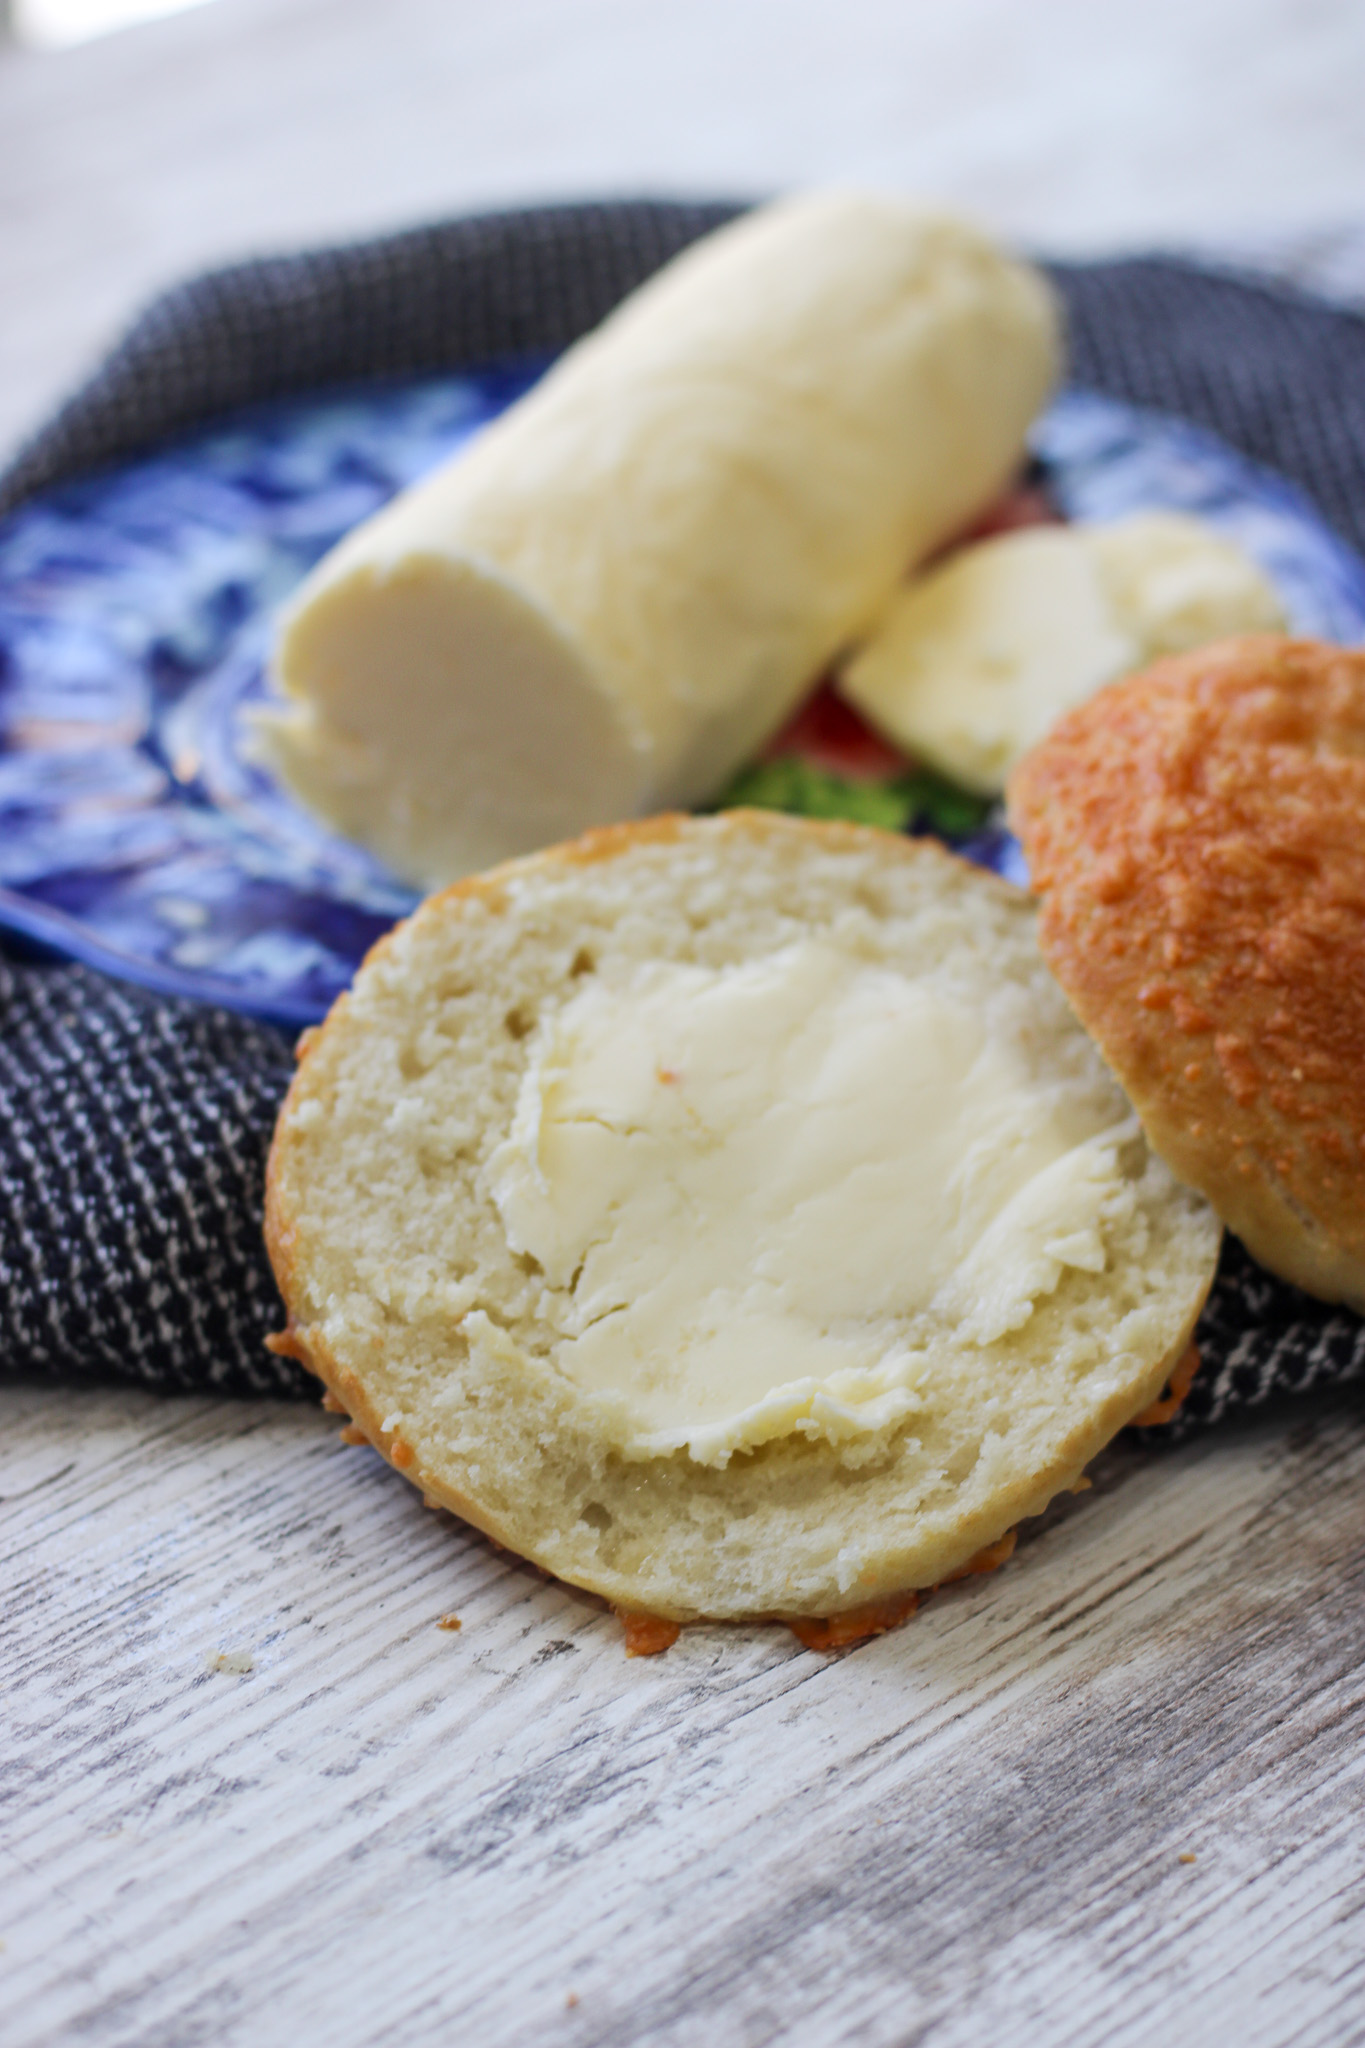
So, I set out with the heavy cream and some salt — the only two ingredients you need –, and we made some butter to go on my Copycat Cheesecake Factory Honey Wheat Bread.
This butter comes together in about 10 minutes total and only needs a resting time in the fridge of just a couple of minutes.

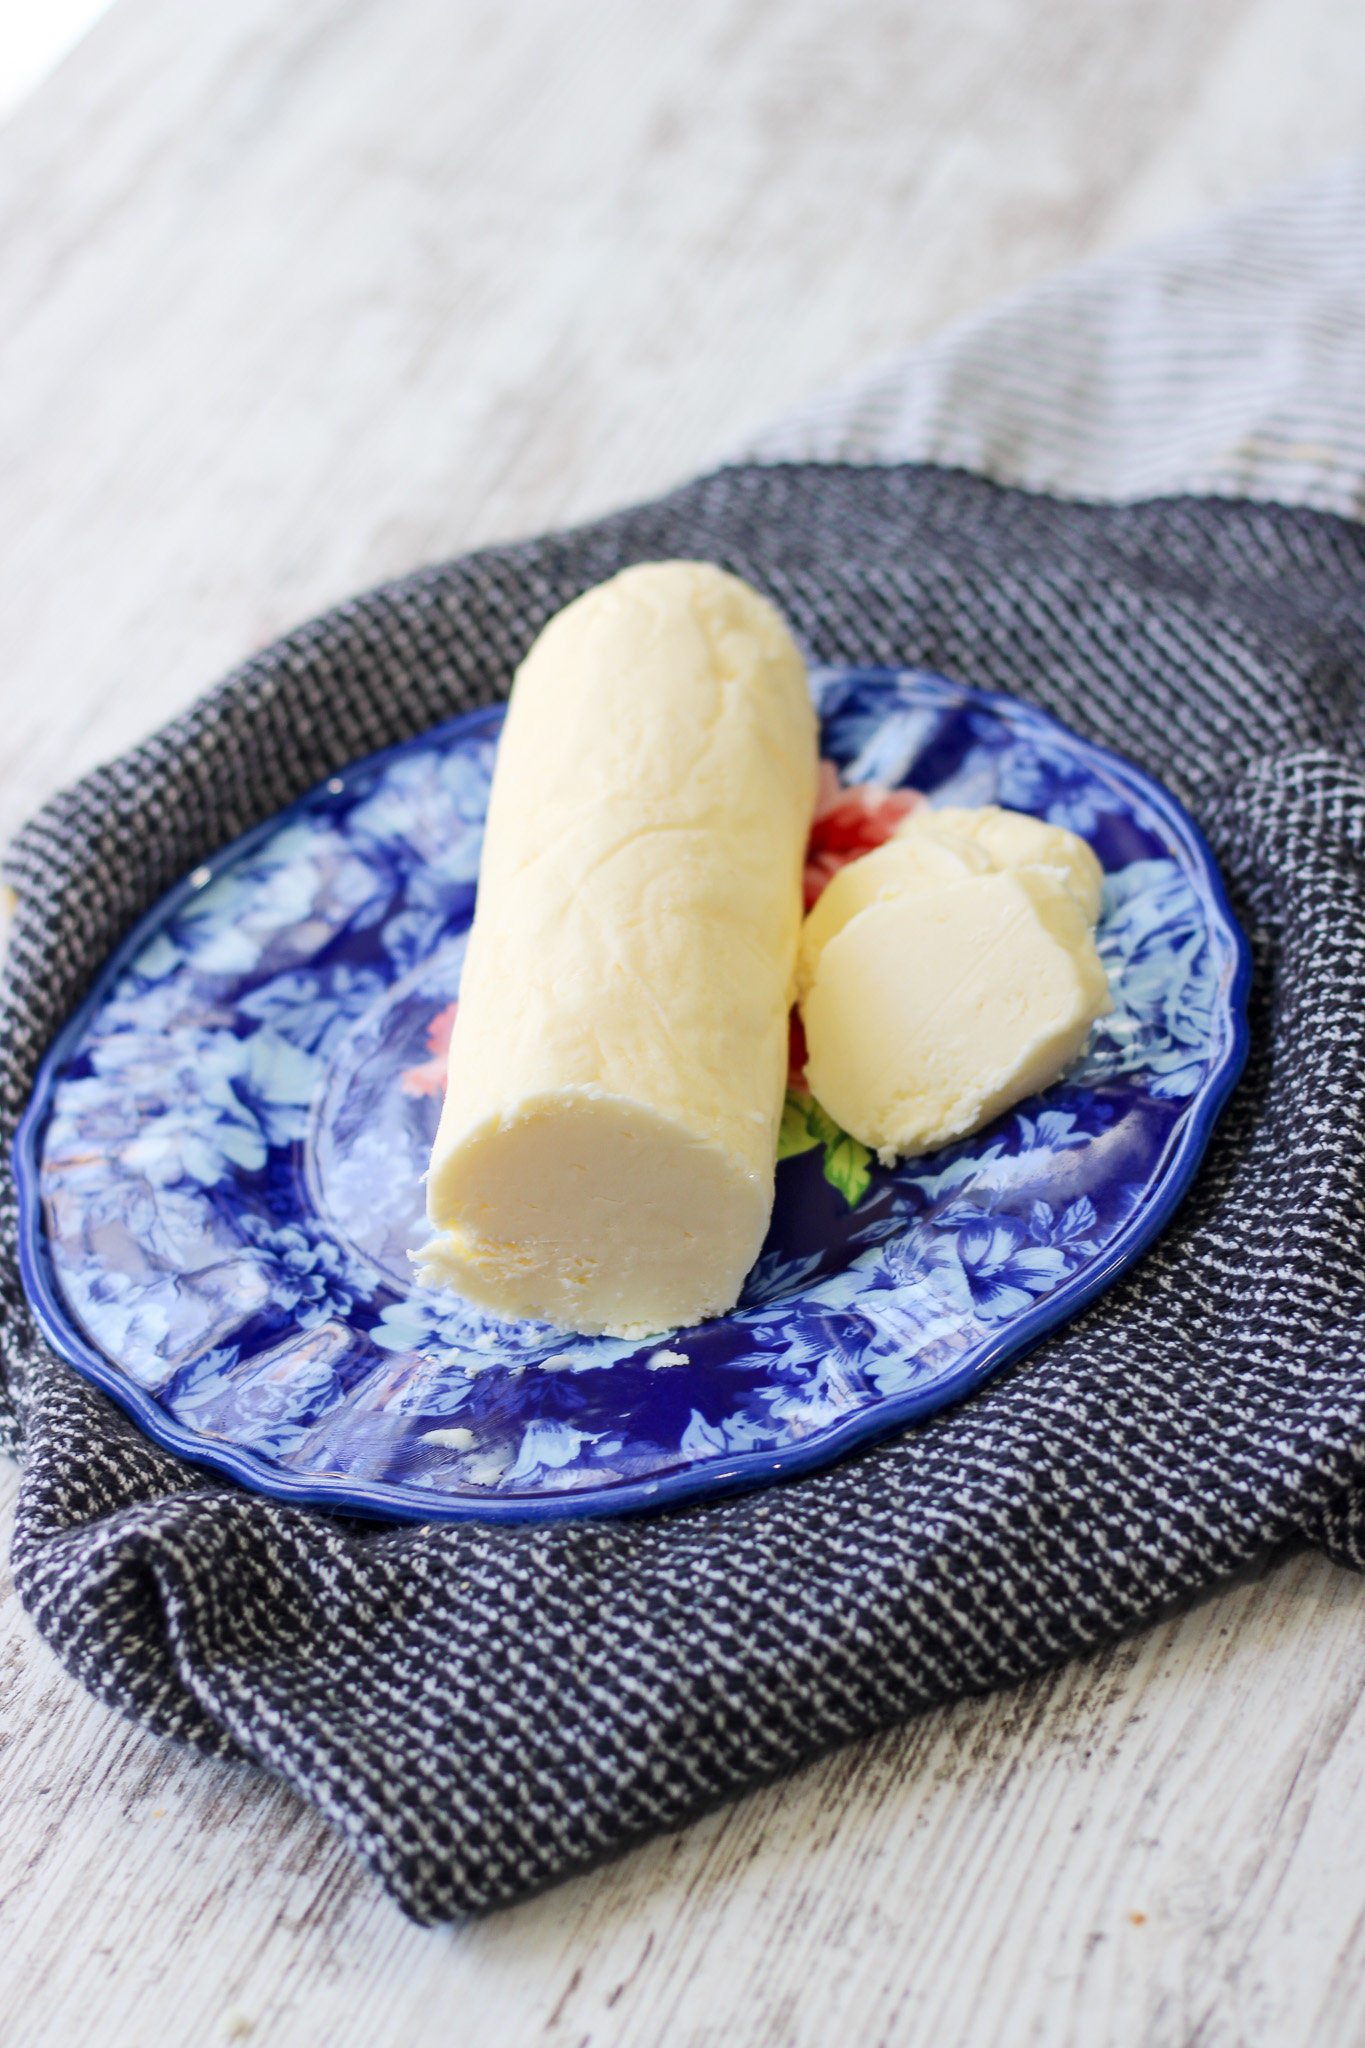
The main thing you need to remember, though, is that after you whip it, you definitely need to squeeze all the liquid out.
I normally use a cheesecloth, but since I didn't have any on hand, I simply doubled up a paper towel, placed it over a strainer, and squeezed all the water out.


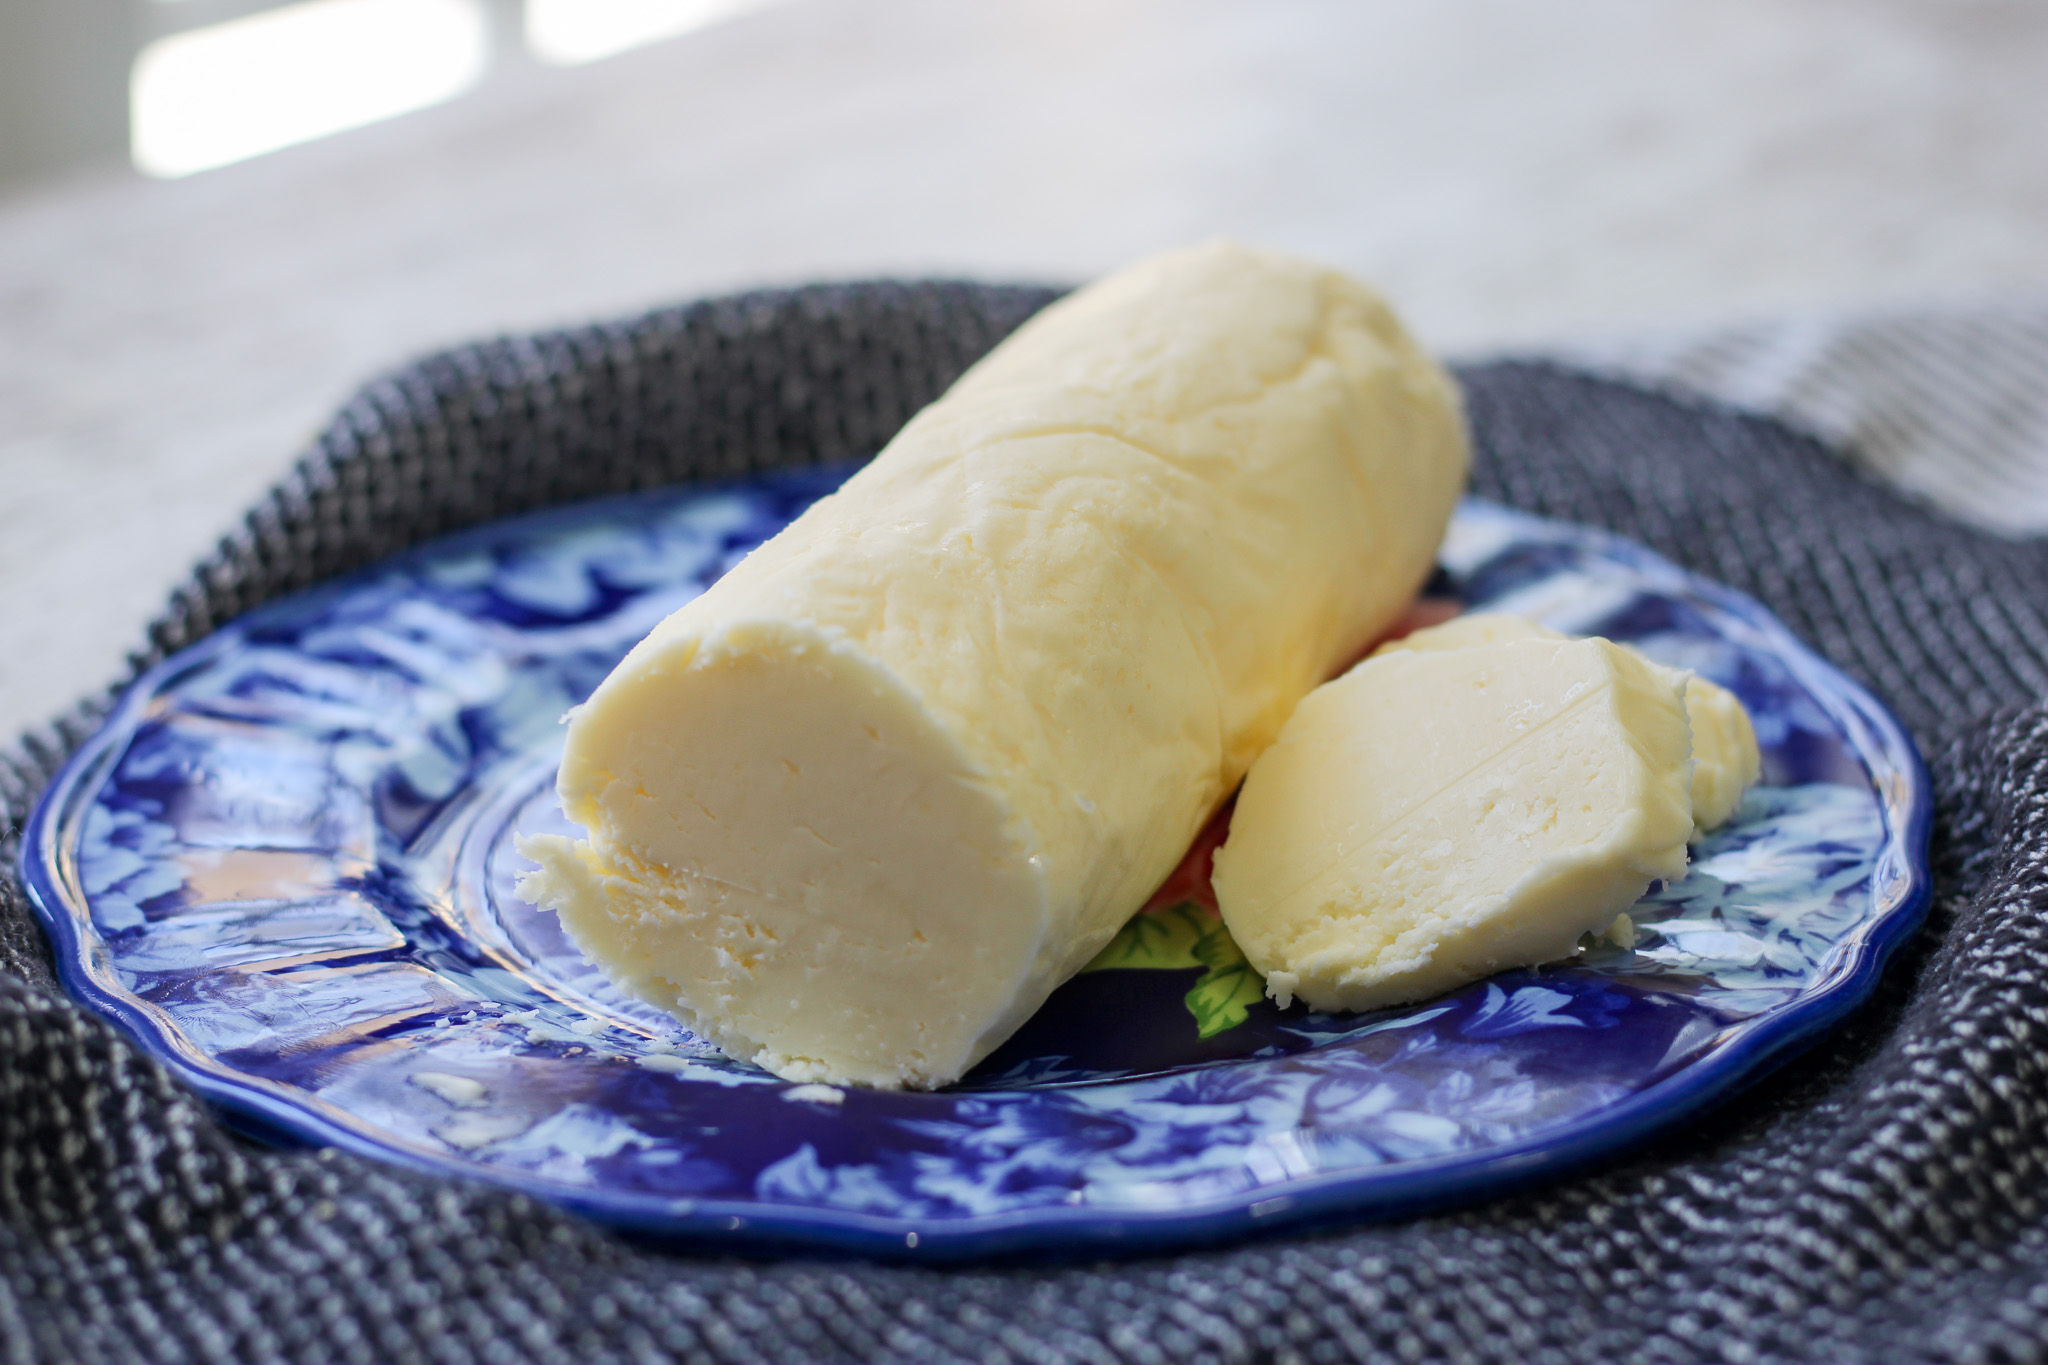
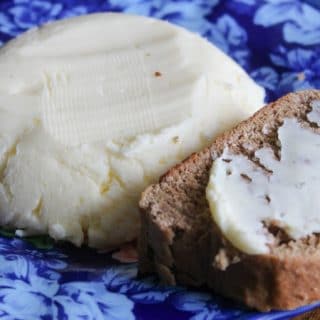
Once you do that, you can mold it into a dish, cover it with plastic wrap, and then place it in the fridge for about 3-5 minutes.
This tastes so good on hot, freshly baked bread. Now, I add salt to mine because I like salted butter. But if you don't want the salt, just leave it out.
Looking for other KitchenAid Recipes?
If you want to try your hand at making homemade butter with a KitchenAid mixer, I encourage you to give it a whirl.
It's not hard at all, and you will love the fact that you know all the ingredients listed!
How to Make Homemade Butter with the KitchenAid Mixer
This recipe for easy homemade butter will bring your fresh bread to life.
Ingredients
- 1- 16-ounce carton of heavy whipping cream
- 1 cheesecloth or paper towel
- pinch of salt for flavor
Instructions
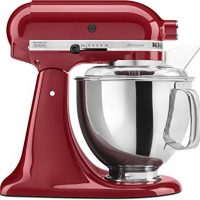
- Pull out your kitchen mixer and insert the whisk.
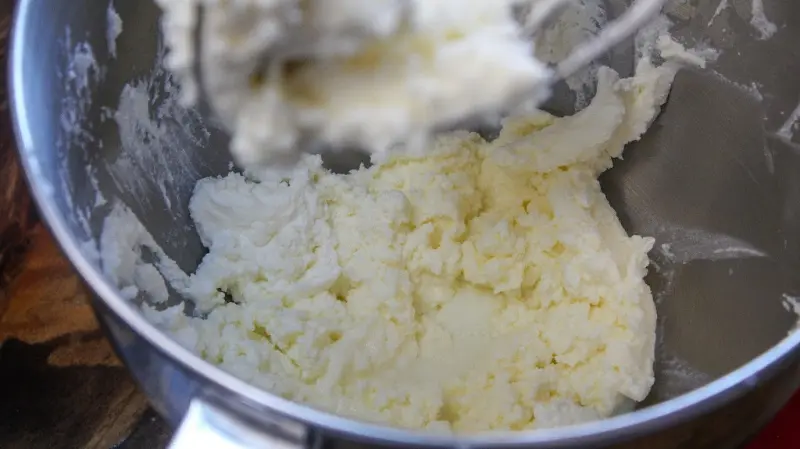
- Turn on your mixer, start out on low speed and then gradually increase to as high as you can go without the cream splashing.
- This is where you have to be patient! Let it mix. It will turn into whipped cream and then soon it will start to separate: butter and buttermilk.
- Let the mixer continue mixing until you hear sloshing. This means that the butter is pulling away from the buttermilk.
- When you’ve got the majority of the butter inside the whisk, turn off your mixer and prepare your strainer over a large mixing bowl or Pyrex measuring cup.
- Line the strainer with cheesecloth or paper towels. Pour the butter and buttermilk into the strainer and then gather up the sides of the paper towels and start to squeeze.
- Keep squeezing until you get all the water out.
- Place the butter in a bowl and add the pinch of salt. Mix together well with a fork or spatula.
- Now, mold your butter in a dish and cover it with plastic wrap. Place in the fridge for 3-5 minutes until it hardens.
- Serve with your favorite bread and enjoy!
Recommended Products
As an Amazon Associate and member of other affiliate programs, I earn from qualifying purchases.

S
Tuesday 25th of February 2020
Can you use the buttermilk in recipes?
Jennifer Sikora
Tuesday 25th of February 2020
Yes! I use it in all kinds of recipes. I just store it in a jar in the fridge.