

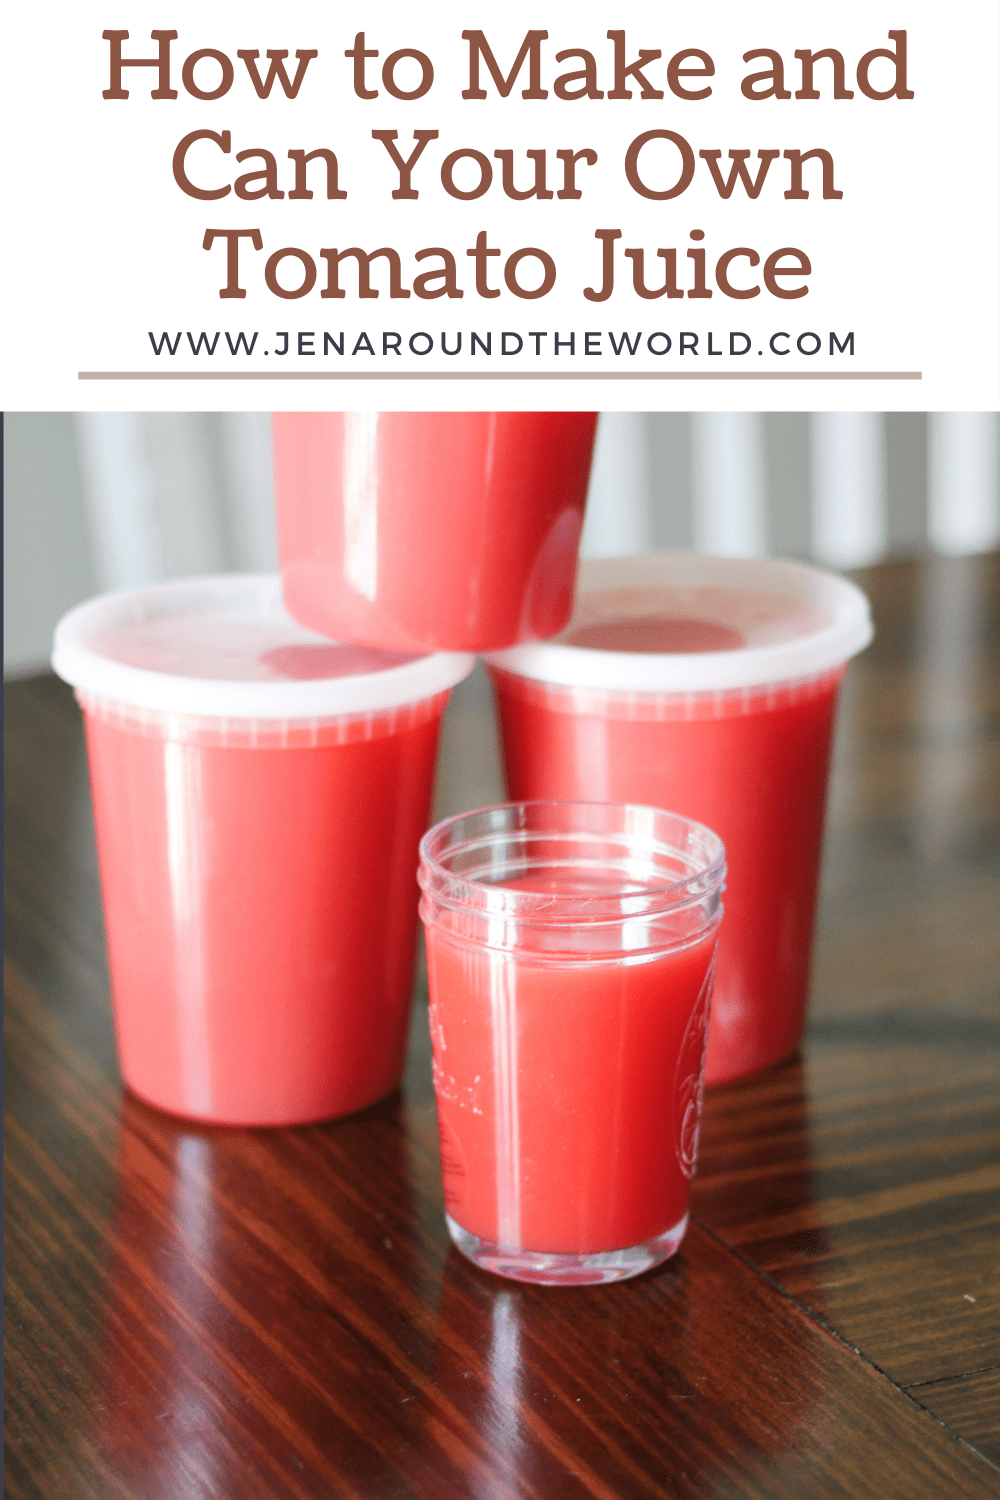
Is your garden overrun with tomatoes? Here is how to make and can tomato juice so that you will always have fresh tomato juice to drink or use for soups and stews.
This step-by-step photo tutorial will show you how to make and can tomato juice in no time. This tastes so much better than bottled tomato juice from the store.

This summer, I bought a HUGE box of tomatoes that were labeled “seconds”. Usually, these are tomatoes that have a few blemishes on them and are better for canning.
I have never really canned tomatoes or even made canned tomato juice, but I wanted to try my hand at it, and I am happy to tell you it was a great success. The great thing about canning, if done properly, is that food can last up to 5 years. I love using canned juice for all kinds of recipes including my Homemade Spaghetti Sauce with fresh tomatoes.


This post may contain affiliate links. If you click the link, I earn a little commission in the process!
I use a lot of tomato juice when I am making soups around here and since fall is right around the corner, so is soup season! One of my most popular soups is my Simple Chili Recipe. You can also use this tomato juice in my Tomato Basil Risotto or my Quick and Easy Tomato Soup.

How to Can and Make Tomato Juice
Wondering what you will need in order to can your own tomato juice? Here are a few of the supplies you will need to have on hand.
Supplies for Canning Tomato Juice:
- Tomatoes
- Salt (optional, but recommended for best flavor)
- Bottled Lemon Juice or you can use Citric Acid
- Knife (this brand is my favorite)
- Large stockpot
- Long spoon to stir tomatoes
- Ladle for transferring tomatoes and juice
- Strainer or a food mill like this one
- Wide Funnel
- water bath canner
- Canning jars with lids and bands
- Jar lifter
The first thing you need to do is to wash all of your tomatoes and then cut out any blemishes or rotten spots you find on the tomatoes. Be sure to cut out the stem area too.
And the best part? No need to peel these! They cook with everything still intact making it super simple and easy to prepare.


Use your hand or a potato masher to mash some of the tomatoes in the pot. It will release enough juice to keep the tomatoes from sticking to the bottom of the poy as they start to cook.
As the tomatoes cook, they will start to juice themselves and you’ll soon have more liquid.
Cook on medium heat, stirring several times. Make sure to scoop all the tomatoes around so that the bottom and top cook evenly.


How to Make Tomato Juice from Canned Tomatoes
You can use canned tomatoes to make homemade tomato juice too if you do not have tomatoes from the garden. I like to just use the whole tomatoes in the can and follow the rest of this recipe as is.
Cook the tomatoes until they are soft — from about 10-15 minutes.
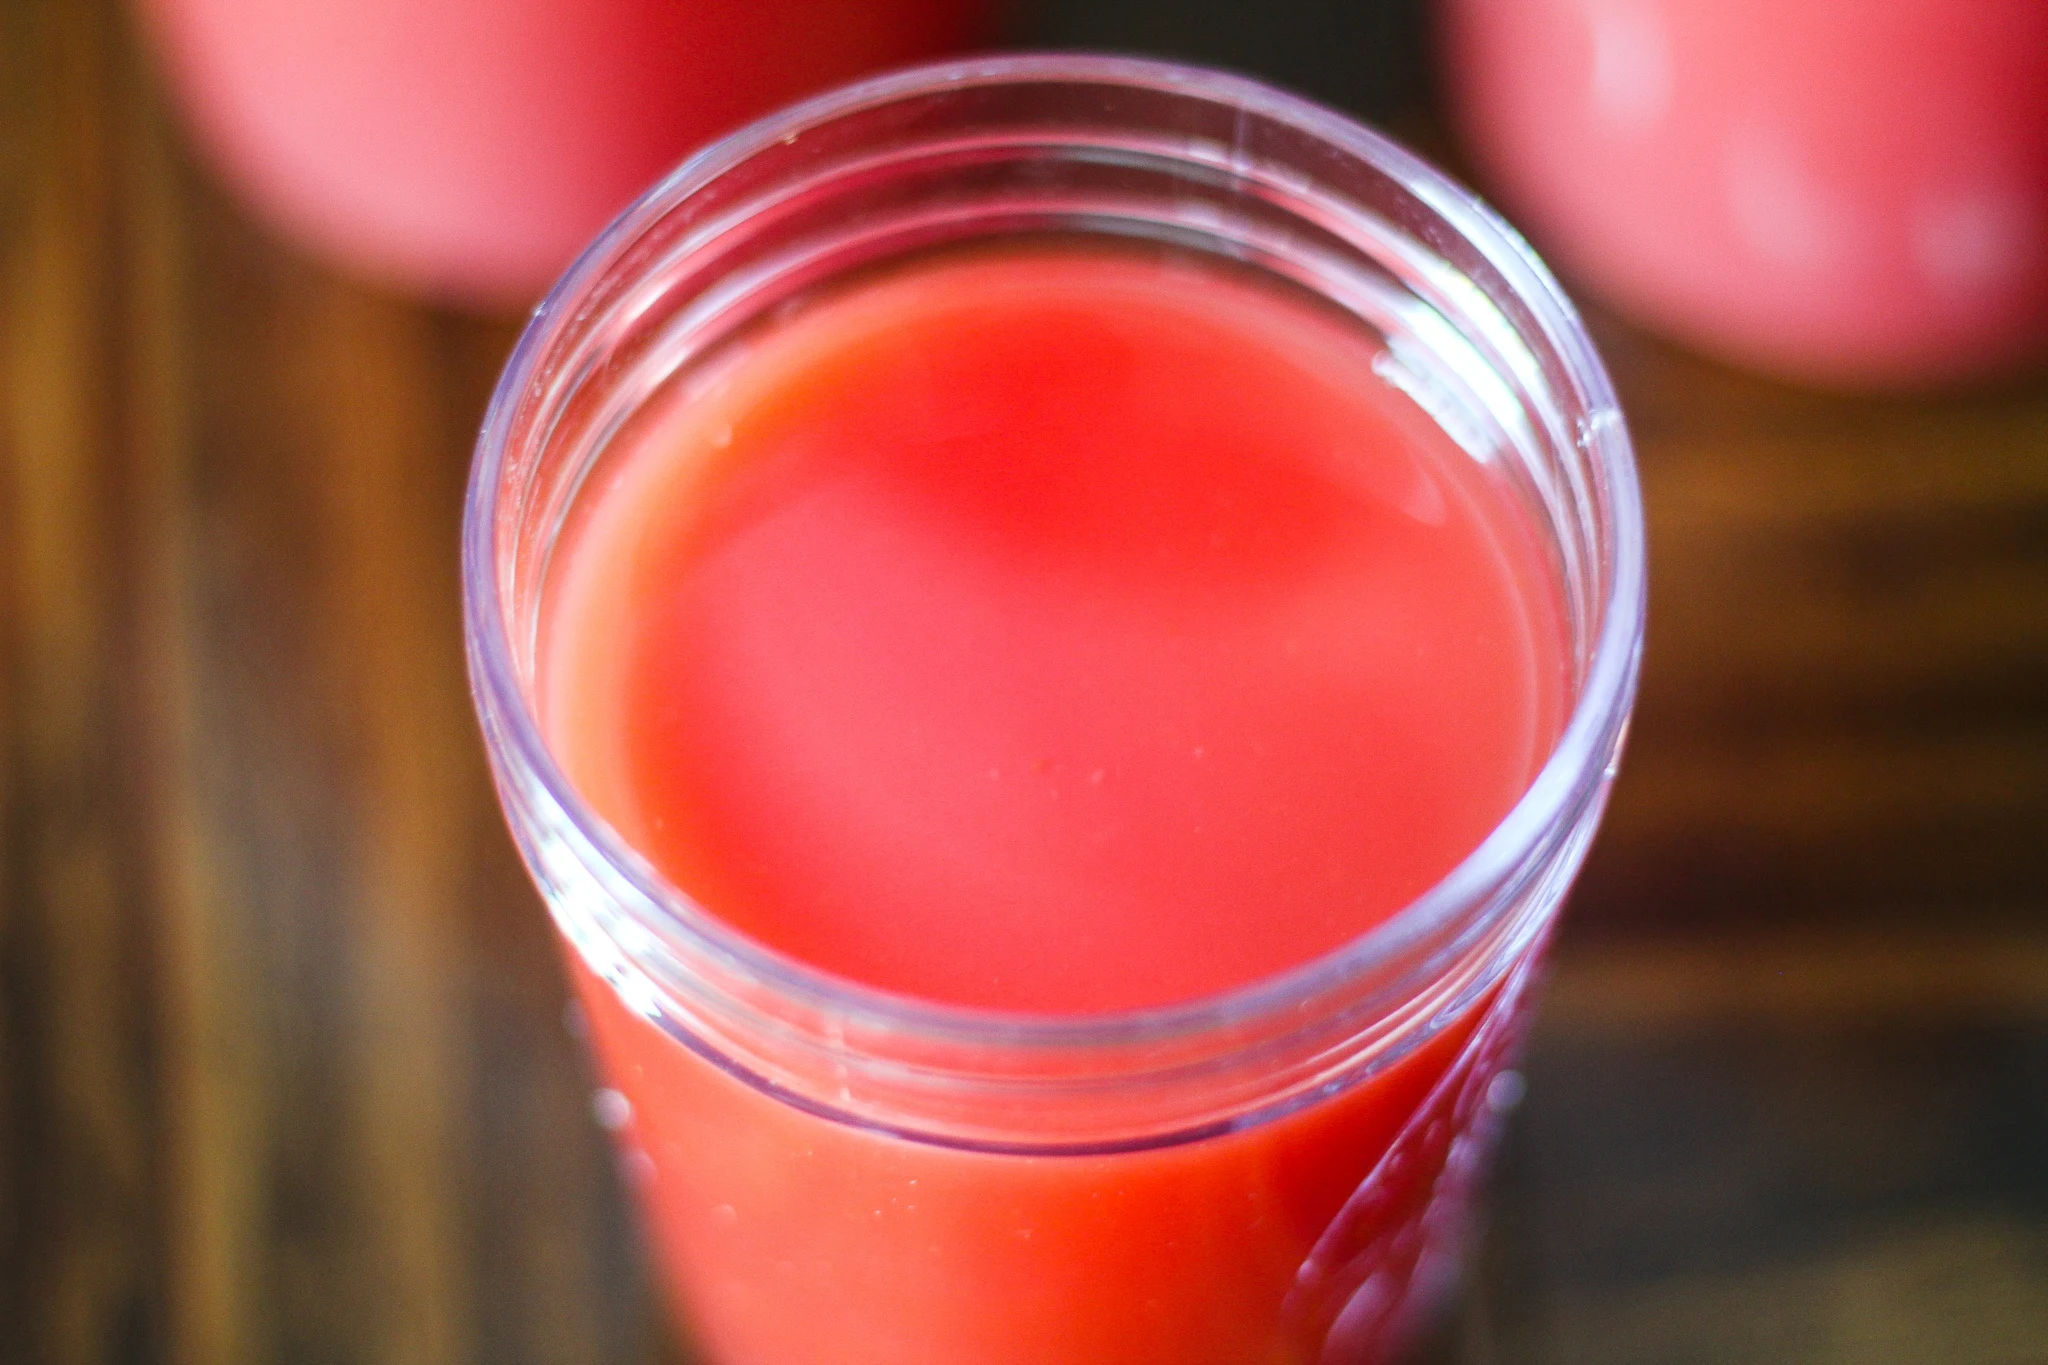
Now, remove the tomatoes from the pan, and either using a food mill or strainer, start starring those beautiful tomatoes!
With a strainer, I keep using the bag of a big spoon to push to get all the juice out I can. I strain it over a big bowl and then discard all the pulp that is left behind.


How Do You Can Tomato Juice?
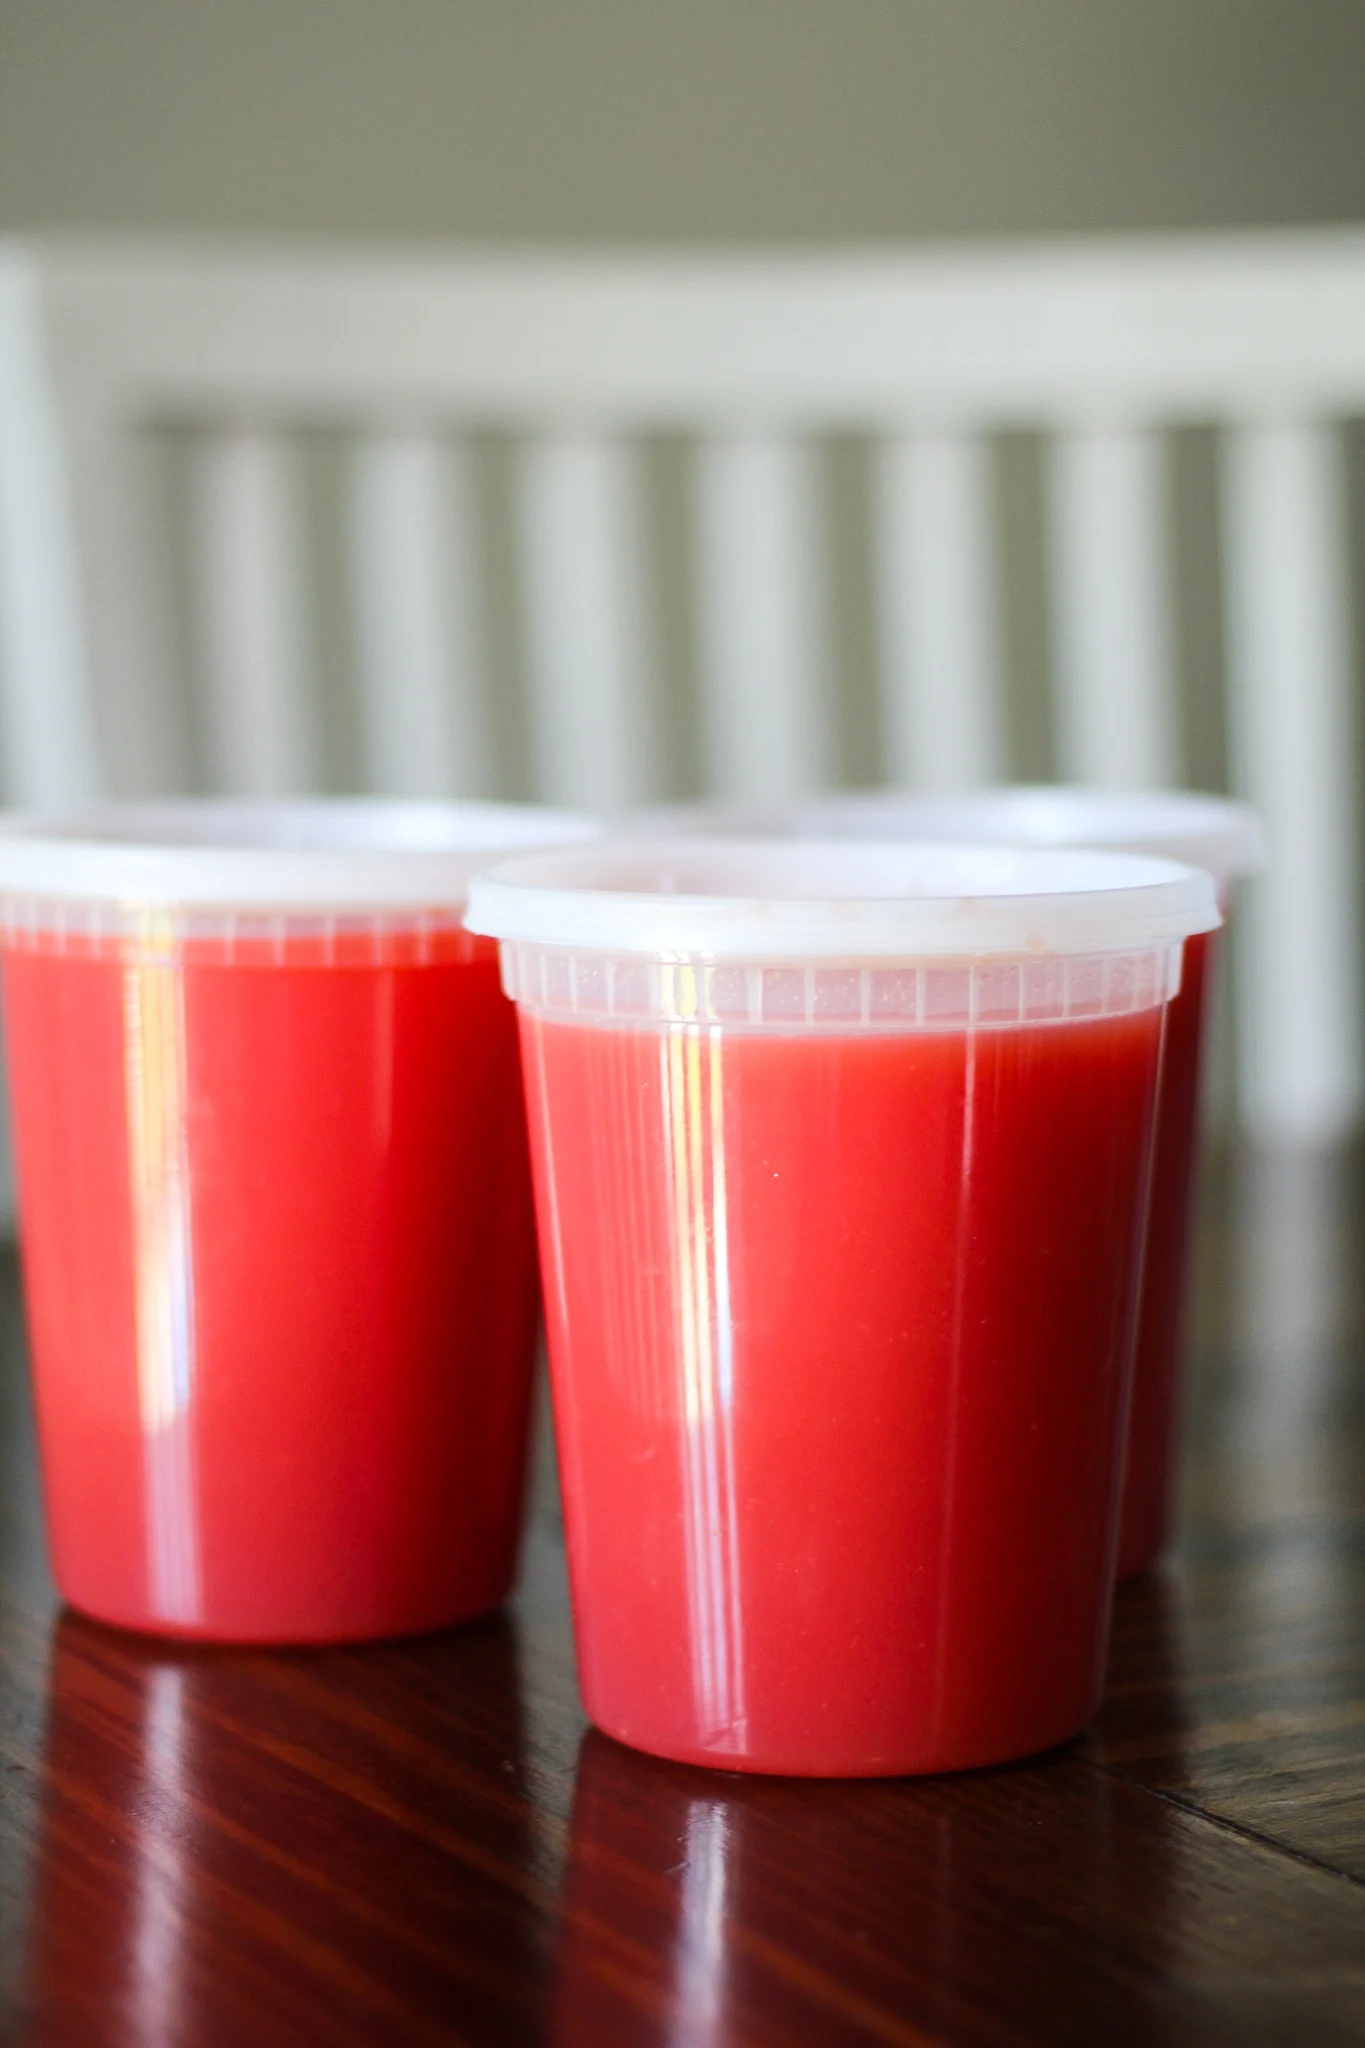
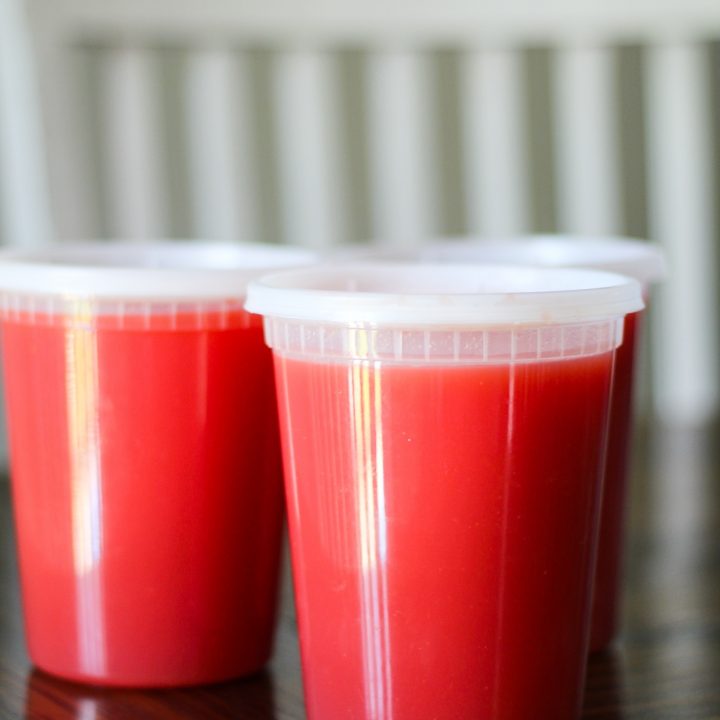
Now, you can pour the juice into canning jars. Or, if you are going to be using it in the next couple of days, you can store the juice in these plastic containers I found on Amazon.


If you are going to put them in canning jars, use your wide funnel and pour the jars full, leaving about 1/2″ headspace at the top.
For each jar or container, you are going to add about ½ tsp. per pint and 1 tsp. per quart of salt and 1 tablespoon per pint or 2 tablespoons per quart of bottled lemon juice or ¼ tsp. per pint or ½ tsp. per quart of citric acid in tomato juice.
Once the salt and citric acid/lemon juice are added to the jars, wipe the rim of each jar with a clean, damp cloth to remove any tomato residue that may be there. That residue will keep your lids from sealing properly.

Once you have your jars filled, secure each lid with a ring. Secure tightly and then place them in a water bath canner and process for 35 minutes or so. You can skip this step if you want to store the juice in the fridge to use within the next few weeks.
How Long to Water Bath Tomato Juice
If you are doing the water bath canning, once they are done processing, remove them from the water bath and place the jars on a towel to cool off.
As they cool, you will hear a popping sound. After the jars cool, just touch the top of the lids and if there is any give, just place them in the fridge until ready to use.
Check Out These Other Delicious Tomato Recipes
How to Can Tomato Juice

Canning tomato juice is so easy! This step-by-step tutorial will show you how to make tomato juice and can it in no time.
Ingredients
- 10 pounds of fresh tomatoes
- salt (optional)
- bottled lemon juice or citric acid
Instructions
- Wash tomatoes thoroughly. Cut out the stem and any bad spots or blemishes. No need to peel them!
- Cut tomatoes into chunks, then dump into a stockpot.
- Use your hand (or a potato masher) to mash a few tomatoes in the bottom of the pot.
- As the tomatoes cook, they will start to juice themselves and you’ll soon have more liquid.
- Cook on medium heat, stirring several times being sure to move the tomatoes on the bottom to the top for even cooking.
- Cook until soft, about 15 minutes.
- Using a blender, blend about a quart of cooked tomatoes at a time until pureed and then pour through a strainer to remove seeds and remaining bits of peel. I like this method because it creates a thinner tomato juice.
- Pour the tomato juice into clean canning jars using a wide funnel. The jars should be filled just to the base of the neck.
- Add Citric Acid (¼ tsp. per pint or ½ tsp. per qt) or bottled lemon juice (1 Tbsp. per pint or 2 Tbsp. per quart) to each jar of tomato juice to create a safe level of acidity.
- Add ½ tsp. salt per pint and 1 tsp. salt per quart. (optional, but recommended for best flavor)
- Wipe the rim of each jar with a clean, damp cloth to remove any tomato residue.
- Once you have the jars filled, secure each lid with a jar band/ring.
- Place the jars in the canner. Fill with enough hot water to almost cover the jars.
- Turn the burner on medium-high heat. Once the water starts to boil, reduce heat slightly and process: 35 minutes for pints and 40 minutes for quarts.
- After processing is complete, remove the pan from the heat and take the jars out using a jar lifter.
- Place an old towel down and put the jars on the towel. Allow at least a little bit of air space around each jar, making sure not to have jars close enough to touch. Do not move jars again until they are completely cool.
- Jars should seal as they cool and you will typically hear a popping sound as the seal is formed. Lids will have no give to them at all.
- You can still use unsealed jars, just put them in the refrigerator and use them as soon as possible.
- Once the jars are cool, wipe off one more time and then store as you wish.
Nutrition Information:
Yield:
24Serving Size:
1Amount Per Serving: Calories: 34Total Fat: 0gSaturated Fat: 0gTrans Fat: 0gUnsaturated Fat: 0gCholesterol: 0mgSodium: 34mgCarbohydrates: 7gFiber: 2gSugar: 5gProtein: 2g