

Let's make homemade cream cheese! It only takes 3 simple ingredients for the creamiest, and super soft cream cheese.
If I had known how easy it was to do this, I would have made this a long time ago!


I absolutely LOVE making my own things from scratch. Over the years, I have taught myself how to make ricotta cheese, brown sugar, sourdough starter, and now, I can add making my own cream cheese to the list!
If you are used to the flavor of store-bought cream cheese that you get at the grocery stores, then you will love the flavor of the homemade version when you make it for the first time. You could even turn it into Strawberry Cream Cheese.
How to Make Homemade Cream Cheese

Fill a large pot with 8 cups of milk. I like the full-fat milk because of the fat content. It is the main ingredient in this cream cheese recipe and the most important. I have not used fresh milk for this, so I am not sure how it would work.
However, you can use half whole milk and half heavy cream, or you can use all heavy cream if you want a softer cream cheese.
Heat the milk in a large pot over medium heat and bring it to a boil. Once it comes to a boil, remove it from the heat and add the lemon juice. Set it aside for a few minutes while the milk curdles.
The curds will start forming, and there will be a yellow-ish liquid, which is the whey that will be left behind.


Set up a fine-mesh strainer covered with cheesecloth to strain all the liquid whey out. My setup usually consists of a large measuring cup with the strainer on top of that, and the cheesecloth on top of that.
Pour the curdled milk into the cheesecloth and allow it to drain for a few minutes. Once the curds have drained, squeeze them as much as possible to remove the liquid.
Now, run them under the water and continue squeezing until the last bit of water and whey has been removed.


Processing the Fresh Cream Cheese
Add the solid curd to the food processor and add the salt. Turn the processor on and allow it to cream the curds together. In just a couple of minutes, everything should be creamy and fluffy! If it is too thick, add a tablespoon of the whey until you get your desired creaminess.
How to Store This Delicious Cream Cheese
To store the homemade cream cheese, allow it to come to room temperature. Place it in an airtight container in the fridge. This fresh homemade cream cheese recipe's shelf life will last up to 7 days. You can freeze the cream cheese, but it will be crumbly, so for best use, add it to your cooked foods if you are going to freeze it.


Next up on the homemade list, I am thinking of trying my hand at making cottage cheese. For more cream cheese recipes, be sure to check out all the recipes on my website.
I like using my homemade cream cheese to top my favorite carrot cake recipe. To make the cream cheese frosting, just dump 2 cups of cream cheese into a large bowl. Add in a stick of softened butter and about 4 cups of powdered sugar. Mix well and use it as cream cheese frosting for your favorite cake. It is SO good.

Additional Add-Ins
If you want to add flavors to your cream cheese, you could try combos like garlic and fresh herbs, everything bagel seasoning, or my favorite of course fresh strawberries. Any fruit would go well in your homemade cream cheese. You could even add some honey to it.
What to Serve with Cream Cheese
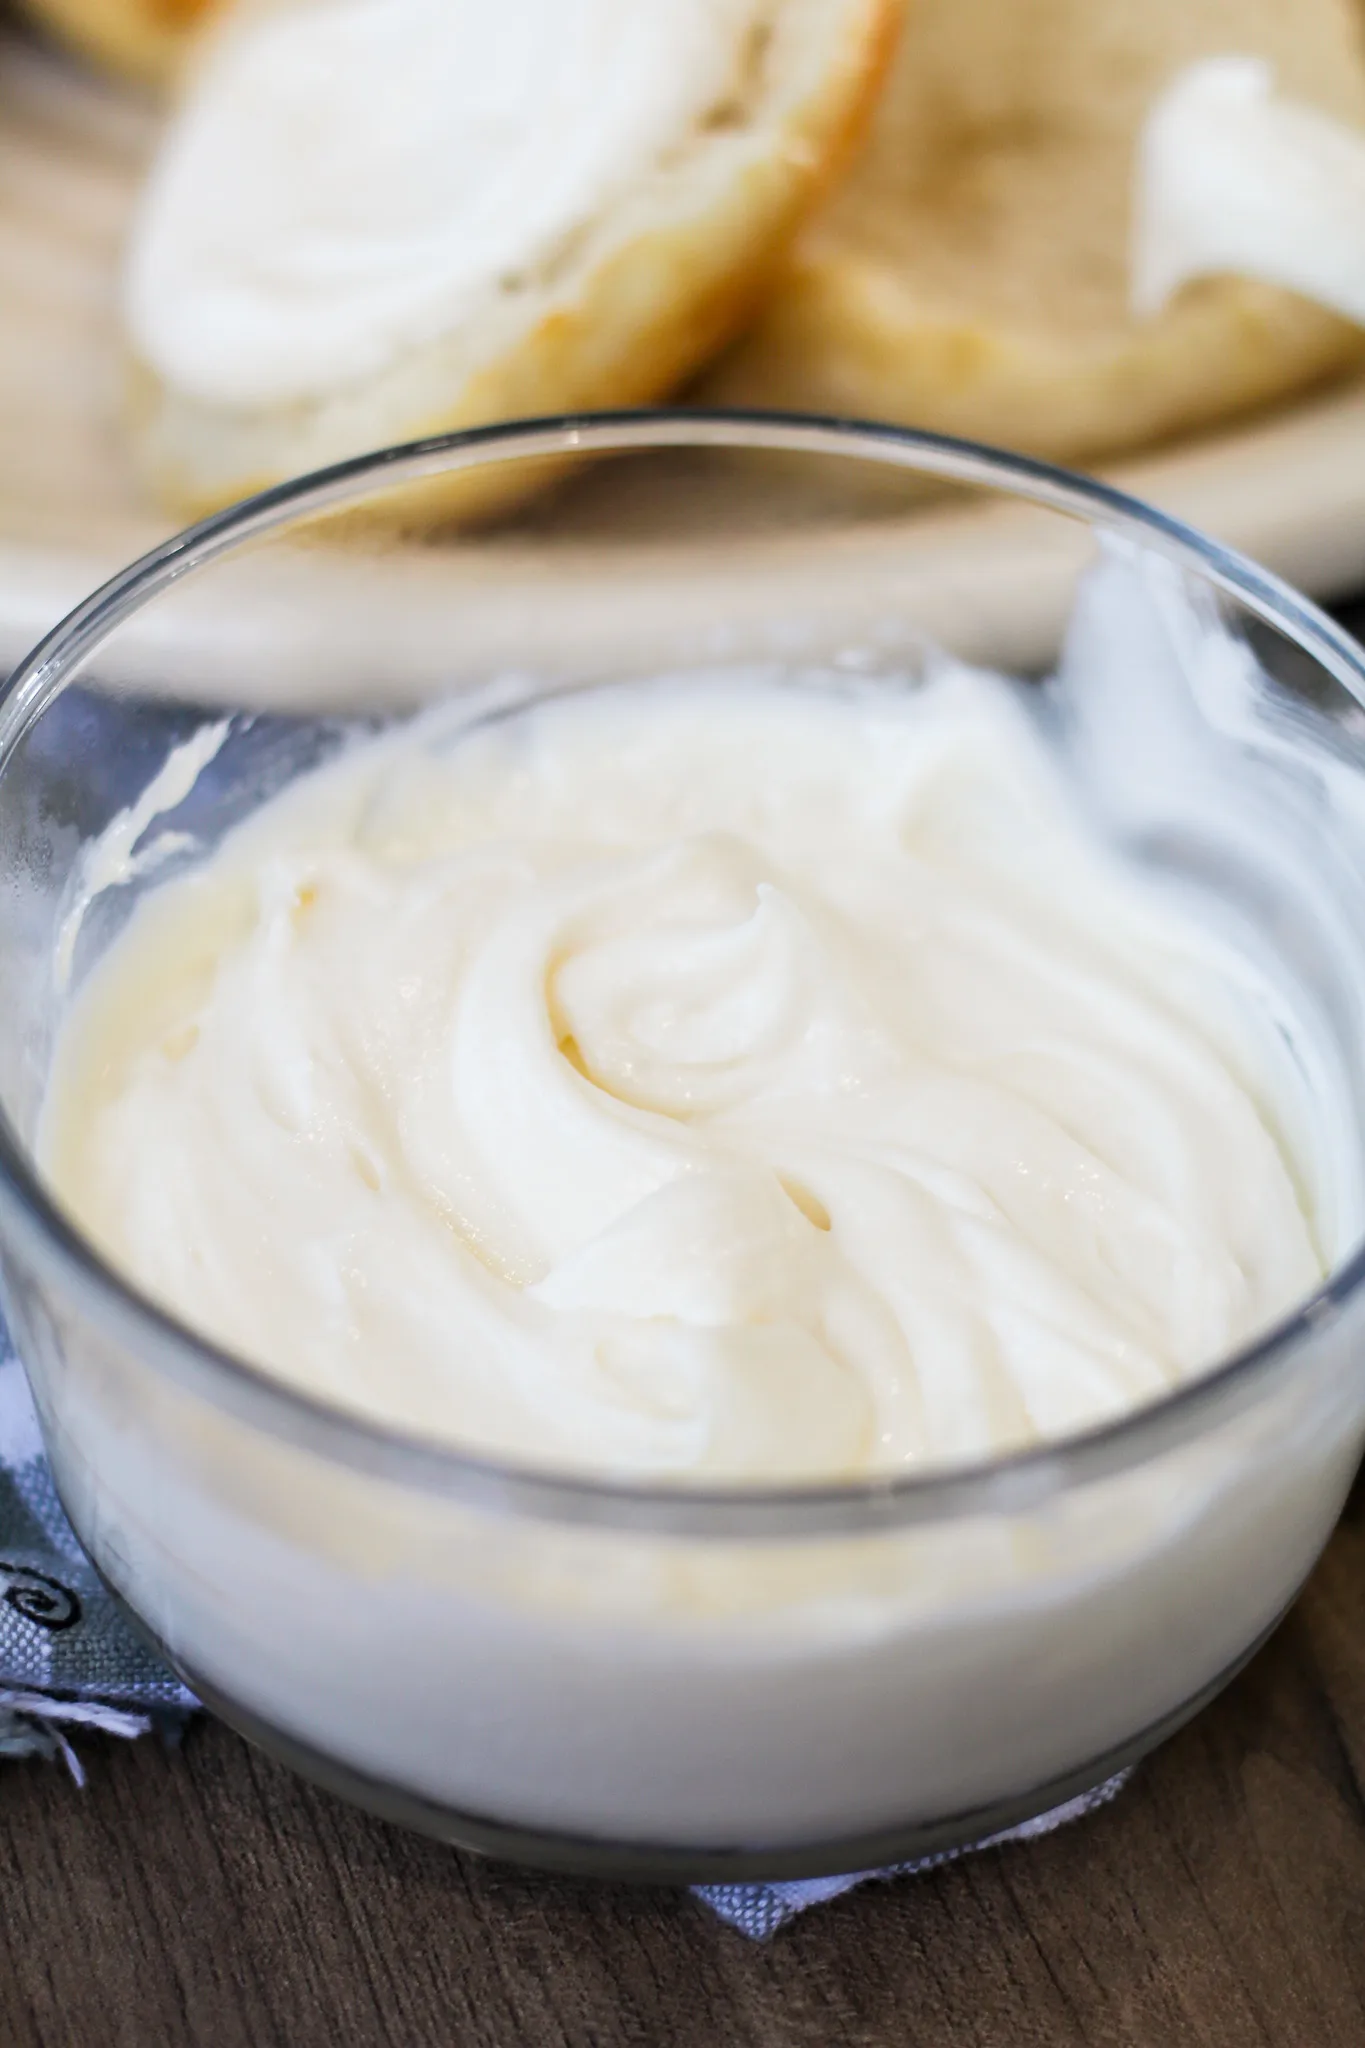
I like to serve my cream cheese with my homemade fresh bagels. You can also add it to any homemade pasta sauce or add it to your favorite pastry like my Starbucks Cream Cheese Danishes.
Check Out These Recipes That Would be Great with Cream Cheese
- Better Than Starbucks Cream Cheese Danish
- Southern Cream Cheese Noodles
- Blackberry Cream Cheese Biscuits
How to Make Homemade Cream Cheese


This delicious and soft homemade cream cheese couldn't be easier to make. Here's how I do it.
Ingredients
- 8 cups of full fat milk
- 5 tablespoons of fresh lemon juice
- 1/2 teaspoon of salt or more (add to your preference)
Instructions
- Pour the milk into a saucepan. Heat over medium heat until the milk begins to boil.
- Remove from the heat and add in the lemon juice. Allow the milk to sit for 5 to 10 minutes until the milk starts to curdle.
- Once the curds have formed, line a large measuring cup with a strainer and some cheesecloth.
- Pour the curds into the cheese cloth and let them drain.
- Squeeze the curds in the cheesecloth until all the liquid has been removed from them.
- Run them under the water to rinse them off.
- Now, place the curds in the food processor with the salt. Process until the mixture is creamy and fluffy. If the mixture is too thick, add a tablespoon of the whey mixture.
- Store in an airtight container for up to 7 days.
Nutrition Information:
Yield:
30Serving Size:
1Amount Per Serving: Calories: 33Total Fat: 1gSaturated Fat: 1gTrans Fat: 0gUnsaturated Fat: 0gCholesterol: 5mgSodium: 66mgCarbohydrates: 3gFiber: 0gSugar: 3gProtein: 2g